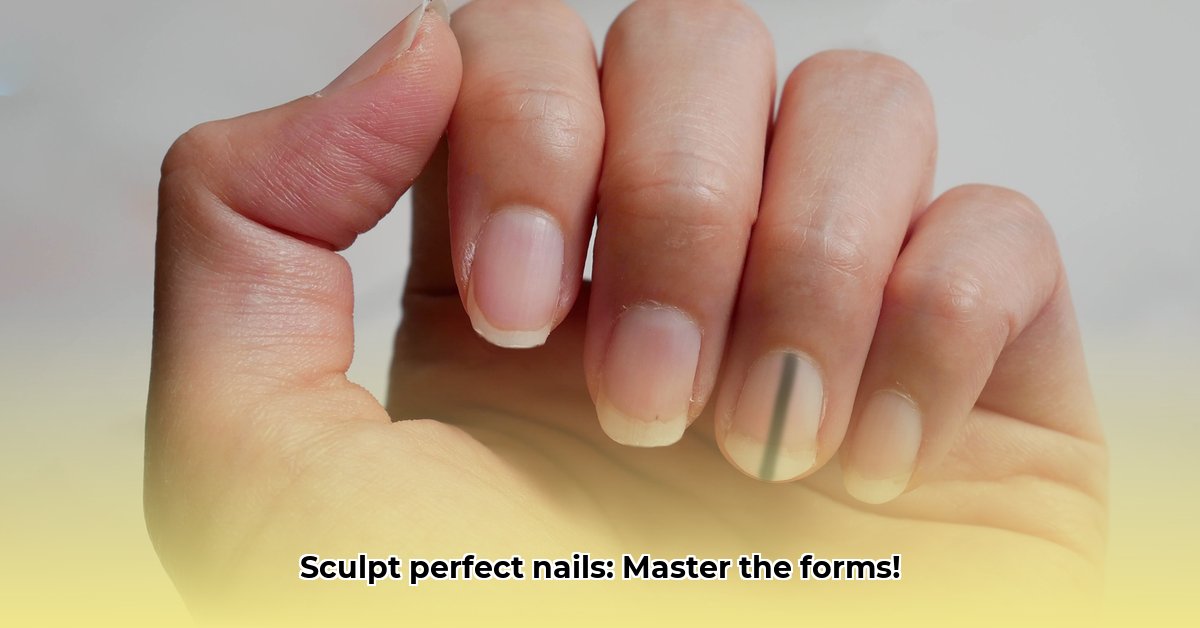
Want gorgeous, salon-quality nails without the salon price tag? This guide is your secret weapon! We’ll walk you through everything you need to know about nail forms – those amazing little helpers that let you create perfect sculpted nails at home. We’ll compare them to nail tips, help you pick the right forms for you, and give you easy-to-follow steps for applying them, whether you’re using acrylic or gel. Plus, we’ll cover troubleshooting tips and tricks for long-lasting results. So, whether you’re a nail pro or just starting out, get ready to unleash your inner nail artist! For even more nail inspiration, check out these gorgeous nail polish sets.
Fingernail Forms: Your Guide to Perfect Sculpted Nails
Want gorgeous, long-lasting nails without the salon price tag? Fingernail forms are your secret weapon! They’re thin, flexible, or sturdy materials (paper, plastic, metal, or composite) that you temporarily apply to your natural nails to create a base for acrylic, gel, or polygel extensions. Think of them as a scaffold for your perfect manicure. They’re different from nail tips, which are pre-formed and glued onto the nail – forms let you sculpt the nail shape completely, leading to a much more customized and potentially natural look. Let’s dive into how to master this technique. Nail forms offer superior customization compared to pre-made tips, enabling more natural-looking extensions, intricate shapes, and personalized designs.
Choosing the Right Fingernail Forms
Picking the right nail form is like choosing the right brush for painting – it makes all the difference. Several factors influence your decision; the material, shape, size, and adhesive quality. Choosing the right nail form depends on desired shape, enhancement method (acrylic, gel, polygel), your skill level, and budget.
First, consider the material. The most popular choices are thin, flexible forms and thicker, more rigid ones. Thinner forms are typically made of paper or foil with an adhesive backing, making them disposable. They are easier to shape and mold, great for beginners learning the ropes and for intricate shapes. However, they’re slightly more prone to tearing, especially with thicker application of product or rough handling. Thicker forms are made of plastic or metal. These are more durable, resisting tears and offering more stability, especially when working with acrylics. They might be a tad trickier to handle at first, requiring more precise placement, but offer a longer-lasting result and can be reused (metal forms). There is a growing market for eco-friendly options, but their durability can vary, so always check online reviews to make sure you’re getting quality. Disposable paper/foil forms generally provide a balance of ease of use and adaptability for various shapes, making them ideal for beginners and those experimenting with different nail styles. Metal forms may require specialized cleaning solutions.
Next, there’s the shape. Nail forms come in various shapes to match your desired style. Do you dream of elegant almond nails, classic square nails, trendy coffin nails, or daring stiletto nails? Choose forms that mirror your vision. Stiletto, coffin, and other intricate shapes require a bit more skill, so perhaps try a simpler shape first until you become more comfortable. Pre-pinched forms are available, simplifying the creation of tapered nail shapes.
Finally, size matters. You need to choose nail forms that match your natural nail bed – not too big, not too small. Too small, and the form won’t have proper adhesion, potentially leading to product leaking underneath; too large, and the application process gets more complicated and uneven, affecting the final shape and strength. Many forms have guidelines printed on them to assist with length and width.
| Material Type | Pros | Cons | Best For |
|---|---|---|---|
| Thin, Flexible (Paper/Foil) | Easy to mold, great for beginners, more adaptable, disposable | Prone to tearing, less durable, may require practice | Beginners, intricate shapes, gel/polygel |
| Thick, Rigid (Plastic) | Durable, less prone to tearing, good for well-defined shapes. Reusable | Less flexible, can be difficult to customize, may require more adhesive | Well-defined shapes, acrylic, experienced users |
| Metal | Extremely durable, reusable, precise shaping | High initial cost, requires disinfection, steeper learning curve | Advanced users, salon professionals, acrylic |
Reusable metal forms offer durability but demand more skill and meticulous disinfection to prevent infections and ensure proper hygiene. Invest in a quality disinfectant solution.
Step-by-Step Application of Fingernail Forms: A Beginner’s Guide
Applying nail forms seems daunting, but with a bit of patience and practice, you’ll be creating salon-worthy nails in no time! Here’s a detailed, step-by-step guide:
- Prep Your Natural Nails: This is crucial for strong adhesion and preventing infections. Start with clean, dry nails. Gently push back and trim your cuticles. Gently buff the surface of your nails to create a slightly rough texture; this helps the adhesive grip better. Remove any oils or lotions using a nail dehydrator or alcohol-based cleanser.
- Apply Adhesive (If Needed): Many paper and foil forms have a self-adhesive backing. For plastic or metal forms, use a small amount of high-quality adhesive designed specifically for nail extensions. Apply a very thin, even layer to your natural nail where the form will make contact. Avoid getting adhesive on your skin – it can cause irritation. Follow the manufacturer’s instructions carefully concerning drying time. Some professionals recommend a primer for enhanced adhesion.
- Position the Nail Form: Carefully position the nail form under your natural nail, ensuring a snug fit and no gaps. The form should extend seamlessly from the natural nail, creating a smooth, continuous surface. Align it properly to get the correct length and shape. There might be some adjustment necessary to get this step perfect. Look at the nail from the side to ensure the form is aligned with the natural nail’s growth direction. Remember that proper form fitting is essential for structural integrity and prevents lifting. Pinch the form to create the desired C-curve.
- Sculpt the Extension: Now comes the fun part! Apply your chosen sculpting material (acrylic, gel, or polygel) onto the nail form, evenly spreading it out. Start with a thin layer to create a base, then build up the thickness gradually. It takes some practice to get it nice and smooth. There are plenty of online tutorials that can help visualize this. Use a quality brush designed for the specific material you are using (acrylic, gel, or polygel).
- Cure (If Using Gel or Polygel): If using gel or polygel, cure the extension under a UV or LED lamp for the time specified by the manufacturer. This hardens the gel/polygel, creating a durable extension. Always check the manufacturer’s guidelines for curing times, as these can vary depending on the product and lamp wattage. Under-curing can lead to soft, weak nails, while over-curing can cause cracking or brittleness.
- Air Dry (If Using Acrylic): If using acrylic, allow the acrylic to air dry completely. This should result in a hard and secure nail extension. The drying time will vary depending on the acrylic product used and the room temperature. Test the acrylic with a file to ensure it is completely hardened before removing the form.
- Remove the Nail Form: Once the gel/polygel is completely cured or the acrylic is dry, carefully peel off the nail form. You might find a gentle rocking motion from the sides helps. Avoid pulling or forcing the form, as this can damage the extension.
- File and Shape: Gently file and shape the extension to your desired length and style using a nail file. Start with a coarser grit file to remove excess material and then switch to a finer grit file to refine the shape and smooth the edges. Remember to use smooth and controlled movements to avoid damaging your nail. Buff smooth for a polished look. Clean away any dust with a nail brush.
Troubleshooting Common Issues
Even experienced nail technicians face challenges. Let’s address some common problems:
- Tearing: Nail forms can tear if they’re low quality or if you’re too rough during application. Invest in durable forms from reputable brands and practice the application until you feel comfortable. Reinforce thin forms with tape for extra durability.
- Inconsistent Adhesion: This often happens if you don’t prep the nails properly or if the adhesive isn’t applied correctly. Make sure your nails are clean, dry, and completely free of oils. Use a nail dehydrator and primer to improve adhesion. Ensure the form fits snugly against the natural nail without gaps.
- Lifting: Lifting indicates that there might be air bubbles trapped under the form or that the form wasn’t applied correctly. Ensure a proper seal to prevent this issue. Use a small brush to apply a thin layer of acrylic/gel/polygel along the seam where the form meets the natural nail to seal it.
- Uneven Surface: An uneven surface is often the result of uneven application of the sculpting material. Take your time and ensure a smooth, even layer. Practice applying the sculpting material to a non-porous surface to practice your skill. Use a self-leveling gel or acrylic to help create a smooth surface.
- Form Doesn’t Stay in Place: Use tape to secure the form to the finger.
Maintaining Your Nail Extensions: Keeping Your Mani Perfect
To keep your gorgeous

- Stainless Steel Food Storage for Healthier, Eco-Friendly Meal Prep - February 27, 2026
- Stainless Food Containers Offer Durable Storage for Everyday Meals - February 26, 2026
- Stainless Steel Containers Offer Superior Food Preservation and Durability - February 25, 2026