For the bigger picture and full context, make sure you read our main guide on Meal Prep Spreadsheet Helps Organize Meals, Save Money, Eat Healthier.
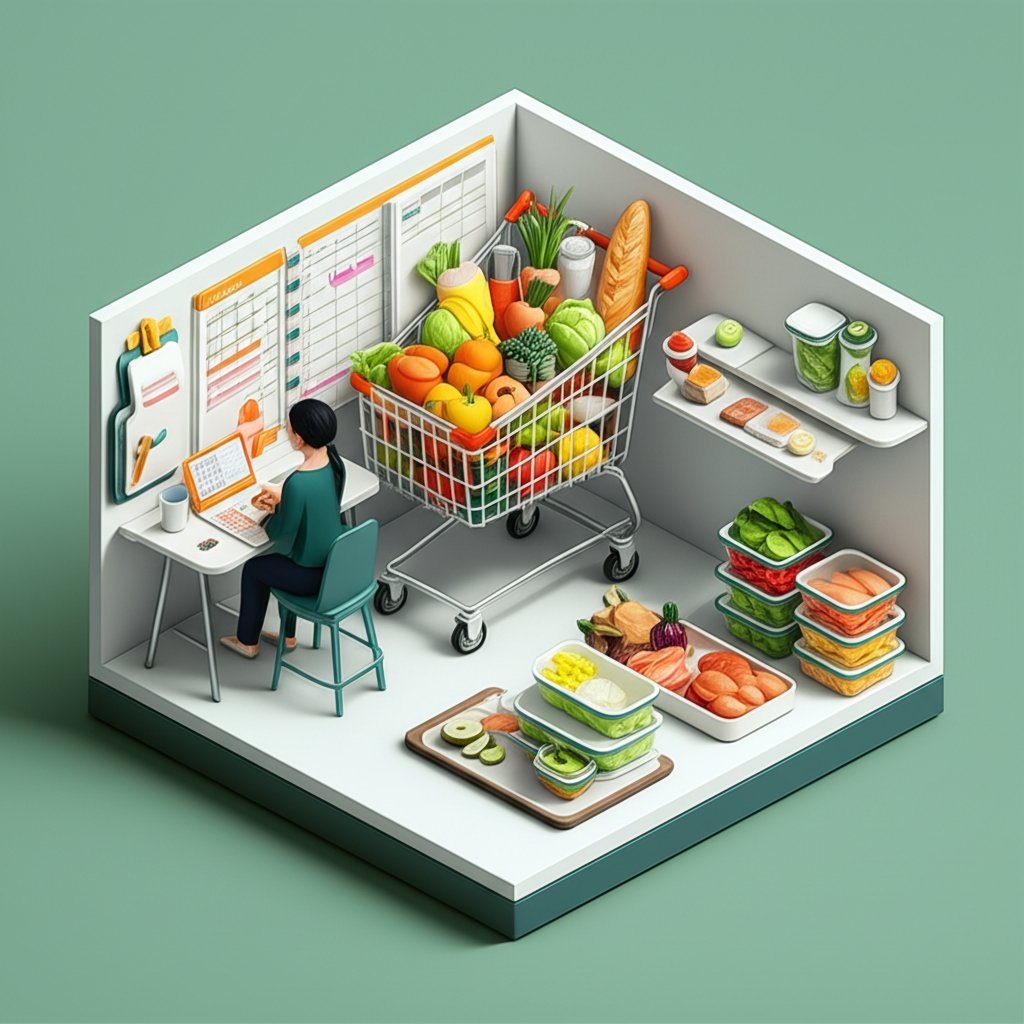
That Sunday evening dread is all too familiar. You’re staring into the fridge, wondering how you’ll pull together five nights of dinners, pack lunches, and somehow avoid another week of expensive takeout. A dedicated meal planner XLS isn’t just another to-do list; it’s a dynamic system that transforms this weekly chaos into a calm, automated process, giving you back hours of your time and hundreds of dollars in your budget.
This isn’t about a static, printable calendar. It’s about a smart spreadsheet that learns your family’s favorite meals, builds your grocery list for you, and helps you stop buying cilantro every week when you already have three bunches wilted in the crisper.
At a Glance: What You’ll Learn
- Why a Spreadsheet Beats Apps: Understand the unique advantages of an XLS planner, from total customization to zero subscription fees.
- The Core Components: Discover the four key worksheets that make a meal planning template truly powerful and automated.
- Your 5-Step Setup Plan: A clear, step-by-step guide to get your own planner up and running this week.
- Automate Your Grocery List: Learn how a well-built planner uses your weekly menu to generate a perfectly categorized shopping list with a single click.
- Pro-Tips for Success: Actionable advice to avoid common pitfalls and make meal planning a sustainable habit.
Beyond a Basic List: How an XLS Planner Transforms Your Workflow
Anyone can jot down “spaghetti” on a notepad. The real work—and the part that drains your time and energy—is translating that one word into a complete, pantry-aware shopping list. This is where a meal planner built in Excel or Google Sheets truly shines.
It’s a system, not just a schedule. Unlike a static list, a spreadsheet planner is interconnected. Its power comes from a few dedicated worksheets that talk to each other: a recipe database, a weekly calendar, and an automated shopping list. Think of it less like a sticky note on the fridge and more like a personal kitchen assistant who already knows your go-to recipes and what you need to buy for them.
This interconnectedness is what makes automation possible. When you select “Chicken Fajitas” for Wednesday, the spreadsheet doesn’t just display the word. It references your recipe database, identifies all the necessary ingredients (chicken, bell peppers, onions, tortillas), and adds them to a master shopping list. This is often accomplished with a simple VBA macro or a set of clever formulas—a bit of behind-the-scenes magic you don’t need to understand to benefit from.
The best part? You get unmatched customization. Most meal-planning apps lock you into their format, their recipe library, and their shopping categories. With an XLS file, you are in complete control. You can create your own meal categories (“<30 Mins,” “Kid-Friendly,” “Low-Carb”), organize your grocery list to match the aisle layout of your favorite store, and add personal notes to any recipe.
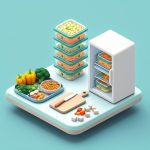
Under the Hood: The 4 Key Sheets of a Smart Meal Planner
A truly effective meal planner XLS is more than a simple grid. It’s a small but mighty application built on a few core worksheets that work in harmony. Understanding these components helps you choose a great template or even build a simple one yourself.
1. The Recipe Database (The Brain)
This is the heart of your system. It typically consists of two related sheets:
Meal_Items: A simple list of all your recipes. This is what you’ll see in the dropdown menu on your weekly plan.Recipe_Ingredients: A detailed list where each row links an ingredient, its quantity (e.g., 1 cup), and its unit (e.g., flour) to a specific recipe from theMeal_Itemssheet.
You only have to enter a recipe and its ingredients once. From that point on, planning is as simple as picking it from a list. Start by adding just 10-15 of your family’s go-to meals to build a solid foundation.
2. The Weekly Calendar (The Dashboard)
This is the sheet you’ll interact with most, often named WeekPlan. It looks like a standard calendar, with cells for breakfast, lunch, and dinner for each day of the week. Each cell contains a dropdown menu populated directly from your Meal_Items sheet.
Case Snippet: The Miller family used to spend 45 minutes every Sunday debating meals. After setting up their planner, their weekly meeting is now a 10-minute session where the kids help pick meals from the pre-populated dropdowns. This simple change eliminated a major source of weekend friction.
For a complete framework on integrating this calendar into a larger money-saving strategy, see Our meal prep spreadsheet guide.
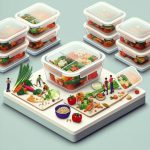
3. The Automated Shopping List (The Magic)
Here’s where the real time-saving happens. After you’ve filled out your WeekPlan, a button (often labeled “Generate List”) runs a script. This script scans your chosen meals for the week, looks up all the required ingredients in your Recipe_Ingredients sheet, and aggregates them into a consolidated list.
A well-designed template will present this list in a Pivot Table, automatically grouping items by category (Produce, Meat, Dairy, Pantry Staples). This means no more backtracking in the grocery store for the one thing you forgot.
4. The Pantry Inventory (The Pro-Level Feature)
More advanced templates include an inventory tracking sheet. Here, you maintain a list of staples you already have on hand. The shopping list script gets even smarter: it first checks your inventory before adding an item to your list.
For example, if your meal plan for the week requires three onions but your inventory sheet says you have two, the final shopping list will only tell you to buy one. This feature is the ultimate defense against food waste and redundant purchases.
Your Quick-Start Guide: From Blank Slate to Flawless Plan in 5 Steps
Ready to get started? Don’t let the technical details intimidate you. Using a pre-built meal planner XLS is straightforward and incredibly rewarding.
- Find a Solid Template: Search for “meal planner excel template with automated shopping list.” Many excellent free versions are available online from reputable sources. Choose one that includes the core sheets mentioned above.
- Populate Your Recipe Core: This is your biggest upfront investment, but it pays dividends forever. Open the
Meal_ItemsandRecipe_Ingredientssheets and enter 10 of your favorite, most-cooked meals. Be precise with quantities. - Map Out Your First Week: Navigate to the
WeekPlansheet. Using the dropdown menus, select meals for each day. Remember, this is a plan, not a prison. It’s okay to swap days later. - Generate and Refine Your List: Click the “Generate Shopping List” button. Review the output. Does it look right? Do a quick mental check of your pantry and cross off anything you already have in abundance.
- Cook, Learn, and Iterate: Go through your first week. Did a recipe take longer than you thought? Make a note in your recipe database. Did the family love the new chicken dish? Add it to the rotation. Each week, try to add one new recipe to your database to keep things from getting stale.
Pro Tips to Maximize Your Meal Planner’s Power
Once you have the basics down, a few simple habits can make your spreadsheet an even more effective tool.
- Theme Your Nights: To combat decision fatigue, assign themes to certain days. For example: Meatless Monday, Taco Tuesday, Pasta Wednesday, Soup & Sandwich Thursday. This narrows your choices and makes filling the calendar faster.
- Build a “Backup Meal” Library: Life happens. For nights when you’re exhausted or running late, have a section in your recipe database for “Emergency Meals.” These are 15-minute recipes using pantry staples, like pasta with jarred sauce, fancy grilled cheese, or breakfast-for-dinner.
- Don’t Just Plan Dinners: Add simple, repeatable items for other meals to get a more accurate shopping list. You can add “Oatmeal,” “Yogurt & Granola,” or “Leftovers” as meal items to ensure you buy enough for the whole week.
- Color-Code Your Calendar: Use Excel’s conditional formatting to add another layer of visual information. You could color-code meals by prep time (green for <20 mins, yellow for 20-40 mins, red for >40 mins) or by primary protein (red for beef, yellow for chicken, blue for fish).
Quick Answers to Common Questions
Is a meal planner XLS better than a dedicated app?
It depends on your needs. An XLS planner offers ultimate control, works offline, has no subscription fees, and is infinitely customizable. Apps often have a slicker user interface and social/community features, but they can be rigid, expensive, and may require an internet connection. If you value control and cost-effectiveness, Excel is the clear winner.
Do I need to know VBA or macros to use a meal planner spreadsheet?
Not at all. To use a pre-built template, you only need basic data entry skills—typing in your recipes and selecting from dropdowns. The complex formulas and macros work in the background. You only need advanced skills if you want to build or heavily modify the automation yourself.
How long does it take to set up a meal planner?
The initial setup is the most time-intensive part. Expect to spend 1-2 hours entering your first 10-15 core recipes. After that initial investment, planning your entire week and generating a shopping list can take as little as 15 minutes.
Your Next Step: From Overwhelmed to Organized
Switching to a systematic meal planner is about more than just knowing what’s for dinner. It’s about reclaiming your time, taking control of your food budget, and reducing the mental load that comes with feeding yourself and your family. The spreadsheet is the tool that makes this systematic approach not just possible, but easy.
Don’t aim for a perfect, 100-recipe system overnight. Start small this weekend.
Open a new spreadsheet and create two simple tabs: Recipes and Groceries. On the Recipes tab, list five of your favorite family dinners. On the Groceries tab, list the ingredients needed for each. That’s it. You’ve just built the prototype and taken the single most important step toward a more organized, less stressful weekly routine.

- Master Vegan Freezer Meal Prep to Simplify Your Busy Schedule - June 18, 2026
- Vegan Freezer Cooking Simplifies Healthy Meals on Busy Nights - June 17, 2026
- Vegetarian Freezer Recipes for Effortless Meal Prep and Delicious Dinners - June 16, 2026