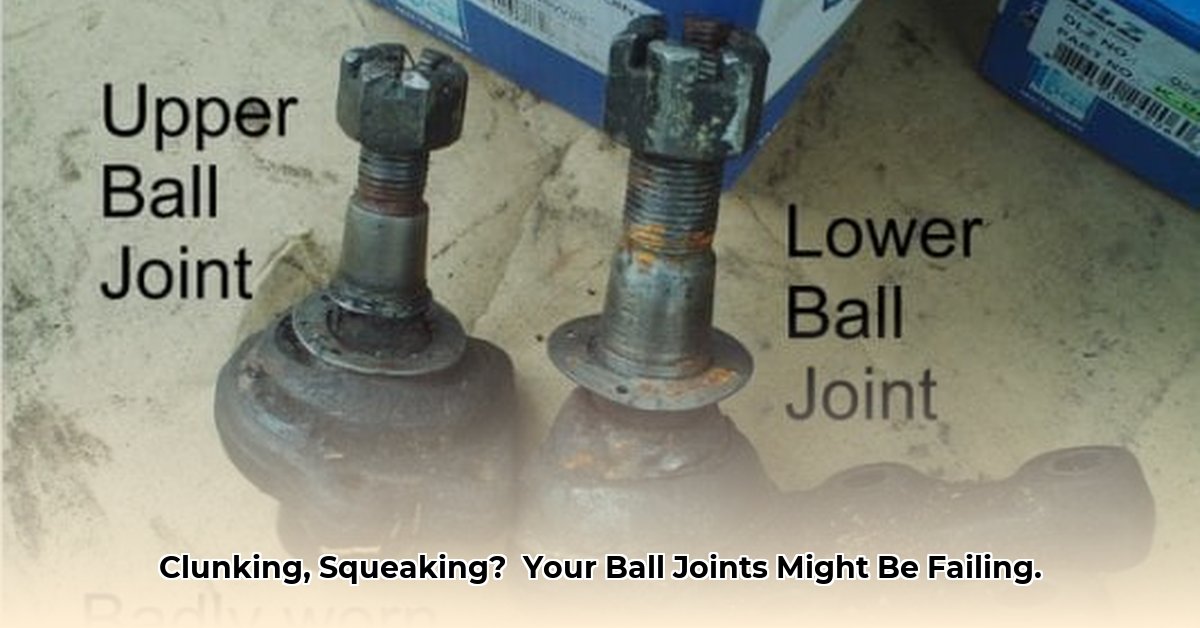
Recognize the Warning Signs: Learn the key symptoms of bad ball joints to prevent costly repairs and ensure your safety. Ball joints are critical components of your car’s suspension, acting like hinges to allow your wheels to move and turn smoothly. Worn ball joints compromise steering and handling, potentially leading to a loss of control. This guide will help you identify bad ball joint symptoms and perform a basic check yourself.
7 Warning Signs of Worn Ball Joints
1. Clunking or Popping Sounds
A rhythmic clunking or popping, especially when driving over bumps or turning, often suggests excessive play in the ball joint. The worn joint moves more than it should, creating a knocking sound as it shifts within its socket.
2. Wandering Steering
Does your car drift or pull to one side, even when you’re trying to drive straight? This “wandering” steering can be caused by worn ball joints affecting wheel alignment and stability.
3. Vibrating Steering Wheel
A shaking steering wheel, especially at higher speeds, is another common symptom. The vibration is caused by the loose ball joint transferring movement to the steering system.
4. Uneven Tire Wear
Inspect your front tires. Uneven wear, particularly on the inside or outside edges (cupping or feathering), can indicate a problem with wheel alignment often caused by worn ball joints.
5. Stiff or Loose Steering
Changes in steering feel, such as stiffness or excessive looseness, can also point to ball joint issues. Worn joints can bind, making turning difficult, or create excessive play, leading to a vague steering response.
6. Visible Damage to Ball Joint Boots
Inspect the rubber boots that protect the ball joints. Tears, cracks, grease leaks, or a sunken wear indicator pin suggest the joint is compromised and exposed to contaminants, accelerating wear.
7. Changes in Ride Height
In some cases, a bad ball joint can cause a noticeable change in ride height, with one corner of the vehicle sitting lower than the others. This might be subtle and progressive, so it’s beneficial to compare your vehicle’s stance to how it typically sits.
How to Check Your Ball Joints: A Step-by-Step Guide
A DIY check can provide initial insights, but a mechanic should always perform the final diagnosis. Safety First: Park on a level surface, engage the parking brake, and use wheel chocks. Never work under a car supported only by a jack. Always use jack stands.
-
Lift and Secure: Jack up the front end and securely place jack stands on both sides. Double-check stability.
-
The 6 and 12 Test: Grasp the tire at the top and bottom (12 and 6 o’clock positions) and firmly push and pull. Any noticeable play or clunking suggests a worn lower ball joint.
-
The 3 and 9 Test: Grasp the tire at the sides (3 and 9 o’clock positions) and rock it. Play here often suggests an issue with the tie rod end, which can be related to worn ball joints.
-
The Pry Bar Test (Advanced): With the wheel slightly off the ground, carefully place a pry bar between the lower control arm and steering knuckle. Gently pry to check for any movement in the ball joint. Excessive movement indicates wear. Caution: This test requires experience. Incorrect execution can cause damage.
What to Do Next
If you suspect any bad ball joint symptoms, consult a qualified mechanic immediately. Driving with faulty ball joints is extremely dangerous and can lead to loss of control.
Preventing Ball Joint Problems
Regular maintenance can extend ball joint life. Keep your suspension lubricated as recommended in your owner’s manual. Avoid driving aggressively over rough terrain, and check your tires regularly for uneven wear.
Conclusion
Recognizing bad ball joint symptoms is crucial for maintaining vehicle safety and preventing costly repairs. Using this guide, you can perform a preliminary check, but always consult a mechanic for a definitive diagnosis.
Disclaimer: This information is for educational purposes only and should not be considered professional automotive advice. Always consult a certified mechanic for any diagnosis or repair.
- Adult Bento Box Ideas for Delicious and Easy Lunches - December 23, 2025
- Healthy Bento Lunch Ideas for Adults to Enjoy Lunch Again - December 22, 2025
- Glass Lunch Box Containers Offer Healthy, Leak-Proof Meal Prep - December 21, 2025


