The Sunday evening scramble is a familiar scene for many: a kitchen counter covered in mismatched plastic tubs, lids that don’t quite fit, and a vague sense of dread about playing “fridge Tetris.” This is where a simple shift in equipment can make all the difference. High-quality rectangular glass food storage containers are more than just vessels; they are the foundation of an efficient, organized, and healthier meal prep system that saves you time and stress all week long.
Their uniform shape isn’t just about aesthetics—it’s about pure, unadulterated spatial efficiency in your refrigerator, freezer, and lunch bag.
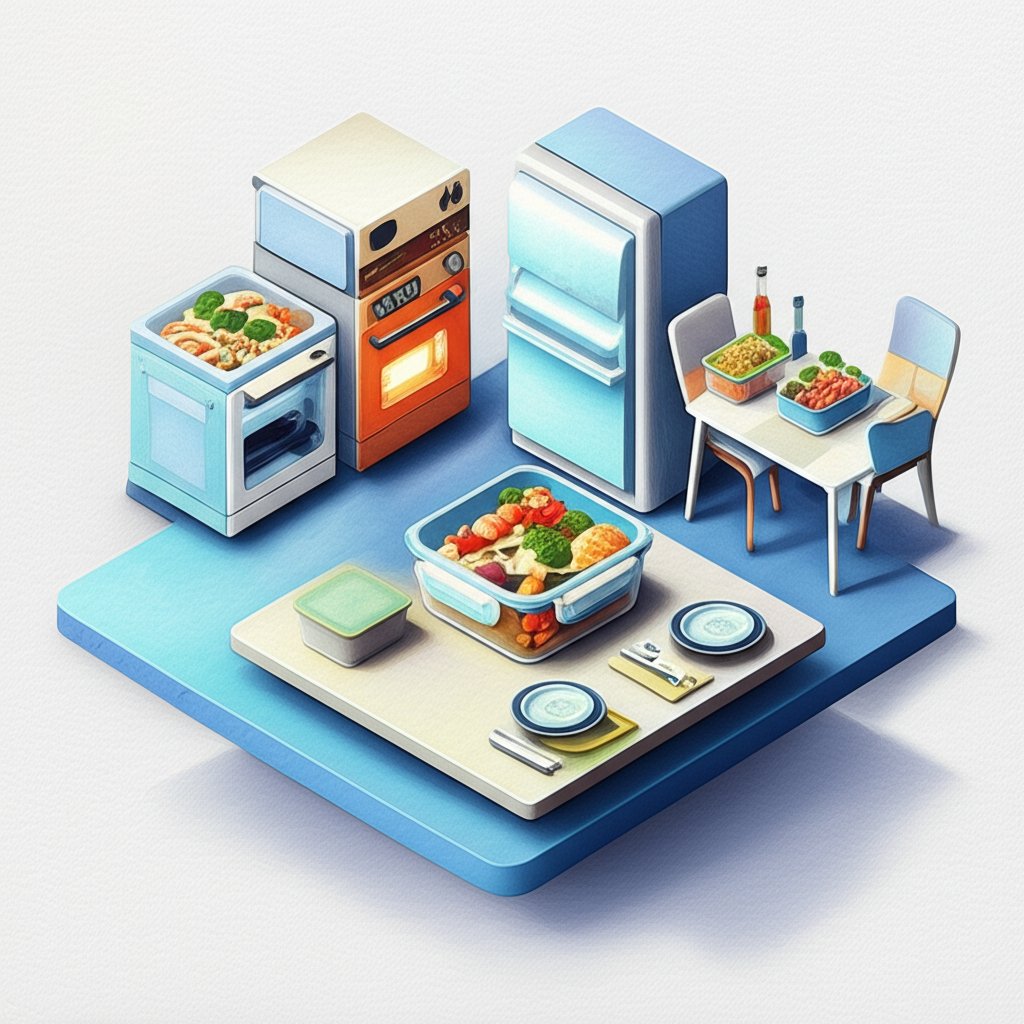
At a Glance: Your Takeaways
- Why Rectangles Rule: Understand how the straight-sided geometry of rectangular containers eliminates wasted space, allowing for stable stacking and a dramatically more organized fridge.
- The Borosilicate Difference: Learn why choosing borosilicate glass is non-negotiable for anyone who wants to go from freezer to microwave or oven without fear of shattering.
- Anatomy of a Perfect Lid: Discover why four-sided locking tabs with a removable silicone gasket are the gold standard for a truly leak-proof, airtight seal.
- Building Your Starter Kit: Get a practical, no-nonsense guide to the exact sizes and quantities you need to start meal prepping effectively, without buying a massive, unnecessary set.
- Care and Maintenance: Master the simple habits that will keep your glass pristine and your lids from warping, ensuring your investment lasts for years.
The Unsung Hero of Your Fridge: Maximizing Space with Rectangles
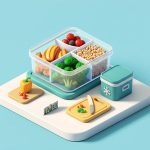
The biggest, most immediate advantage of switching to rectangular containers is the sheer efficiency of space. Unlike round or oval containers that create awkward, unusable gaps between them, rectangular shapes fit together flush. This means no more wobbly towers or hidden items lost in the back of a shelf.
Think of it like loading a moving truck. You use boxes, not barrels, because they pack tightly and create a stable, organized structure. The same principle applies to your refrigerator. When your meal prep containers stack neatly, you can see everything at a glance, reducing food waste and making it easy to grab exactly what you need. This efficiency extends beyond the fridge to your pantry, cabinets, and especially your lunch bag, where a rectangular container often fits perfectly alongside a drink and a piece of fruit.
From Oven to Table to Freezer: The Superior Versatility of Glass

Beyond its space-saving shape, the material itself is a game-changer. While plastic is notorious for staining (hello, tomato sauce), warping in the dishwasher, and absorbing odors, glass is non-porous and inert. It provides a clean, clear view of your food and won’t impart any unwanted flavors.
The real star of the show, however, is borosilicate glass. This type of glass is engineered with boron trioxide, which gives it a very low coefficient of thermal expansion. In simple terms, it can handle rapid and extreme temperature changes without cracking or shattering—a phenomenon known as thermal shock. This durability is a key feature of high-quality glass. To understand the science behind why this material is so resilient, you can Explore borosilicate glass storage for a deeper dive. This means you can confidently take a container from the freezer, let it sit on the counter for a few minutes, and then place it in the microwave or a preheated oven to warm your meal.
This “cook, store, reheat” workflow in a single vessel simplifies your entire process, meaning fewer dishes to wash and a more streamlined kitchen.
Decoding the Details: What to Look for on the Label
Not all rectangular glass food storage containers are created equal. When you’re ready to invest, focusing on a few key features will ensure you get a product that performs flawlessly and lasts for years.
Borosilicate Glass vs. Soda-Lime Glass
This is the single most important distinction.
- Borosilicate Glass: The premium choice for meal prep. Its resistance to thermal shock makes it safe for moving between extreme temperatures. It’s what laboratory beakers (like Pyrex, originally) are made of for a reason.
- Soda-Lime Glass: This is standard, everyday glass used for drinking glasses or food jars. It’s perfectly fine for storing food at stable temperatures but is far more likely to shatter if it experiences a sudden temperature shift, like going from the fridge to a hot oven.
Most reputable meal prep brands will explicitly state “borosilicate glass” on their packaging or online description. If it doesn’t say, it’s safest to assume it’s soda-lime and treat it with more caution.
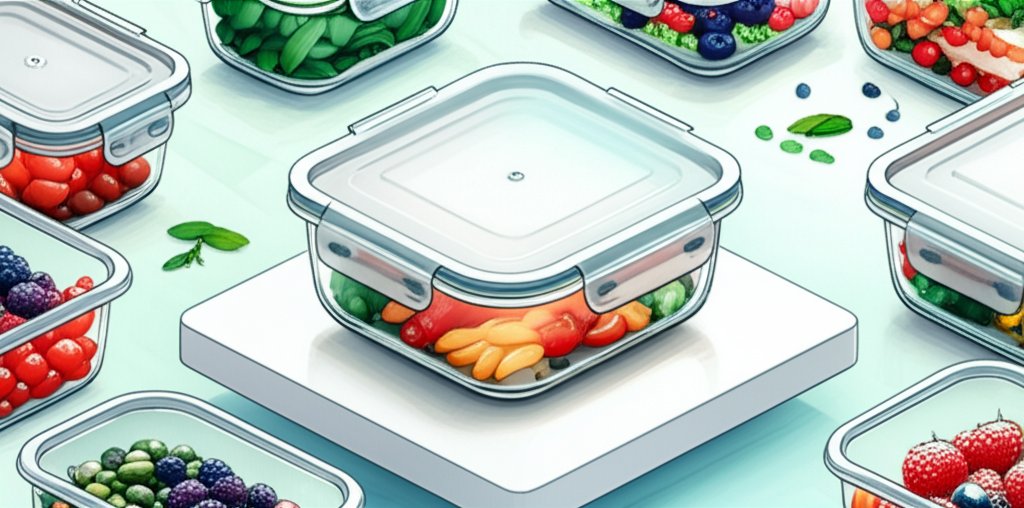
The Lid Lockdown: Finding a Truly Airtight Seal
A container is only as good as its lid. A poor seal leads to leaks in your lunch bag and allows air to get in, accelerating spoilage. The most effective design is a lid with four-sided locking tabs and a silicone gasket.
The tabs snap down securely on all four sides, creating even pressure. The flexible silicone gasket, which sits in a groove on the underside of the lid, forms a compressive, watertight, and airtight seal. This combination is what makes a container truly leak-proof. Also, look for lids with a small pop-up vent; this allows you to microwave food with the lid on (loosely) to prevent splatters while letting steam escape.
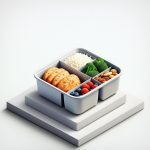
Smart Features: Dividers, Nesting, and Stackability
Once you’ve confirmed the glass and lid quality, consider these functional extras:
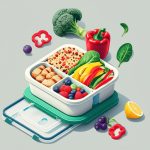
- Divided Containers: These are fantastic for keeping meal components separate. Think grilled chicken and roasted broccoli in one section, and a quinoa salad in another, preventing everything from becoming a soggy mix.
- Nesting vs. Stacking:
- Stackability refers to how well containers sit on top of each other when full. Good design includes a slightly indented lid that the base of another container can sit in securely.
- Nesting refers to how they store when empty. The best sets are designed so that the glass bases can nest inside one another to save cabinet space.
A Practical Playbook for Meal Prepping with Glass
Getting started doesn’t require a 20-piece set. A strategic, minimalist approach is more effective and budget-friendly.
Building Your Starter Kit: The Essential Sizes and Quantities
Focus on the sizes you’ll actually use for single-serving meals. For a single person prepping five work lunches, this is a great starting point:
| Size Category | Capacity | Primary Use | Recommended Quantity |
|---|---|---|---|
| Medium | 3-4 Cups (24-32 oz) | The Workhorse: Lunch portions, grain bowls, pasta, leftovers. | 5-6 |
| Small | 1-1.5 Cups (8-12 oz) | Snacks & Sides: Yogurt, nuts, overnight oats, sauces. | 4-5 |
| Large | 6-8 Cups (48-64 oz) | Batch Prep: Marinating meat, storing soups, family-style sides. | 2-3 |
| Case Snippet: Alex meal preps five lunches every Sunday. He invests in five 3.5-cup rectangular containers for his main courses (e.g., chili, chicken stir-fry). He also buys a set of four 1.5-cup containers for his morning Greek yogurt and for packing salad dressing separately. This small, targeted kit covers 90% of his needs. |
The Meal Prep Workflow: A Step-by-Step Guide
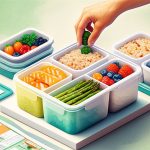
- Prep & Cool: After cooking, let hot food cool on the stovetop or counter for 15-20 minutes. Sealing steaming-hot food traps condensation, which can make food soggy and create a breeding ground for bacteria.
- Portion & Pack: Distribute your meals into the containers. If freezing, remember to leave about a half-inch of headspace at the top to allow for liquid expansion.
- Store Smart: Apply the lids, ensuring the seal is secure, and stack them neatly in the fridge or freezer. For extra organization, you can use a dry-erase marker on the glass or lid to label the meal and date.
- Reheat Right: For microwaving, remove the lid or open the lid’s vent. For oven reheating, always remove the plastic lid. Place the glass base on a baking sheet and heat at a moderate temperature (e.g., 350°F / 175°C) until warm.
- Clean & Maintain: The glass bases are almost always top-rack dishwasher safe. To preserve the life and seal of the lids, it’s best to wash them by hand or place them on the top rack of the dishwasher, away from the heating element.
Sidestepping Common Mistakes with Glass Storage
Glass is incredibly durable, but it’s not indestructible. Avoiding these common errors will ensure your containers last a lifetime.
- The Thermal Shock Risk: The biggest mistake is subjecting the glass to a sudden, extreme temperature change. Never take a hot dish directly from the oven and place it on a cold, wet countertop or run it under cold water. Let it cool gradually.
- The Warped Lid Problem: High heat is the enemy of plastic lids. Never use the lid in a conventional oven, toaster oven, or under a broiler. When using the dishwasher, keep it on the top rack to prevent the heating element from warping the plastic and ruining the seal.
- The Hidden Gunk Frustration: That silicone gasket in the lid is removable. Once a week or so, use the tip of a butter knife to gently pry it out. Wash the gasket and the lid’s groove to prevent mold or mildew from building up. Let it dry completely before reinserting.
- The Overfill Spill: When freezing liquids like soup or stew, remember that water expands when it freezes. If you fill the container to the brim, the expanding liquid can crack the glass or pop the lid off.
Frequently Asked Questions About Rectangular Glass Containers
Q: Are rectangular glass food storage containers truly leak-proof?
A: When new and of high quality, a container with a four-sided locking lid and a well-seated silicone gasket is exceptionally leak-proof. Over time, the gasket can wear out. Always double-check that all four tabs are securely latched before placing a container with liquid in your bag.
Q: Can I put the glass container in the oven with the lid on?
A: Never. The plastic lids are not designed for the dry, high heat of an oven and will melt, warp, and potentially release harmful fumes. The glass base is oven-safe to its specified temperature (check the manufacturer’s guidelines, but it’s typically around 400-500°F or 200-260°C).
Q: Why do my glass containers get cloudy?
A: Cloudiness is usually caused by hard water mineral deposits from your dishwasher. It’s harmless but can be unsightly. To restore clarity, you can soak the container in a 50/50 solution of white vinegar and water for about 30 minutes before washing as usual.
Q: Is it safe to freeze food in these containers?
A: Absolutely. Borosilicate glass is an excellent choice for freezer storage. The key is to leave adequate headspace (about a half-inch) for liquids to expand and to thaw food safely—either in the refrigerator overnight or by using the defrost setting on your microwave—before applying high heat.
Your Next Step to a Perfectly Organized Kitchen
Making the switch to rectangular glass food storage containers is one of the highest-impact upgrades you can make to your meal prep routine. It streamlines your process, keeps food fresher, eliminates the health concerns of plastic, and brings a welcome sense of order to your kitchen.
Ready to get started? Follow this simple decision guide.
- Step 1: Audit Your Needs. How many lunches do you need to prep each week? Do you need containers for snacks and sides? A quick count will prevent you from overbuying.
- Step 2: Choose Your Core Set. Begin with a foundation of 5-6 medium-sized (3-4 cup) containers. This single set will handle the bulk of your lunch prep needs.
- Step 3: Prioritize Borosilicate. Don’t compromise on the glass type. Look for the word “borosilicate” on the packaging to ensure maximum durability and safety.
- Step 4: Inspect the Lids. Opt for the 4-tab locking system with a removable silicone gasket. It’s the most reliable design for an airtight and leak-proof seal.
By investing in the right tools, you’re not just buying containers; you’re buying back your time, reducing your food waste, and making healthy eating an effortless part of your week.

- Meal Prep Ideas for College Students for Easy, Healthy Meals - March 12, 2026
- Easy Cold Meal Prep Ideas for No-Microwave Lunches on the Go - March 11, 2026
- Delicious Meal Prep Cold Meals Ready to Grab and Go - March 10, 2026