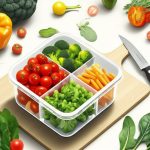
You spent Sunday afternoon carefully crafting a week’s worth of beautiful, healthy lunches. But by Tuesday, your crisp salad greens are wilted from the adjacent chicken, and your quinoa has absorbed all the flavor of your roasted broccoli. This is the moment most meal prep efforts fail—not from lack of planning, but from poor storage. The solution is remarkably simple: using the right divided meal storage containers transforms your efforts from a soggy mess into a series of perfect, portion-controlled meals.
It’s not just about tidiness; it’s about reclaiming your time. The average person spends over an hour a day preparing food, which adds up to nearly 365 hours a year. The right container system is your primary tool for winning back that time.
At a Glance: Your Quick Guide
- Master Portion Control: Learn how divided sections naturally guide you to balanced meals.
- Choose the Right Material: Understand the key differences between high-quality glass and modern BPA-free plastics.
- Identify Must-Have Features: Discover why leak-proof seals and stackable designs are non-negotiable.
- Implement Smart Prep Strategies: Get actionable tips for pairing foods and maximizing your cooking sessions.
- Avoid Common Pitfalls: Sidestep the mistakes that ruin containers and waste food.
- Extend Container Lifespan: Learn simple care techniques to protect your investment.
Why Compartments Are a Game-Changer
A container is just a box until you add dividers. Those simple walls create a system that fundamentally changes how you plan, pack, and eat your meals. They solve the most common meal prep complaints with elegant efficiency.
Single-compartment containers are great for soups or stews, but they fail the moment you introduce multiple textures and flavors. Divided containers, on the other hand, bring order to the chaos. This is the core principle behind why they are meal prep’s secret weapon. To see how this fits into a broader, more effective meal prep strategy, you can discover meal prep’s secret weapon and build a complete system.
Here’s exactly how those dividers work for you:
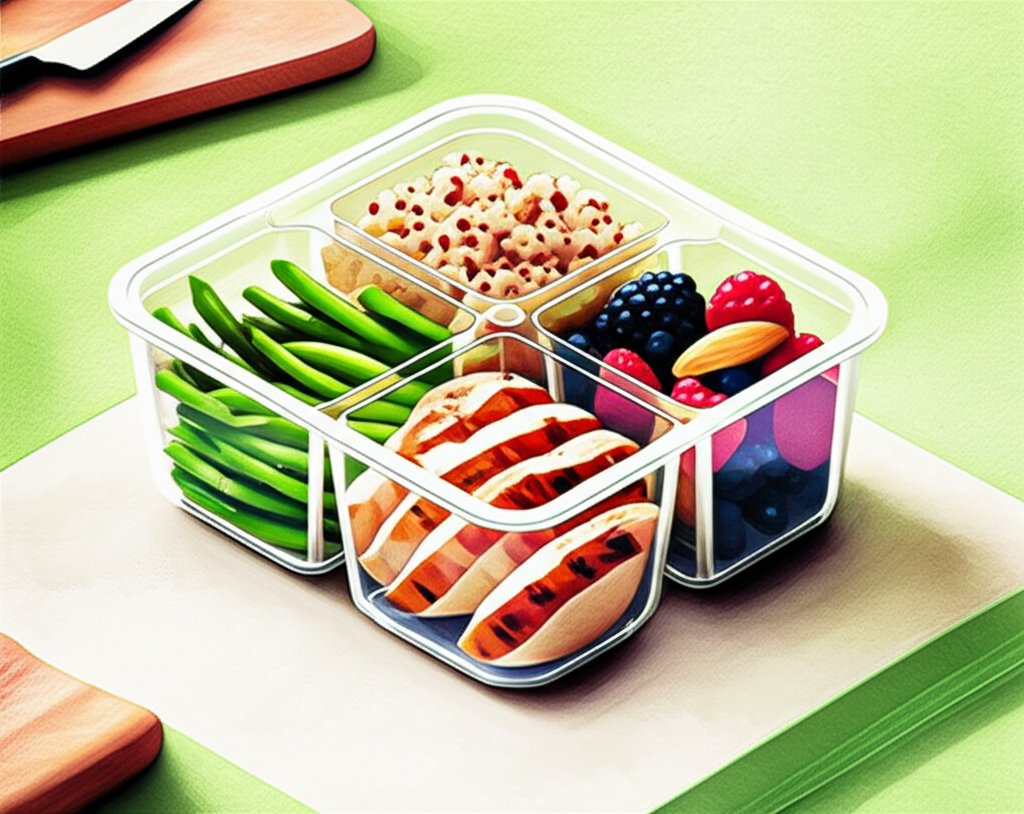
- Precision Portion Control: The compartments act as a visual guide. A large section for your protein and veggies, and a smaller one for your carbs, makes building a balanced meal almost automatic. No measuring cups needed on a busy morning.
- Total Food Separation: This is the most obvious benefit. Your grilled chicken won’t make your cucumber salad soggy. Your mango salsa won’t bleed into your black beans. Each component tastes exactly as you intended it to.
- Simplified Meal Planning: Planning becomes a mix-and-match game. You can think in terms of “protein + vegetable + grain.” This structure makes it easier to use up leftovers and build varied meals from a few core batch-cooked ingredients.
- Prevents Flavor Contamination: Strong flavors, like those from onions or certain spices, stay put. This is especially crucial for anyone sensitive to smells or tastes, ensuring every bite is a pleasant one.
The Anatomy of a Perfect Container: A Buyer’s Checklist

Not all divided meal storage containers are created equal. Walking down the aisle, you’ll be met with a dizzying array of options. Focusing on a few key attributes will help you choose a set that lasts for years and makes your life easier, not harder.
H3: Material Matters: Glass vs. Plastic
The first major decision is the material. Each has distinct advantages and is suited for different lifestyles.
| Feature | High-Quality Borosilicate Glass | Modern BPA-Free Plastic (e.g., Tritan) |
|---|---|---|
| Durability | Extremely durable; resists scratches, stains, and odors. | Lighter and less prone to breaking if dropped. |
| Heating | Microwave, oven, and freezer safe. Heats food evenly. | Microwave and freezer safe (check manufacturer limits). |
| Cleaning | Non-porous surface is easy to clean and dishwasher safe. | Can stain with foods like tomato sauce or turmeric. |
| Weight & Portability | Heavier, making it less ideal for long commutes or kids’ bags. | Lightweight and perfect for on-the-go lifestyles. |
| Cost | Higher initial investment. | More budget-friendly. |
| Best For | Home office lunches, reheating full meals, long-term storage. | Commuters, students, packing lunches for family. |
| Expert Tip: If you can, invest in a small set of each. Use glass for meals you’ll be reheating at home or in the office, and use the lightweight plastic containers for cold lunches, snacks, or when you’re traveling. |
H3: Design Features That Define a Great Container
Beyond the material, the design details separate the frustrating containers from the fantastic ones.
- Leak-Proof Seals: This is non-negotiable. Look for lids with a silicone gasket that creates an airtight seal. Test it at home with water before you trust it with your favorite soup. A four-point locking lid system is often the most secure.
- Smart Compartment Sizes: A container with three equally sized compartments isn’t very useful. Look for variety: a large main compartment for proteins or salads, and one or two smaller side compartments for grains, fruits, or sauces.
- Stackable Design: Efficient storage is key. The best containers have lids and bases designed to nest or stack securely, saving precious cabinet and fridge space. Indentations on the lid that match the base of another container are a sign of a well-thought-out design.
- Lightweight but Sturdy Construction: The container should feel solid without being excessively heavy. The walls shouldn’t flex easily when you press them. For glass, this means thick, tempered walls. For plastic, it means a rigid, non-brittle feel.
Your Practical Playbook for Using Divided Containers
Owning the right containers is only half the battle. Using them effectively is what saves you time and stress.
H3: The “Batch and Build” Method
Don’t think about cooking five different meals. Instead, cook components in bulk and assemble them in different combinations.
- Pick Your Proteins: Grill a batch of chicken breasts, bake a tray of salmon, or cook a large pot of lentils.
- Roast Your Veggies: Fill a baking sheet with broccoli, bell peppers, and zucchini. Roast until tender.
- Cook Your Carbs: Make a large batch of quinoa, brown rice, or sweet potatoes.
- Assemble Your Containers: Now, use your divided meal storage containers to build out your meals for the week.
- Monday: Chicken (main compartment), roasted broccoli (side), quinoa (side).
- Tuesday: Salmon (main), roasted peppers (side), sweet potato (side).
- Wednesday: A “deconstructed” burrito bowl with chicken, peppers, quinoa, and a small portion of black beans and salsa.
This method prevents you from getting bored with the same exact meal every day while still benefiting from the efficiency of batch cooking.
H3: A Real-World Scenario: The Busy Professional’s Lunch
Let’s see how this works for a typical 9-to-5er. Their goal is a healthy, non-sad desk lunch that doesn’t require a lot of effort mid-week.
- Container Choice: A 3-compartment glass container.
- Sunday Prep: They grill 4 chicken thighs, roast a head of broccoli, and cook 2 cups of brown rice.
- Assembly:
- Main Compartment: 1 sliced chicken thigh.
- Side Compartment 1: 1/2 cup of roasted broccoli.
- Side Compartment 2: 1/2 cup of brown rice.
- The Finishing Touch: They pack a separate tiny container with a lemon-tahini dressing. This prevents the greens (if they were adding any) from getting soggy. At lunchtime, they can microwave the container (lid off or vented) for 90 seconds, add the dressing, and have a hot, balanced meal.
Keeping Your Containers in Prime Condition
High-quality divided meal storage containers are an investment. With a little care, they can last for years.
- Hand-Wash When Possible: While most are dishwasher-safe, hand-washing is gentler on the silicone seals that keep your lids leak-proof. High heat cycles can degrade them over time.
- Banish Stains with Baking Soda: For stubborn tomato or curry stains on plastic containers, make a paste of baking soda and water. Let it sit for a few hours before scrubbing and washing as usual.
- Avoid Metal Utensils: Don’t cut food directly in your plastic containers, as metal knives can scratch the surface. Scratches can harbor bacteria and odors.
- Store with Lids Ajar: To prevent moisture buildup and musty smells, store your containers with the lids resting on top rather than sealed shut.
Common (and Costly) Mistakes to Avoid

A few common missteps can shorten the lifespan of your containers or even ruin a perfectly good meal.
- Microwaving with the Lid Sealed: This is a recipe for disaster. Pressure builds up, which can cause the lid to warp or the container to crack. Always vent the lid or remove it entirely before heating.
- Storing Highly Acidic Foods Long-Term: Be cautious with tomato sauces, citrus-based dressings, or vinegar-heavy foods in plastic containers. Over several days, the acid can cause pitting and staining. Glass is a much better choice for these ingredients.
- Letting Dirty Containers Sit: The longer food sits, the more likely it is to stain and leave behind odors. Rinse your containers as soon as you’re done with them, even if you can’t wash them fully until you get home.
- Ignoring the Seal: Periodically check the silicone gasket on your lids. If it looks stretched, cracked, or compressed, the lid is no longer leak-proof. It’s time to replace it.
Quick Answers to Common Questions
Q: Are glass or plastic divided containers better?
A: It depends on your needs. Glass is superior for reheating, stain resistance, and longevity. Plastic is better for portability, budget, and situations where breakage is a concern (like packing for kids). Many serious meal preppers own a mix of both.
Q: How many compartments do I really need?
A: Two or three compartments are the most versatile. Two-compartment containers are great for a simple “main and side” meal, like salmon and asparagus. Three-compartment containers are ideal for “protein, carb, and veggie” formulas, like a deconstructed grain bowl.
Q: Can I freeze meals in divided meal storage containers?
A: Yes, most high-quality glass and plastic containers are freezer-safe. Just be sure to leave a little headspace (about an inch) for the food to expand as it freezes. Avoid thermal shock by letting glass containers thaw in the fridge before placing them in a hot oven or microwave.
Q: My plastic containers still smell like last week’s curry. What can I do?
A: After cleaning, try leaving the open container and its lid out in direct sunlight for a few hours. The UV rays are excellent at neutralizing stubborn odors. The baking soda paste trick also works wonders for this.
Your First Step to Effortless Meal Prep
Getting started doesn’t require a complete kitchen overhaul. The simplest way to begin is by focusing on one meal. Lunch is often the easiest win.
Start by purchasing a single set of three-to-five identical, stackable, three-compartment containers. Use them to prep just your lunches for the upcoming week. This small, focused effort will immediately highlight the benefits of portion control, food separation, and the grab-and-go convenience that makes meal prep truly sustainable. Once you’ve mastered lunch, you can expand your system to breakfasts or dinners.

- Healthy Recipes for Busy Professionals Offer Smart Meal Prep Solutions - April 2, 2026
- Healthy Meal Prep Ideas for Busy Schedules to Simplify Your Week - April 1, 2026
- Healthy Meal Prep Ideas for Busy Professionals Conquer Your Week - March 31, 2026