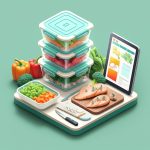
That sad, soggy lunch is a meal prep tragedy. You spent Sunday carefully cooking, only to have your crispy roasted vegetables turn limp and your quinoa absorb all the sauce from your chicken by Tuesday. It’s a common frustration that derails the best intentions. The fix is surprisingly simple: divided meal prep containers. By creating a barrier between your meal components, they preserve the texture, flavor, and visual appeal of your food, ensuring the lunch you pack is the one you actually want to eat.
At a Glance: Your Takeaways
- Learn how to match the number of compartments to your specific meal types, from simple mains-and-sides to complex bento boxes.
- Get a clear comparison of glass, plastic, and stainless steel dividers to choose the right material for your lifestyle and budget.
- Discover the key features—like lid seals and divider height—that separate a mediocre container from a truly leak-proof one.
- Master the “Component Packing” method to keep wet and dry ingredients perfectly separate until you’re ready to eat.
- Find quick answers to common questions about oven safety, stain prevention, and whether dividers are actually effective.
Beyond Just Storage: How Dividers Preserve Texture and Taste
A standard, single-compartment container is a mixing bowl. A divided container is a personal, portable buffet. The difference is fundamental to successful meal prepping. The physical walls between sections do more than just organize; they solve the three biggest problems that plague pre-made meals: moisture migration, flavor bleed, and portion distortion.
Moisture Migration: This is the scientific term for why your food gets soggy. When a wet ingredient (like a sauce or juicy tomato) sits next to a dry one (like rice or breaded chicken), water molecules naturally move from the wet area to the dry one. Dividers act as a dam, stopping this process cold. Your croutons stay crunchy, your chicken skin stays crisp, and your grain bowls don’t turn into mush.
Flavor Integrity: Some flavors are bullies. A zesty vinaigrette can easily overpower the delicate taste of grilled salmon, and the potent spices in a curry will seep into everything they touch. Compartments quarantine these strong flavors, ensuring each component of your meal tastes exactly as you intended. This level of control is a core principle to Unlock meal prep’s secret weapon.
Built-in Portion Control: Dividers provide a powerful visual cue for portioning. A standard three-compartment container naturally encourages a balanced plate: one larger section for your protein or main, and two smaller ones for your carbohydrate and vegetable. This structure removes the guesswork from building a nutritionally balanced meal, making it easier to stick to health goals without meticulously weighing every ingredient.
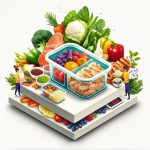
Glass vs. Plastic vs. Steel: Matching the Material to Your Meal Prep Routine
The material of your divided meal prep containers is one of the most important decisions you’ll make. Each has distinct advantages and disadvantages that align with different needs, from reheating leftovers at the office to packing a durable lunch for a field trip.
| Feature | Glass | BPA-Free Plastic | Stainless Steel |
|---|---|---|---|
| Best For | Reheating full meals, oven-to-table cooking, avoiding stains. | Cold lunches, salads, on-the-go snacks, kids’ meals. | Bento-style lunches, sandwiches, non-reheated foods. |
| Pros | Non-porous (no stains/odors), oven & microwave safe (base only), easy to clean, long-lasting. | Lightweight, affordable, highly durable, stackable, often freezer-safe. | Unbreakable, non-toxic, lightweight, retains cold temps well. |
| Cons | Heavy, breakable, can be expensive, lids are not oven-safe. | Can stain/retain odors, may warp over time, risk of scratching. | Not microwaveable, can be expensive, potential for dents. |
| Reheat Method | Oven, Microwave | Microwave (check label) | None |
A Quick Scenario:
- The Office Professional: You prep chicken, roasted broccoli, and sweet potatoes. You need to reheat your lunch in the office microwave. Glass is your best choice. It heats evenly without leaching chemicals and won’t get stained by the sweet potatoes.
- The Busy Parent: You’re packing a lunch for your child with a sandwich, apple slices, and some pretzels. It needs to survive a backpack. Plastic or Stainless Steel are ideal for their durability and light weight.
- The Salad Enthusiast: You love big, deconstructed salads but hate wilting. Plastic is perfect. It’s light enough to carry and you can find models with specific compartments for greens, toppings, and a separate dressing cup.
Not All Dividers Are Created Equal: Key Features to Look For
Once you’ve settled on a material, it’s time to examine the container’s design. The small details of its construction make a huge difference in daily use.
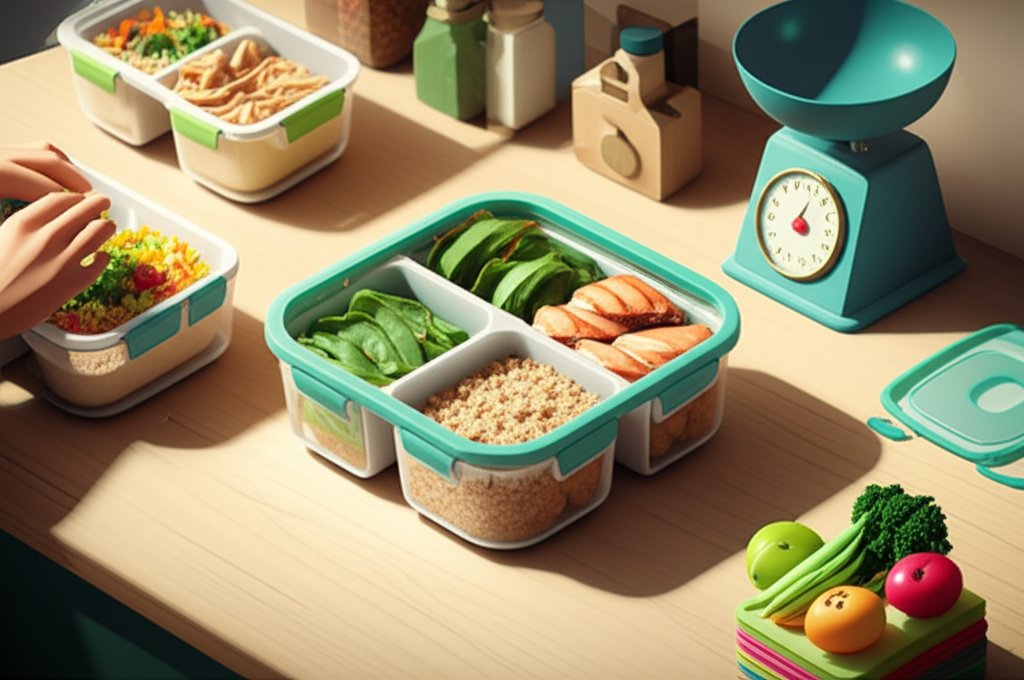
Compartment Count and Layout: The 2 vs. 3+ Debate
The layout of your container should mirror the meals you make most often.
- Two-Compartment: This is the workhorse for simple “main and side” meals. It’s perfect for chili with a side of cornbread, salmon with asparagus, or a stir-fry with a side of rice. The larger divider keeps the primary components from mixing.
- Three-Compartment: This is the quintessential meal prep layout, ideal for balanced “macro” meals. It encourages a clear separation of protein, carbohydrates, and vegetables. Think grilled chicken, quinoa, and steamed green beans.
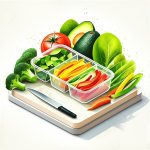
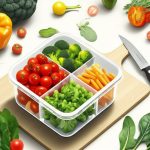
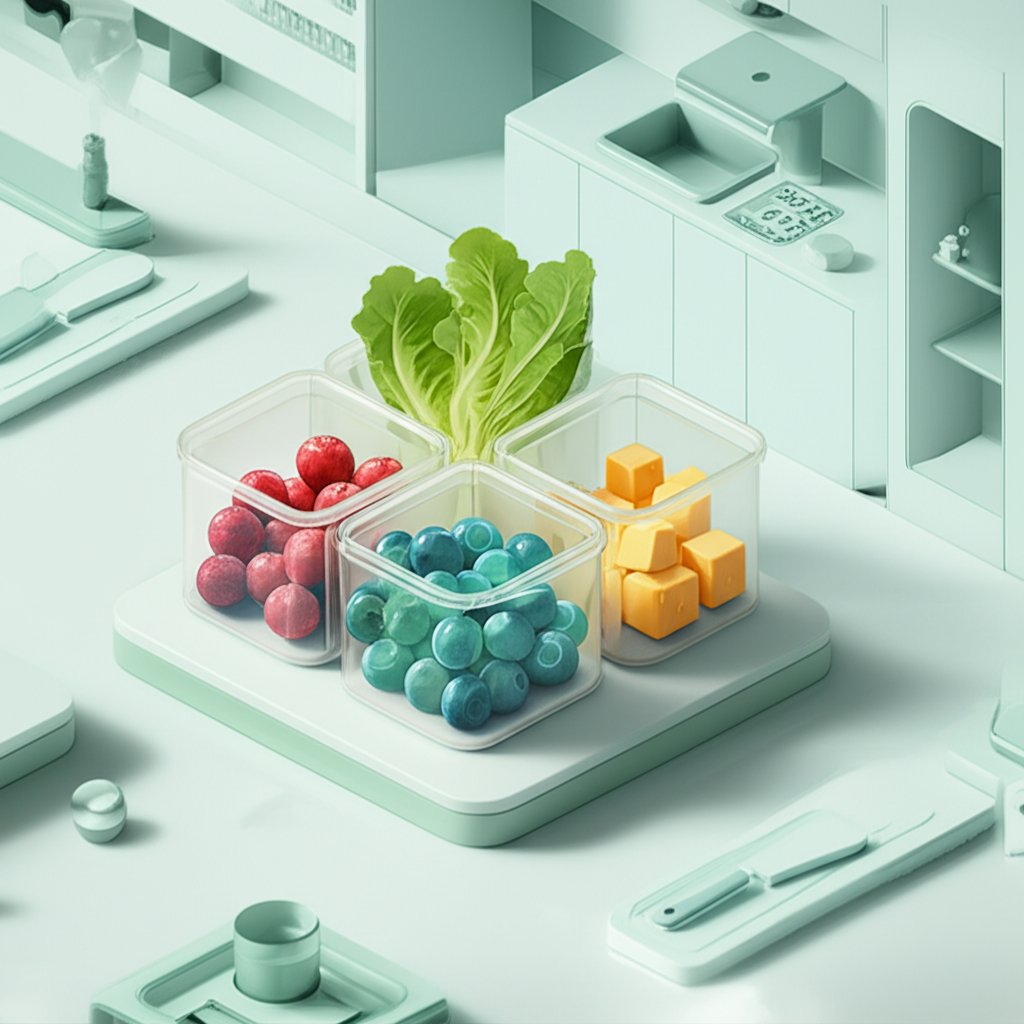
- Four+ Compartments: These are specialized for bento-style lunches or “snack boxes.” They’re fantastic for deconstructed meals like build-your-own taco salads (lettuce, ground meat, cheese, salsa in separate sections) or a diverse snack platter (hummus, pita, carrots, and grapes).
Lid Sealing Technology: The Secret to a Leak-Proof Lunch
A container is only as good as its lid. A poor seal means leaks and faster food spoilage.
- Snap-Lock Lids: Look for lids with four locking tabs (one on each side). This design provides even pressure across the entire rim for a secure closure.
- Silicone Gasket: This is the rubbery ring on the inside of the lid. It’s the single most important feature for preventing leaks. A good gasket creates an airtight and watertight seal. Make sure it’s removable for easy cleaning to prevent mold buildup.
- High Dividers: Pay attention to how high the internal dividers go. The best divided meal prep containers have dividers that go all the way up to the lid. Some premium designs even have grooves in the lid that press down onto the dividers, effectively sealing each compartment individually to prevent even minor sloshing between sections.
Stackability and Storage Footprint
Your containers will spend most of their life in your cabinet, fridge, or freezer. An efficient design saves you space and sanity. Look for containers that nest inside each other when empty and stack securely on top of one another when full. This creates a neat, stable block in your fridge and prevents an avalanche every time you open the cupboard door.
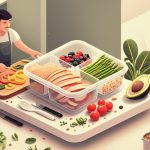
The “Component Packing” Method for Perfect Meals Every Time
Packing a divided container isn’t just about scooping food in; it’s a strategy. Using the “Component Packing” method ensures every ingredient is at its peak when you’re ready to eat.
Step 1: The ‘Dry’ Compartment (Usually the Largest)
This section is for the star of your meal—the component you want to protect from moisture.
- Examples: Grilled chicken breast, baked fish, quinoa, roasted potatoes, a sandwich, or crispy tofu.
Step 2: The ‘Wet’ or ‘Sturdy’ Compartment
This section is for ingredients that either contain liquid or can withstand it without degrading. - Examples: Steamed broccoli, a black bean and corn salsa, sauteed mushrooms, or a saucy curry.
Step 3: The ‘Delicate’ Compartment (Usually the Smallest)
This is the protected zone for items that could get crushed, wilt, or need to be added last. - Examples: A small side salad, fresh berries, nuts and seeds, a dollop of guacamole, or a separate container of dressing.
Case Snippet: The End of Soggy Salads
Mark, a software developer, gave up on packing salads for lunch because by noon, his greens were a soggy mess. He switched to a three-compartment container and applied the Component Packing method.
- Compartment 1 (Dry): He places his grilled, pre-sliced chicken.
- Compartment 2 (Sturdy): He adds hearty toppings like cherry tomatoes and cucumber slices.
- Compartment 3 (Delicate): He fills this with his mixed spring greens. His dressing goes in a separate mini-container that fits inside.
At lunchtime, he simply combines everything into a bowl. The result: a fresh, crisp, and satisfying salad every single day.
Your Divided Meal Prep Container Questions, Answered
Are divided meal prep containers truly leak-proof?
It depends on the design. High-quality containers with four-sided locking lids and a thick silicone gasket are highly leak-resistant for external leaks. However, the seal between internal compartments is not always 100% liquid-proof. If you’re packing something very liquidy like soup next to something very dry, you might get some minor seepage. For best results, test your container with water at home first.
Can you put divided glass containers in the oven?
Most bases made from borosilicate glass are oven-safe up to a certain temperature (usually around 400°F or 200°C). The plastic lids, however, are never oven-safe. This feature is fantastic for meal prepping, as you can bake a casserole directly in the container, let it cool, snap on the lid, and store it without using extra dishes. Always check the manufacturer’s guidelines.
How do I prevent plastic containers from staining and smelling?
For stubborn tomato-based stains, a light coating of cooking spray before adding the food can help. To treat an existing stain, make a paste of baking soda and water, apply it to the stain, and let it sit for a few hours before washing. To remove persistent odors like garlic or curry, wash the container thoroughly and let it air-dry in direct sunlight for a day.
Are the dividers tall enough to actually keep food separate?
This is a critical design feature to inspect. Lower-quality containers often have short dividers that allow food to mix if the container is tilted. Look for models where the dividers reach very close to the top rim. The best designs feature lids with integrated channels that press down on the dividers, creating a seal for each individual section.
Making Your Choice: A Quick Decision Guide
Choosing the right divided meal prep containers comes down to how you cook, eat, and live. Use this simple guide to find your perfect match.
- If you primarily reheat full, hot meals at your desk…
- Your Best Bet: Divided glass containers. Their superior performance in the microwave and oven is a non-negotiable benefit.
- If you pack cold lunches, salads, or meals for your kids…
- Your Best Bet: BPA-free plastic containers. Their light weight and durability make them the most practical choice for transport.
- If you follow a specific macro plan or love the bento box aesthetic…
- Your Best Bet: A three-compartment container. This layout provides the ideal template for building balanced, portion-controlled meals.
- If your biggest pet peeve is soggy food and flavor mixing…
- Your Best Bet: Prioritize a container with high dividers and a lid that has a channel to seal each compartment individually.
Investing in the right set of divided containers isn’t just about buying more kitchenware. It’s about creating a system that makes healthy eating easier and more enjoyable. It’s the simple upgrade that transforms meal prep from a weekly chore into a reliable strategy for success.

- Healthy Recipes for Busy Professionals Offer Smart Meal Prep Solutions - April 2, 2026
- Healthy Meal Prep Ideas for Busy Schedules to Simplify Your Week - April 1, 2026
- Healthy Meal Prep Ideas for Busy Professionals Conquer Your Week - March 31, 2026