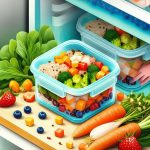
That sinking feeling when you open your lunch bag to find a puddle of last night’s soup is a universal pain. So is discovering that your perfectly prepped, vibrant salad has wilted into a sad, soggy mess by Tuesday. The culprit is almost always the same: a failed food container. High-quality locking glass food storage containers are the definitive solution, creating an airtight, leak-proof barrier that preserves freshness and gives you total peace of mind.
But not all locking containers are created equal. The difference between a reliable set and a cabinet full of frustration lies in the details of the glass, the lid, and the locking mechanism itself.
At a Glance: Your Guide to Mastering Glass Storage
- Anatomy of a Perfect Seal: We’ll break down the three critical parts of any locking lid: the latches, the gasket, and the lid material.
- The Right Shape for the Job: Learn why rectangular containers are the kings of fridge space and when a round container is the smarter choice.
- Avoiding Common Mistakes: Discover why your lids might be warping and how to prevent the dreaded thermal shock that can shatter glass.
- A Smarter Way to Buy: Get a simple framework for choosing a set that actually matches your meal-prep and leftover habits.
- Care and Cleaning Secrets: Find out the right way to clean silicone gaskets to prevent mold and lingering odors for good.
More Than Just a Lid: Why the Locking Mechanism Is a Game-Changer
A simple press-on lid offers minimal protection. Air seeps in, moisture escapes, and a slight tilt can lead to disaster. A four-point locking system, however, transforms a simple container into a high-performance storage tool.
Think of the four locking “wings” or latches. They don’t just hold the lid down; they apply uniform pressure across a flexible silicone gasket. This even compression creates a vacuum-like seal that is both airtight and watertight.
- Airtight for Freshness: By preventing air exchange, this seal dramatically slows down oxidation and spoilage. Cut apples stay crisp, avocado resists browning for longer, and dry goods like nuts or granola don’t go stale.
- Leak-Proof for Confidence: This is the big one. Soups, stews, dressings, and sauces stay exactly where they belong. You can confidently toss a container in your work bag without a second thought.
- Odor Containment: That leftover salmon or curry won’t perfume your entire refrigerator. The seal traps odors inside the container, keeping your fridge smelling fresh.
The Anatomy of a High-Quality Locking System
When you’re comparing brands, zoom in on the lid. The glass base is the foundation, but the lid is where performance is won or lost. A great system has three distinct, well-designed components.
1. The Glass Base: Your Foundation of Safety
The container itself is your starting point. While the locking mechanism is critical for performance, the quality of the glass is the foundation for safety and durability, especially when dealing with temperature changes. Understanding the difference between standard soda-lime glass and thermal-shock-resistant borosilicate is the first step, as we detail in our comprehensive Borosilicate glass storage guide. Borosilicate glass provides a wider margin of safety when moving from refrigerator to microwave or oven, making it the preferred material for versatile food storage.
2. The Lid & Latches: The Engine of the Seal
The lid is typically made from BPA-free polypropylene, a durable and food-safe plastic. But the magic is in the latches.
- Hinge Design: Look for robust hinges. Flimsy, thin plastic is the first point of failure. A well-designed hinge will feel sturdy and provide a satisfying “snap” when closed, without feeling like it’s about to break. Some premium designs even have dual-layer or reinforced hinges.
- Number of Latches: Four latches—one on each side—is the industry standard for a reason. It guarantees even pressure. Beware of containers with only two latches, as they are far more likely to leak and fail.
Case Snippet: A meal-prepping client of mine constantly complained about broken latches on his cheap container set. After a few months, half his lids were useless. He switched to a brand known for its reinforced hinges and hasn’t replaced a lid in over two years. The small upfront cost saved him from having to repurchase an entire set.
3. The Gasket: The Unsung Hero of Freshness
The gasket is the flexible silicone ring nestled inside the lid’s rim. Without it, there is no seal.
- Material: It should be made from 100% food-grade silicone. This material is pliable, durable, and can withstand a wide range of temperatures.
- Removability: This is non-negotiable. The gasket must be removable. Food particles and moisture inevitably get trapped underneath it, creating a breeding ground for mold and bacteria. If you can’t easily pop it out for cleaning, the container is a health hazard waiting to happen.
- Color: While it seems minor, clear or light-colored gaskets are often preferable to dark ones. They don’t hide mildew or food stains (like tomato sauce), making it easier to see when a deep clean is necessary.
Choosing Your Perfect Set: A Practical Framework
Walking into the store or browsing online, you’ll see 24-piece sets that seem like a great deal. But a massive, uniform set is rarely the right answer. A strategic, mixed collection will serve you better.
Step 1: Assess Your True Storage Needs
Be honest about how you cook and eat.
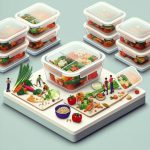
- The Meal Prepper: You need multiple medium-sized containers (24–36 oz) for lunches like salads, grain bowls, or chicken and vegetables. Rectangular shapes are your best friend for efficient fridge stacking.
- The Leftover Saver: Your life is about storing leftovers from family dinners. You need a mix of sizes, including a few large containers (50 oz+) for main courses and smaller ones (12–20 oz) for side dishes.
- The Baker & Casserole Maker: Look for large, oven-safe rectangular or square glass containers that can go straight from baking to storing. The lid is for storage, not for baking.
- The Solo Dweller: A smaller set with 2-3 medium containers for meals and a few small ones for snacks or sauces is likely sufficient.
Step 2: Master the Size and Shape Strategy
The shape of your container directly impacts its utility and storage efficiency.
| Shape | Best For | Pro | Con |
|---|---|---|---|
| Rectangular | Stacking, meal prep, casseroles, leftovers | Most space-efficient; perfect “fridge Tetris” | Can be slightly harder to scrape out corners |
| Square | Sandwiches, smaller portions, stacking | Also stacks well with rectangular containers | Less versatile for large, liquid-based meals |
| Round | Soups, stews, salads, mixing, sauces | Easy to clean, great for stirring and serving from | Inefficient for stacking; wastes fridge space |
| A balanced “starter fleet” for a family often includes: |
- Two large rectangular containers (for leftovers or mains)
- Four medium rectangular containers (for individual meal prep)
- Two small round or square containers (for sauces, snacks, or small sides)
Step 3: Look for High-Value Features
Not all locking glass food storage containers are built the same. Keep an eye out for these upgrades.
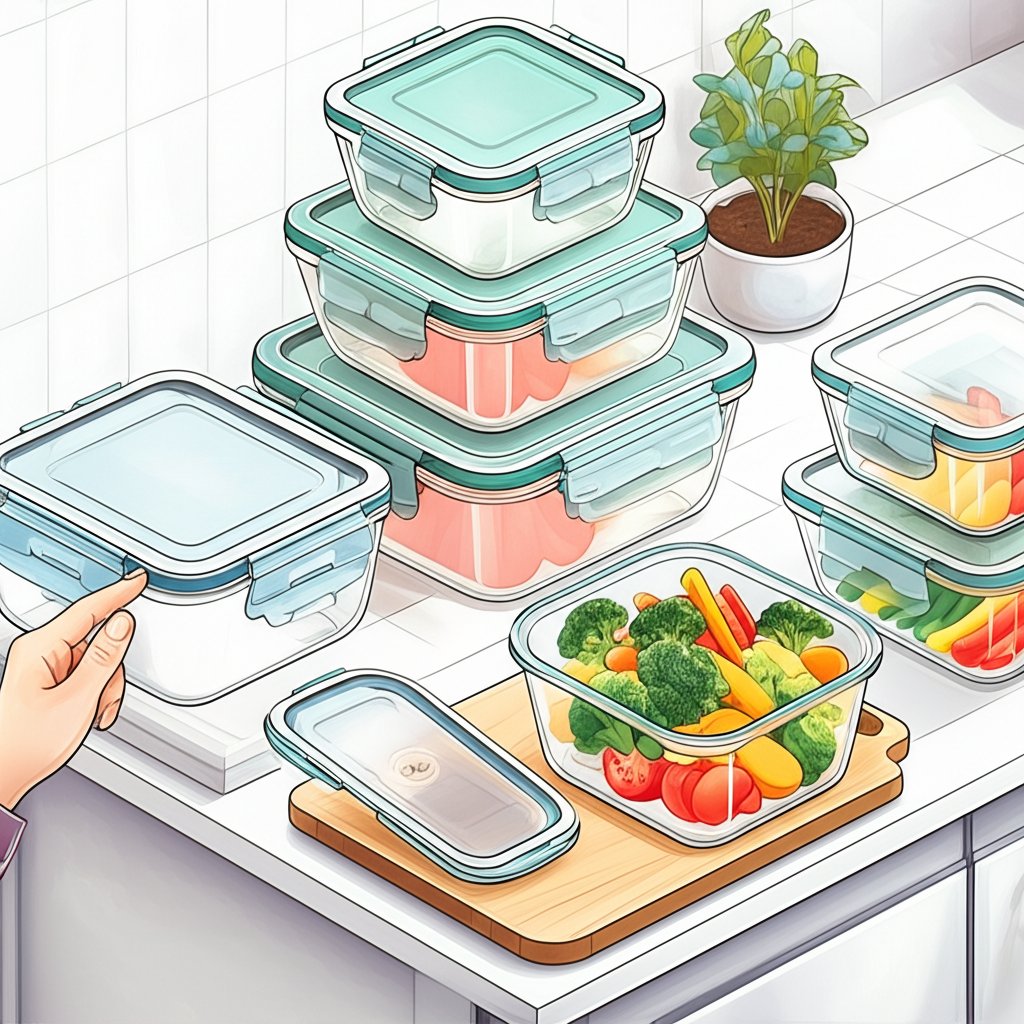
- Vented Lids: A small silicone vent on the lid can be popped open to allow steam to escape during microwaving. This prevents the lid from warping and avoids messy splatters.
- Divided Containers: Bento-style containers with one or two built-in glass dividers are fantastic for keeping components of a meal separate. Think chicken curry and rice, or a salad with toppings on the side.
- Nesting & Stacking Design: Look for sets where smaller containers nest inside larger ones for compact cabinet storage. Lids that are designed to “lock” together when stacked also prevent them from sliding around in a drawer.
Common Pitfalls and How to Sidestep Them
Owning great containers is only half the battle. Using them correctly ensures they last for years.
- The Temperature Shock Trap: The number one reason glass containers break is thermal shock. Never take a container directly from the freezer and put it into a hot oven, or pour boiling liquid into a refrigerated container. Let it sit on the counter for a while to acclimate first.
- Microwaving with the Lid Sealed: Always unlatch all four clips and either remove the lid or rest it loosely on top. Microwaving with a sealed lid creates a pressure cooker, which can cause the lid to warp permanently or even explode.
- Washing Lids on High Heat: While most lids are “top-rack dishwasher safe,” the high heat of a sanitizing cycle can cause the plastic to warp over time, compromising the seal. When in doubt, wash lids by hand or on a normal, lower-heat cycle.
- Ignoring the Gasket: Forgetting to remove and clean the gasket regularly is the fastest way to a smelly, moldy container. Make it a habit to pop it out every few washes for a thorough cleaning with soap and water.
Quick Answers to Common Questions
Here are fast, direct answers to the questions we hear most often.
Are the lids for locking glass containers microwave-safe?
Generally, yes, but with crucial caveats. They must be BPA-free. More importantly, you must unlatch all four clips to prevent pressure buildup. If your lid has a steam vent, open it. Resting the lid on top is fine; sealing it is not.
How do I deep-clean a smelly or stained silicone gasket?
For tough odors (like garlic or curry) or light stains, soak the gasket for a few hours in a 50/50 solution of white vinegar and water. For more stubborn stains or mildew spots, make a paste of baking soda and water, scrub it on with an old toothbrush, let it sit for 15 minutes, and rinse thoroughly.
Can I put hot food directly into a glass container?
Yes, you can place hot food into a room-temperature borosilicate glass container. The danger comes from extreme temperature changes. Don’t put that hot container directly into the fridge or freezer. Let it cool on the counter for 30-60 minutes first to prevent thermal shock.
Why did my glass container shatter in the oven?
It was likely either not made of oven-safe borosilicate glass, or it experienced thermal shock. This can happen if you place a cold (refrigerated) container into a preheated oven or add cool liquid to a hot dish mid-bake. Always start with a room-temperature container.
Are all locking glass food storage containers oven-safe?
No. Only containers explicitly marked “oven-safe” should be used for baking. This capability is a key feature of borosilicate glass, not standard soda-lime glass. The plastic locking lid is never oven-safe and must be removed before placing the glass base in the oven.
Your Action Plan: The 3-Step “Right-Sizing” Method
Ready to build the perfect collection? Don’t just buy the biggest box.
- Audit Your Kitchen (5 Minutes): Open your fridge and pantry. What do you actually store most often? Leftover chili? Pre-cut veggies? Sandwiches? Write down the top 3-5 things. This is your reality check.
- Map Your Weekly Routine: Think about a typical week. Do you meal prep on Sunday for five days? Do you pack lunches for kids? Do you cook big weekend meals with lots of leftovers? This map dictates the quantity and shapes you need.
- Start with a Test Set: Before committing to a 20-piece mega-set, buy a smaller 6 or 8-piece set from a reputable brand. Use it for a month. See if you like the feel of the latches, the ease of cleaning, and if the sizes work for you. Expand from there.
By investing in the right set of locking glass food storage containers, you’re doing more than just organizing your fridge. You’re committing to fresher food, safer transport, less food waste, and a calmer, more efficient kitchen. You’re taking control of your meals from prep to storage to enjoyment, one satisfying “snap” at a time.

- Master Vegan Freezer Meal Prep to Simplify Your Busy Schedule - June 18, 2026
- Vegan Freezer Cooking Simplifies Healthy Meals on Busy Nights - June 17, 2026
- Vegetarian Freezer Recipes for Effortless Meal Prep and Delicious Dinners - June 16, 2026