Let’s be honest. You’ve dutifully prepped a week’s worth of lunches, only to be met with dry, sad chicken breast by Wednesday. It’s the meal prepper’s lament—the protein that promises lean gains but delivers chalky disappointment. If you’re tired of choking down bland chicken, it’s time to embrace a better way. The secret to consistently juicy, flavorful, and forgiving meals lies in a different part of the bird. This is your definitive guide to chicken thigh meal prep, the method that will change your weekly routine for good.
We’re not just talking about swapping one cut for another. We’re talking about a fundamental upgrade to your kitchen game—one that saves you money, tantalizes your taste buds, and makes reheating a joy, not a gamble.
Your Week, Upgraded: At a Glance
Pressed for time? Here’s the core of what you need to know to master chicken thigh meal prep:
- Why Thighs Win: Higher fat content means they stay incredibly juicy and flavorful, even after days in the fridge. They’re nearly impossible to overcook and are often more affordable than breasts.
- Prep is Everything: Always pat the thighs dry with a paper towel. This single step ensures seasonings stick and skin gets crispy.
- Marinate for Moisture: A simple 30-minute marinade (or an overnight soak) in an oil- or yogurt-based mixture is your ticket to tender, flavor-packed chicken.
- Cook it Right: Your best bets are the oven (400-425°F), air fryer (375°F), or a hot skillet. The non-negotiable rule? Cook to an internal temperature of 165°F.
- Store Smart: Let the chicken cool down before sealing it in an airtight container. It will keep for up to 4 days in the fridge or 3 months in the freezer.
- Reheat with Care: Use the air fryer or oven to bring back the crispiness. If you must microwave, cover the chicken with a damp paper towel to retain moisture.
Why Chicken Thighs Are Your Meal Prep Secret Weapon
For years, chicken breast has been hailed as the king of lean protein. But when it comes to meal prep, its low-fat nature is its biggest weakness. It dries out in a heartbeat, turning a well-intentioned meal into a culinary chore.
Chicken thighs, on the other hand, are built for this.
Their naturally higher fat content acts as a built-in insurance policy against dryness. This marbling bastes the meat from the inside as it cooks and, crucially, as it reheats. The result? Tender, succulent chicken on Monday and on Thursday. This forgiving nature means that even if you get distracted and leave them in the oven a few minutes too long, you won’t be left with a culinary disaster.
Plus, let’s talk flavor. Fat is flavor, and thighs have a richer, more robust chicken taste that stands up to bold spices and sauces. And the best part? They are consistently easier on your wallet, making your meal prep habit more sustainable.
A Quick Nutritional Snapshot: Thighs vs. Breasts
It’s true that chicken thighs have a different nutritional profile than breasts, but the difference is often misunderstood.
- A 100-gram (about 3.5 oz) serving of boneless, skinless chicken thigh contains roughly 149 calories and 18 grams of protein.
- The same serving of boneless, skinless chicken breast has about 112 calories and 22 grams of protein.
While breasts offer more protein for fewer calories, thighs provide incredible satiety and flavor. A single serving of two medium thighs packs a powerful protein punch—anywhere from 28 to 46 grams—making it a fantastic centerpiece for a muscle-building or satisfying meal. The choice isn’t about “good” versus “bad,” but about what works for your goals and your palate.
The Foundation: Prepping Thighs for Maximum Flavor
Great meal prep chicken doesn’t happen by accident. It starts with a few simple but non-negotiable steps that set you up for success. Nail this 15-minute routine, and you’ll be rewarded all week.
Step 1: Pat It Dry
Before you do anything else, take your chicken thighs out of the package and pat them thoroughly dry with paper towels. Both sides. Don’t skip this. A dry surface is essential for two reasons:
- It helps seasonings adhere. Spices and herbs will form a flavorful crust on dry skin rather than sliding off a slick, wet surface.
- It promotes browning and crisping. Moisture is the enemy of a golden-brown, crispy skin. Removing excess water allows the Maillard reaction—the chemical process that creates delicious, browned flavors—to happen efficiently.
Step 2: Marinate Like You Mean It
A marinade is your best friend for adding both flavor and moisture. Even 30 minutes can make a significant difference, but if you have the time, an overnight soak in the fridge is even better.
The most effective marinades have a few key components:
- A Fat Base: Olive oil, avocado oil, or even full-fat yogurt helps keep the chicken tender and distributes the flavors evenly.
- An Acid: A touch of lemon juice, vinegar, or yogurt helps to tenderize the meat.
- Aromatics & Seasonings: This is where you get creative. Think minced garlic, grated ginger, chopped herbs, paprika, cumin, and of course, salt and pepper.
Make sure to rub the marinade all over the chicken, getting it into every fold and under the skin if you’re using skin-on thighs.
Step 3: Cook with Confidence
Once your chicken is prepped, it’s time to cook. The method you choose depends on your preference for texture and the amount of time you have. Here are the three most reliable methods for meal prep.
The Classic: Oven-Roasting for Hands-Off Cooking
Roasting is the easiest, most set-it-and-forget-it method. It produces tender meat and, if you’re using skin-on thighs, wonderfully crispy skin.
- Temperature: 400°F to 425°F (200-220°C). The higher heat helps render the fat and crisp the skin quickly.
- Prep: Arrange the thighs in a single layer on a baking sheet lined with parchment paper for easy cleanup. Make sure they have a little space between them to encourage even cooking.
- Time: Bake for 35-40 minutes, or until the juices run clear and the internal temperature is correct.
The Speed Demon: The Air Fryer Method
For perfectly “fried” chicken with a fraction of the oil and time, the air fryer is unbeatable. It circulates hot air aggressively, resulting in exceptionally crispy skin.
- Temperature: 375°F (190°C).
- Prep: Place the thighs in the air fryer basket in a single layer. You may need to work in batches to avoid overcrowding.
- Time: Cook for 18-20 minutes, flipping halfway through.
The Crispy Skin Champ: Pan-Searing
If your number one priority is a shatteringly crisp, golden-brown skin, nothing beats a hot skillet. This method requires a bit more active attention but delivers incredible texture.
- Prep: Heat a tablespoon of oil in a heavy-bottomed skillet (cast iron is perfect) over medium-high heat.
- Technique: Place the thighs skin-side down. Let them sear, undisturbed, for 6-7 minutes until the skin is deeply golden and easily releases from the pan.
- Time: Flip the thighs and cook for another 5-6 minutes on the other side until cooked through.
The Golden Rule: Cook to 165°F (74°C)
No matter which method you choose, the only way to guarantee perfectly cooked, safe chicken is with a digital meat thermometer. Insert it into the thickest part of the thigh, avoiding the bone. Once it reads 165°F (74°C), it’s done.A common misconception: If your chicken thigh is tough, you probably undercooked it. Unlike breast meat, which gets tougher the longer it’s cooked, the connective tissue in thighs needs to reach a higher temperature to break down and become tender. So if it’s chewy, give it a few more minutes.
Beyond Salt and Pepper: Flavor Combos That Wow
Chicken thighs are a blank canvas for nearly any flavor profile you can imagine. Get out of your seasoning rut and try one of these tried-and-true combinations. These are just starting points; you can find hundreds of complete chicken thigh meal prep recipes online to spark your creativity.
- Mediterranean Lemon-Herb: Olive oil, lemon juice and zest, minced garlic, dried oregano, rosemary, salt, and pepper.
- Spicy Cajun: Avocado oil, smoked paprika, cayenne pepper, garlic powder, onion powder, dried thyme, and black pepper.
- Sweet & Savory Teriyaki: Soy sauce (or tamari), honey (or maple syrup), minced garlic, grated ginger, and a splash of sesame oil.
- Jamaican Jerk: A blend of allspice, thyme, scallions, and fiery scotch bonnet peppers.
- Thai-Inspired Peanut: Peanut butter, soy sauce, lime juice, honey, and a bit of sriracha for heat.
- Smoky Chipotle-Lime: Canned chipotles in adobo sauce, lime juice, cumin, and garlic powder.
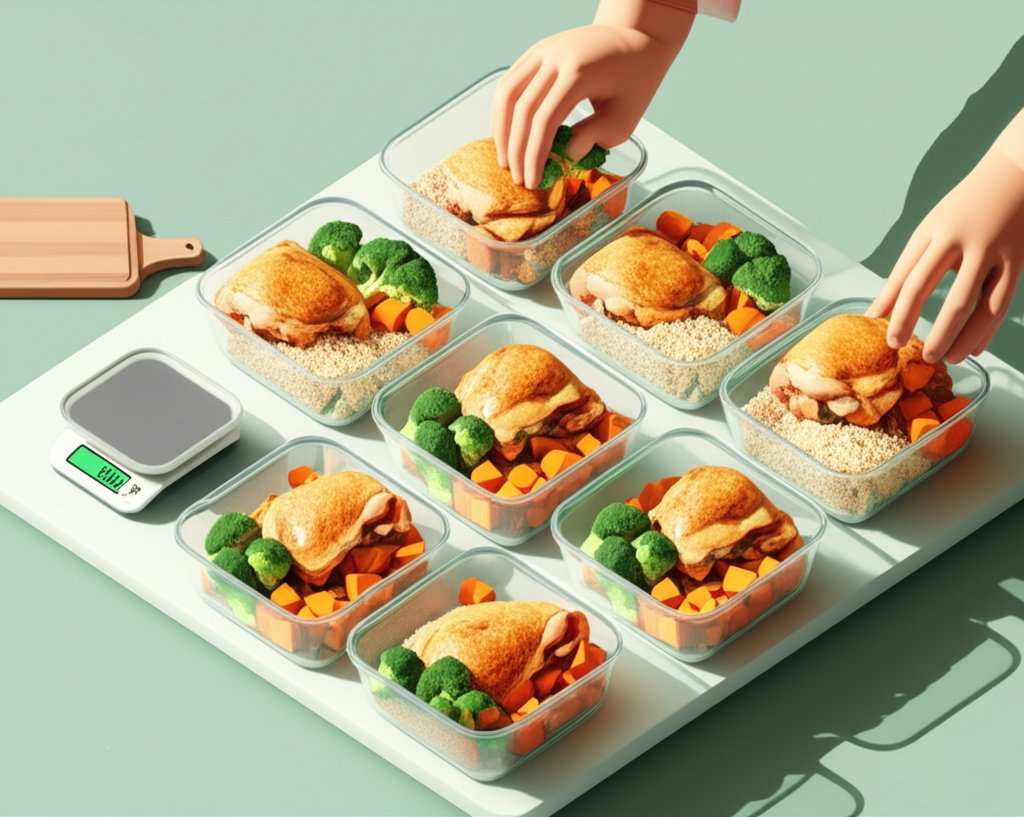
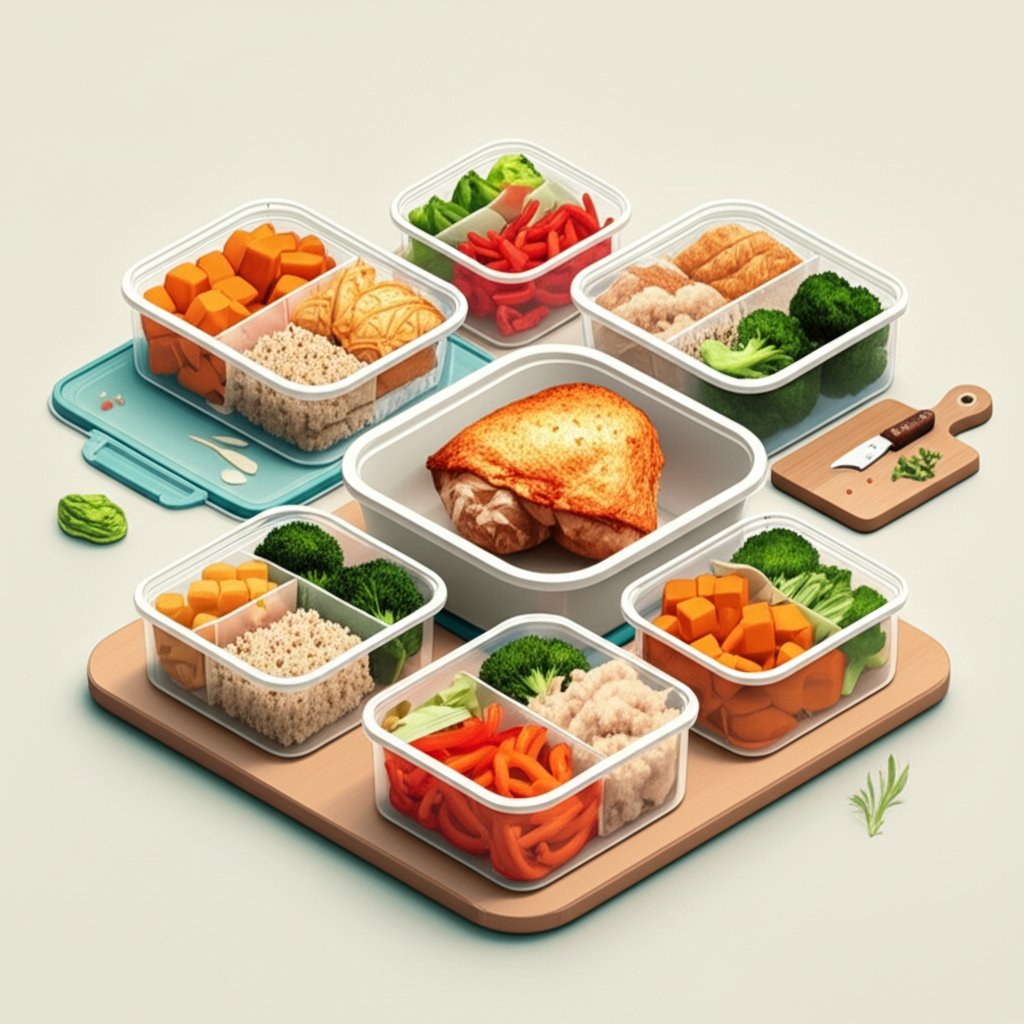
Assembling Balanced, Satisfying Meals
Once your chicken is cooked and rested, it’s time to build your meals for the week. The goal is a balanced plate that includes a protein (your chicken), a complex carbohydrate for energy, and plenty of vegetables for fiber and nutrients.
Smart Carbs to Keep You Fueled
Pair your flavorful chicken with a satisfying carb source that reheats well.
- Brown Rice or Quinoa: The classic meal prep staples. Cook a big batch at the beginning of the week.
- Roasted Sweet Potatoes: Cut into cubes, toss with oil and spices, and roast alongside your chicken for a one-pan meal.
- Whole Wheat Pasta or Couscous: Great for absorbing sauces and flavors.
Low-Carb Swaps That Don’t Skimp on Flavor
If you’re watching your carb intake, these options provide volume and texture without the starch. Pairing chicken thighs with smart, veggie-forward sides can be a key part of an effective Weight Loss Chicken Thigh Prep plan.
- Cauliflower Rice: Sauté with garlic and herbs for a light, fluffy base.
- Zucchini Noodles (“Zoodles”): A perfect, low-calorie substitute for pasta.
- Spaghetti Squash: Roast and scrape into strands for a hearty, nutrient-dense option.
Don’t Forget Your Veggies
Round out your meal with a generous portion of vegetables. Roasting is often the best method for meal prep, as it deepens their flavor and helps them hold up well upon reheating.
- Roasted Broccoli or Cauliflower Florets
- Sautéed Green Beans with Garlic
- Roasted Bell Peppers and Onions
- A Simple Side Salad with a Vinaigrette (pack the dressing separately)
How to Store and Reheat Like a Pro

You’ve done the hard work. Don’t let improper storage or reheating ruin your delicious meals.
First, Let It Cool
This is crucial. Placing hot food directly into a sealed container in the fridge creates condensation, which can lead to soggy skin and a less-than-ideal texture. Let your chicken and other cooked components cool on the counter for 30-60 minutes before packing them away.
Fridge vs. Freezer
- In the Refrigerator: Stored in an airtight container, your cooked chicken thighs will last for up to 4 days.
- In the Freezer: For longer-term storage, wrap thighs individually or store them in a freezer-safe bag or container. They will maintain great quality for up to 3 months.
The Best Ways to Reheat for That “Just-Cooked” Taste
Your reheating method matters. The goal is to warm the chicken through while reviving its texture.
- The Air Fryer (Best for Crispy Skin): A few minutes at 400°F (200°C) is all it takes. This is the undisputed champion for bringing back that crispy, just-cooked texture.
- The Oven or Toaster Oven: Place chicken on a baking sheet and heat at 350°F (175°C) for 10-15 minutes until warmed through.
- The Microwave (In a Pinch): The microwave can make chicken rubbery, but you can mitigate this. Place the chicken on a plate and cover it with a damp paper towel. This creates steam, helping the chicken retain moisture as it heats.
Your Top Chicken Thigh Questions, Answered
Q: Can I use boneless, skinless chicken thighs for meal prep?
A: Absolutely. They are just as juicy and forgiving. The cooking time will be slightly shorter, so start checking the internal temperature around the 20-25 minute mark in the oven, or 15-18 minutes in the air fryer.
Q: Is the skin necessary for good results?
A: Not at all! While skin adds amazing flavor and crispiness, skinless thighs are a fantastic option if you’re looking to reduce the overall fat and calorie content. All the principles of marinating and proper cooking still apply.
Q: My chicken thighs came out tough. What did I do wrong?
A: Counterintuitively, you probably undercooked them. Chicken breast gets dry and tough when overcooked, but the connective tissue in thighs needs to be cooked to at least 165°F to break down and become tender. Give them a bit more time on the heat and check again with your thermometer.
Q: How many chicken thighs should I prep for a week of lunches?
A: A good starting point is two thighs per meal. For five days of lunches, that means prepping 10 thighs. Adjust this based on your personal appetite and protein goals.
Your Week Just Got a Whole Lot Easier
You can officially say goodbye to the sad desk lunch. By making the simple switch to chicken thighs, you’re not just changing an ingredient; you’re adopting a more flavorful, flexible, and foolproof approach to meal prep.
No more dry bites, no more boring meals, and no more dreading what’s in your lunch container. You now have the blueprint for creating delicious, satisfying meals that you’ll actually look forward to eating all week long.
Your next step? Pick one of the flavor profiles above, choose your favorite cooking method, and get prepping. Your future self will thank you.

- Master Vegan Freezer Meal Prep to Simplify Your Busy Schedule - June 18, 2026
- Vegan Freezer Cooking Simplifies Healthy Meals on Busy Nights - June 17, 2026
- Vegetarian Freezer Recipes for Effortless Meal Prep and Delicious Dinners - June 16, 2026