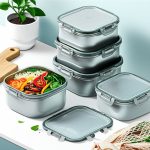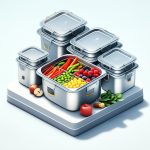
That moment of lunchtime dread is all too common. You open your bag to find a warped plastic container, faintly stained from last week’s pasta sauce, and a salad that’s gone soggy from sitting next to the dressing. For anyone serious about healthy eating, this cycle is frustrating. High-quality stainless steel meal prep containers offer a permanent solution, turning meal prep from a chore into a streamlined system for fresh, delicious, and organized meals. They are the durable, non-toxic workhorses your kitchen has been missing.
At a Glance: Your Takeaways
- Identify the Right Features: Learn to distinguish between leak-proof and airtight lids, and when to choose multi-compartment bento styles over single-compartment containers.
- Master the Workflow: Understand how to safely use your containers in the oven, freezer, and dishwasher to maximize efficiency.
- Choose Your Starter Set: Get clear guidance on selecting the right sizes and number of containers based on your specific meal prep habits, whether you’re a solo professional or feeding a family.
- Avoid Common Mistakes: Find out why you can’t microwave steel, whether the lids are oven-safe, and how to care for your containers to make them last a lifetime.
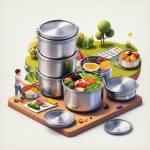
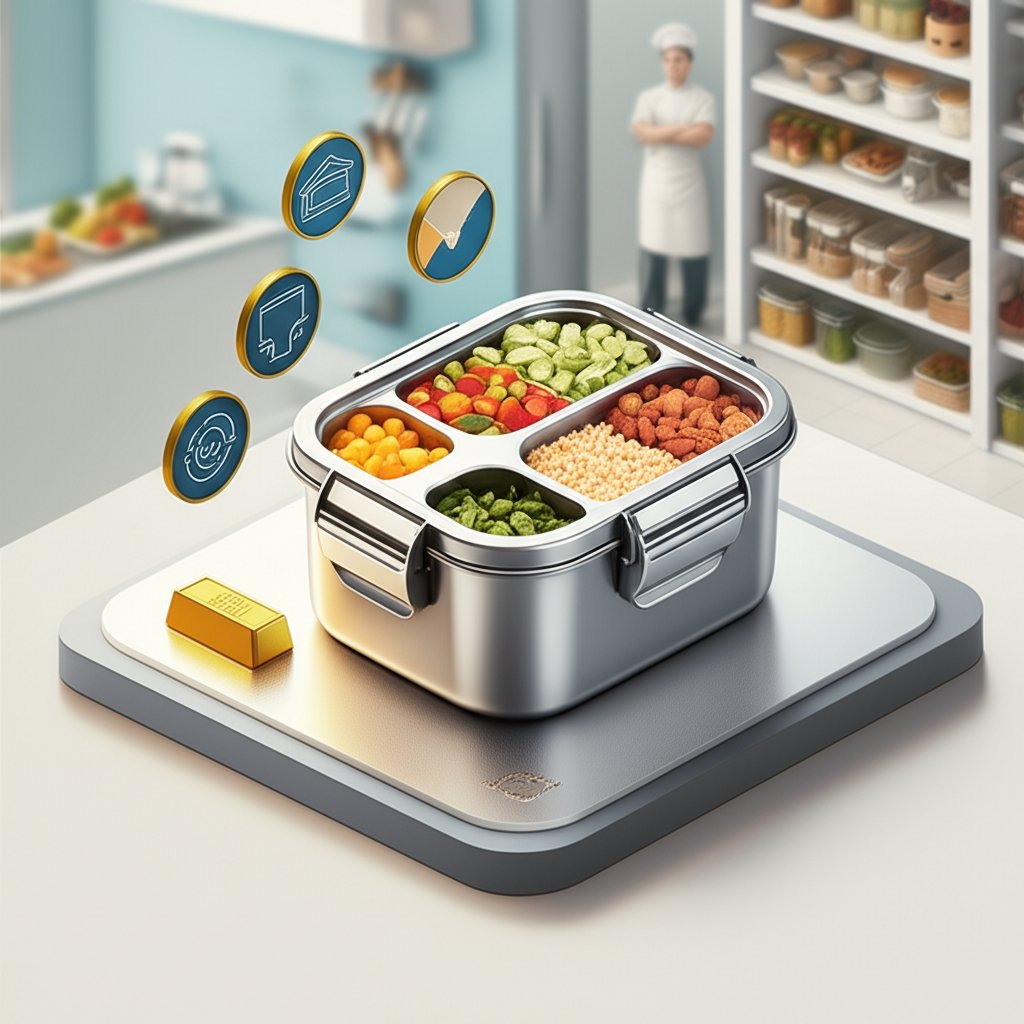
Why Steel is the Gold Standard for Serious Meal Preppers
Switching from plastic to stainless steel isn’t just an aesthetic upgrade; it’s a fundamental shift in how you store and interact with your food. Plastic containers are porous, which is why they absorb odors and stubborn stains from foods like curry or tomato sauce. Stainless steel, typically food-grade 304 steel, is non-porous. This means no lingering smells or discoloration, ensuring that today’s crisp apple slices don’t taste like last night’s garlic chicken.
This non-reactive surface also means steel won’t leach chemicals into your food, a common concern with older or low-quality plastics, especially when heated. Furthermore, the durability is unmatched. A set of stainless steel containers is a one-time investment that won’t crack, warp, or chip, outlasting dozens of their plastic counterparts. While the initial cost is higher, their longevity makes them far more economical in the long run.
Decoding Your Perfect Container Set
Not all stainless steel meal prep containers are created equal. The right choice depends entirely on what you cook and how you eat. Focusing on a few key features will help you build a collection that perfectly suits your lifestyle.
Size and Capacity: Match Containers to Your Meals
Container capacity is usually listed in ounces (oz) or milliliters (ml). It’s easy to get lost in the numbers, so think in terms of meals instead.
- Small (8–12 oz): Perfect for snacks like nuts, berries, yogurt, or a side of hummus. They are also great for portion-controlling dressings or sauces to keep main dishes from getting soggy.
- Medium (24–35 oz): This is your daily lunch workhorse. It’s the ideal size for a generous serving of chicken and roasted vegetables, a hearty grain salad, or a pasta dish.
- Large (40–60 oz): Use these for bulk prep or family-sized portions. They’re excellent for marinating meats, storing a big batch of soup for the week, or packing a main dish to share at a picnic.
Pro-Tip: Start with a versatile set of three or four medium-sized containers. After a few weeks of use, you’ll know exactly which other sizes you need to fill the gaps in your routine.
Lids Make or Break the Experience: Airtight vs. Leak-Proof
The lid is arguably the most critical component. A great container with a poor lid is useless for on-the-go meals.
- Airtight Lids: These are designed to keep air out, which is fantastic for maintaining the freshness of dry goods like granola, crackers, or pre-chopped veggies. They slow down staling but may not prevent a determined vinaigrette from escaping.
- Leak-Proof Lids: This is the non-negotiable feature for anyone transporting soups, stews, curries, or anything with a sauce. Look for lids with a silicone seal and sturdy locking clips on two or four sides. This combination creates a powerful vacuum-like seal that you can trust in your work bag. Most high-quality stainless steel meal prep containers feature BPA-free plastic or silicone lids.
While we’re focused on meal prep containers here, understanding the full range of storage options can help you build a cohesive kitchen system. For a broader overview, our comprehensive Stainless Food Storage Guide covers everything from pantry canisters to insulated thermoses.
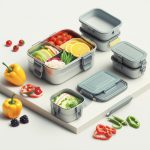
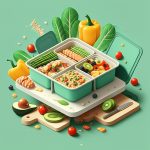
Single vs. Multi-Compartment: The Bento Box Advantage
The choice between a single-compartment container and a bento-style box comes down to one thing: preventing sogginess and flavor-mingling.
- Single-Compartment: Ideal for “one-pot” style meals like chili, soup, large salads, or a batch of roasted vegetables. Their simplicity makes them easy to fill and clean.
- Multi-Compartment (Bento Style): These typically have two or three fixed dividers. They are game-changers for packing meals with distinct components. You can keep your grilled chicken separate from your quinoa and your fresh fruit away from both. This is essential for kids’ lunches or any meal where texture and separation are key.
Real-World Scenario: Imagine prepping a deconstructed burrito bowl. A 3-compartment bento allows you to keep the seasoned ground turkey, the fresh pico de gallo, and the delicate avocado slices separate until you’re ready to mix and eat. In a single-compartment container, this would become a mushy mess by noon.
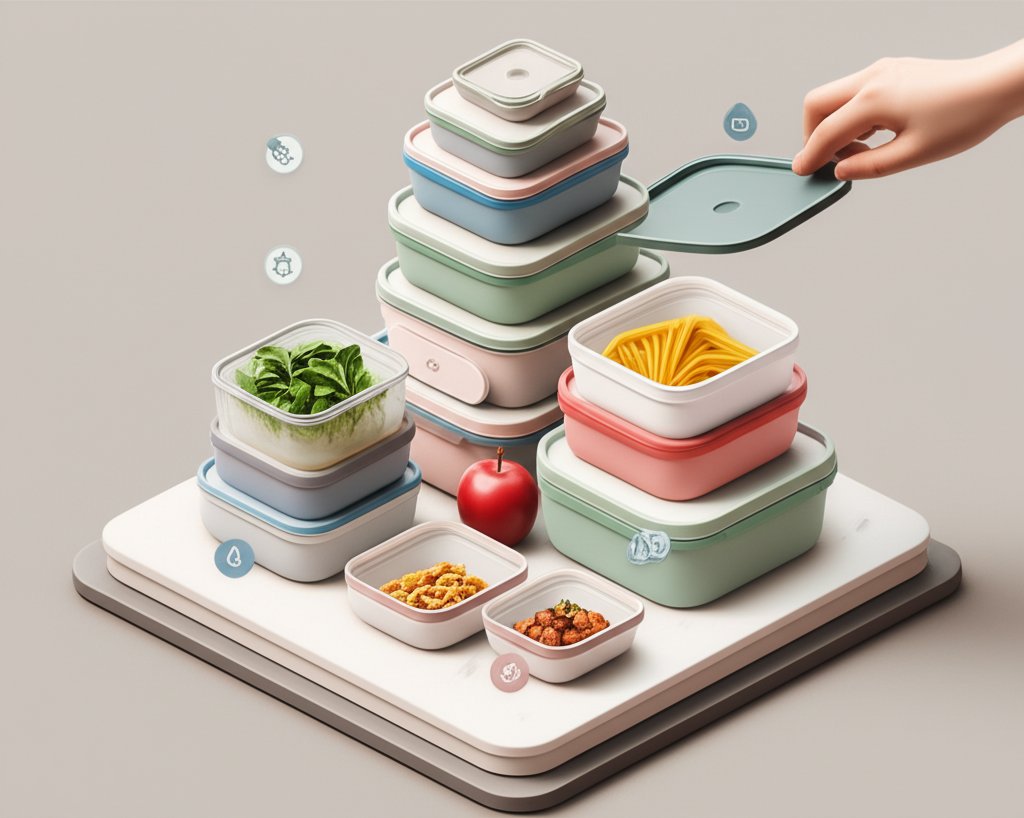
Stackable vs. Nestable: Optimizing Your Kitchen Space
These two terms describe how containers are stored, and they solve different organizational problems.
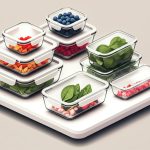
- Stackable: These containers, when lidded, can be stacked neatly on top of one another without sliding. This is a huge benefit for organizing a full refrigerator or freezer, allowing you to see everything at a glance.
- Nestable: These containers, when empty and without their lids, fit inside one another, from largest to smallest. This is a massive space-saver for your cupboards and drawers, condensing an entire set into the footprint of the largest container.
Many modern sets are designed to be both stackable when full and nestable when empty, offering the best of both worlds.
The Meal Prep Playbook: A Practical Workflow
Owning the right containers is only half the battle. Integrating them into your weekly routine is where the magic happens.
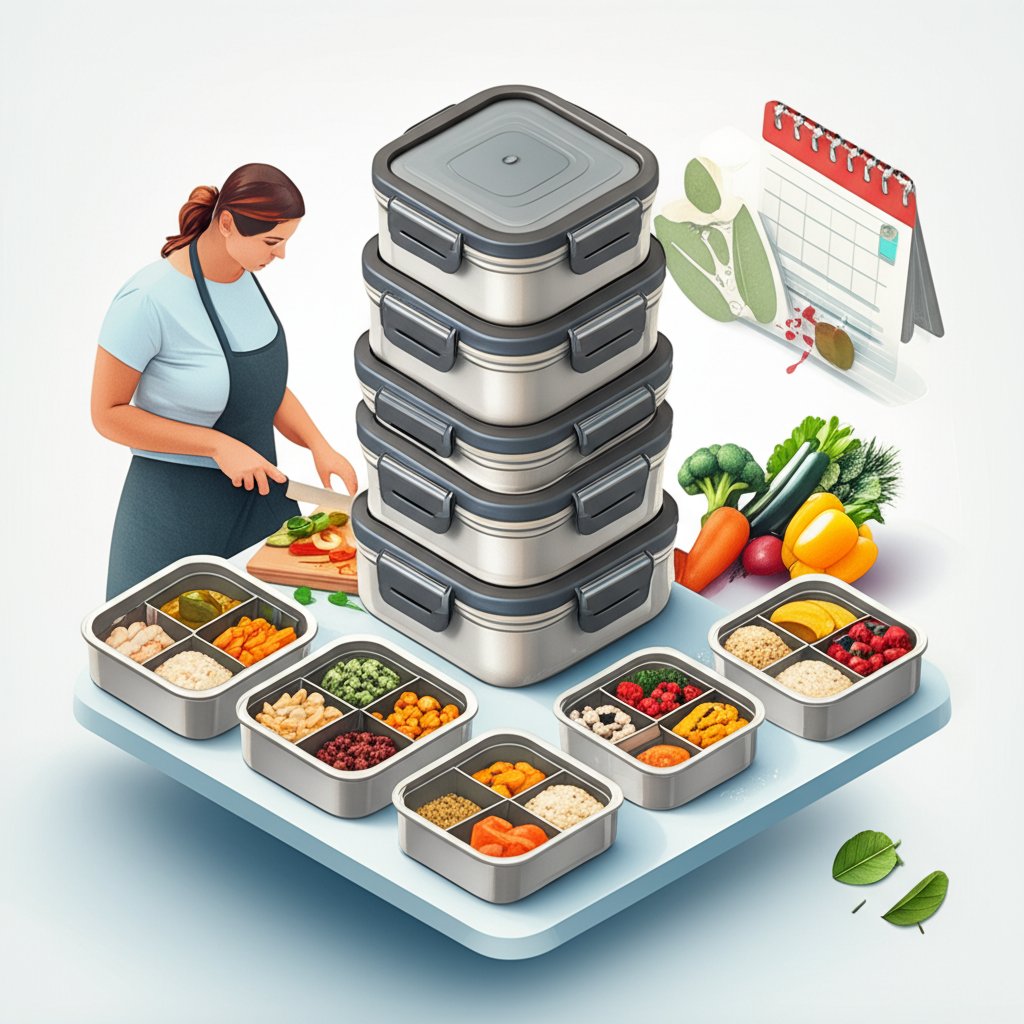
A Sample Sunday Prep Flow
Let’s walk through a typical prep session for a busy professional who wants healthy lunches for the week.
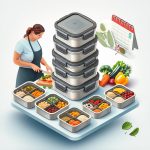
- Roast Directly in the Container: Preheat your oven to 400°F. Toss chopped broccoli, bell peppers, and onions with olive oil and spices directly inside two large, oven-safe stainless steel containers (lids off!). Roast for 20-25 minutes. This saves you from washing an extra baking sheet.
- Cool and Portion: While the veggies roast, grill or bake a batch of chicken breasts. Once everything is cooked, let it cool to room temperature. This is crucial—putting a hot lid on hot food creates steam, which leads to condensation and sogginess.
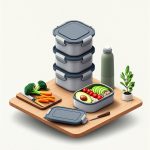
- Assemble the Bentos: Grab five medium-sized, 3-compartment containers. In each, place a portion of the roasted veggies in one section, sliced chicken in another, and a scoop of pre-cooked quinoa in the third.
- Prep the “Extras”: In smaller containers, portion out your salad dressing, hummus for an afternoon snack, and some mixed berries for a healthy dessert.
- Stack and Store: Secure the leak-proof lids, stack the containers neatly in the fridge, and you’re set for the week. Your grab-and-go lunch is ready in 10 seconds each morning.
Mastering Oven and Freezer Transitions
The ability to go from freezer to oven is a major advantage of stainless steel meal prep containers. However, you must do it correctly to avoid damaging the container or your food.
- Avoid Extreme Thermal Shock: Never take a container directly from the freezer and place it in a preheated oven. The rapid temperature change could potentially cause the metal to warp. Instead, let it thaw in the refrigerator overnight or on the counter for an hour first.
- Lids Stay Off: The vast majority of lids, even if made of silicone, are not oven-safe. Always remove the lid before placing the container in the oven.
- Freezing Liquids: When freezing soups or stews, leave at least an inch of headspace at the top. Liquids expand when they freeze, and this extra room prevents the container from bulging or the lid from popping off.
Quick Comparison of Container Styles
| Container Type | Best For | Key Feature | Pro-Tip |
|---|---|---|---|
| Single Compartment | Soups, chilis, salads, bulk items | Maximum volume efficiency | Excellent for marinating meats or storing leftovers. |
| 2-3 Compartment Bento | Lunches with distinct components | Keeps ingredients separate | Pack wet ingredients (like salsa) away from dry/crisp ones. |
| Nesting Set | Kitchens with limited storage | Cans save significant cabinet space | Keep lids organized in a separate drawer or basket. |
| Small Snack Pods | Dressings, nuts, dips, toddler snacks | Portion control & leak-proofing | Get a set of 3-4; they are surprisingly useful. |
Quick Answers to Common Questions
Here are some rapid-fire answers to the most frequent questions about using stainless steel for meal prep.
Can you put stainless steel meal prep containers in the microwave?
Absolutely not. Never place any metal in a microwave. It is a serious fire hazard and will damage your appliance. The primary use case for reheating is in a conventional oven or a toaster oven (with the lid removed).
Do stainless steel containers keep food hot or cold?
Standard stainless steel containers do not have insulating properties. They will conduct heat or cold, meaning hot food will cool down and cold food will warm up at a normal rate. If you need to maintain temperature for several hours, you need a dedicated vacuum-insulated thermal container, often called a food jar.
Will the containers rust or stain?
High-quality, food-grade stainless steel (like 18/8 or 304) is highly resistant to rust and corrosion. Staining is virtually impossible due to the non-porous surface. To prevent any potential water spots or rust, dry your containers thoroughly after washing instead of letting them air-dry, especially if you have hard water.
Are the lids dishwasher and oven safe?
Most lids are top-rack dishwasher safe, but always check the manufacturer’s instructions. Lids are almost never oven-safe. The heat can warp the plastic or damage the silicone seal, ruining its leak-proof capabilities. Always remove lids before heating.
Making the Switch: Your First Steps
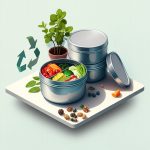
Adopting stainless steel meal prep containers is an investment in your health, your wallet, and the environment. By eliminating disposable packaging and unreliable plastic, you create a sustainable system that makes healthy eating easier and more enjoyable.
Ready to start? Don’t feel you need to buy a 20-piece set tomorrow. Begin with a foundation.
- Assess Your Primary Need: Are you mostly packing complex lunches? Start with a 3-pack of multi-compartment bento boxes. Are you a big batch prepper? A pair of large, single-compartment containers might be better.
- Buy One Good Set: Invest in a 3-to-5-piece set from a reputable brand known for high-quality steel and truly leak-proof lids. This will cover most of your initial needs.
- Run a Two-Week Test: Use your new set exclusively for two weeks. Pay attention to what you reach for most and where you feel a gap. Do you need a tiny container for dressing? A bigger one for salads? This real-world test is the best guide to your next purchase.
By making this simple change, you’re not just buying better boxes; you’re building a more resilient, efficient, and enjoyable habit of preparing and eating wholesome food.

- Stainless Steel Meal Prep Containers Elevate Healthy Eating Habits - February 28, 2026
- Stainless Food Storage Keeps Your Kitchen Organized And Meals Fresh - February 28, 2026
- Stainless Steel Food Storage for Healthier, Eco-Friendly Meal Prep - February 27, 2026