That moment of dread when you open the microwave to find your plastic container warped and stained with last night’s spaghetti sauce is all too familiar. You wonder if your lunch is even safe to eat. This daily frustration is precisely why so many people are switching to microwave safe glass containers. They offer a clean, durable, and reliable way to take meals from the fridge to the microwave without the worry, delivering a perfectly heated meal every time.
But not all glass is created equal, and using it correctly in the microwave involves more than just pressing “start.” Understanding the nuances—from the type of glass to the design of the lid—is the key to unlocking a safer and more efficient meal prep routine.
At a Glance: Your Microwave Glass Container Cheat Sheet
- Prioritize Borosilicate Glass: Learn why its ability to handle temperature changes makes it the gold standard for microwave use.
- Lids Matter More Than You Think: Discover the difference between silicone and plastic lids, and why proper venting is non-negotiable for safety and quality.
- Master the Reheating Ritual: Follow simple steps to avoid common pitfalls like food explosions, uneven heating, and the dreaded “thermal shock” that can crack containers.
- Identify True Microwave Safety: Understand the symbols and features that distinguish a genuinely microwave-safe container from a simple glass jar.
- Avoid Costly Mistakes: Get clear answers on whether you can microwave a container straight from the freezer or if the lid can stay on.
Not All Glass Is Created Equal: The Borosilicate Advantage
When you think of glass, you might picture a fragile drinking cup or a standard food jar. However, the material used for high-quality, microwave safe glass containers is in a different league entirely. The difference comes down to its chemical composition and how it reacts to heat.
Most everyday glass, like pickle jars or drinking glasses, is soda-lime glass. It’s perfectly fine for room-temperature storage but is highly susceptible to thermal shock. This is the stress that occurs when a material experiences a rapid, drastic change in temperature, causing it to expand or contract unevenly and, ultimately, crack or shatter.
This is where borosilicate glass shines. By incorporating boron trioxide into its structure, this special type of glass becomes far more resistant to thermal shock. It can handle significant temperature swings—like going from the cool environment of your refrigerator to the intense heat of a microwave—without compromising its integrity. The difference in thermal expansion is significant: borosilicate glass expands about one-third as much as regular soda-lime glass when heated.
This superior thermal resistance is the foundation of its durability and safety. To get the full picture of how this material outperforms others in every aspect of food storage, from the freezer to the pantry, you can Learn about borosilicate storage. This resilience makes it the ideal choice not just for reheating, but for a truly versatile meal prep system.
How to Spot Borosilicate Glass
While it’s not always stamped on the bottom, here’s how you can identify the good stuff:
- Reputable Brands: Brands that specialize in meal prep and food storage (like Pyrex, OXO, and Glasslock) often specify “borosilicate glass” in their product descriptions.
- Product Packaging: The box or online listing is your best source of truth. Look for explicit mentions of “borosilicate” or “thermal shock resistant.”
- Price and Feel: Borosilicate containers often feel slightly lighter than thick soda-lime glass containers of the same size and typically come at a slightly higher price point, reflecting their premium performance.
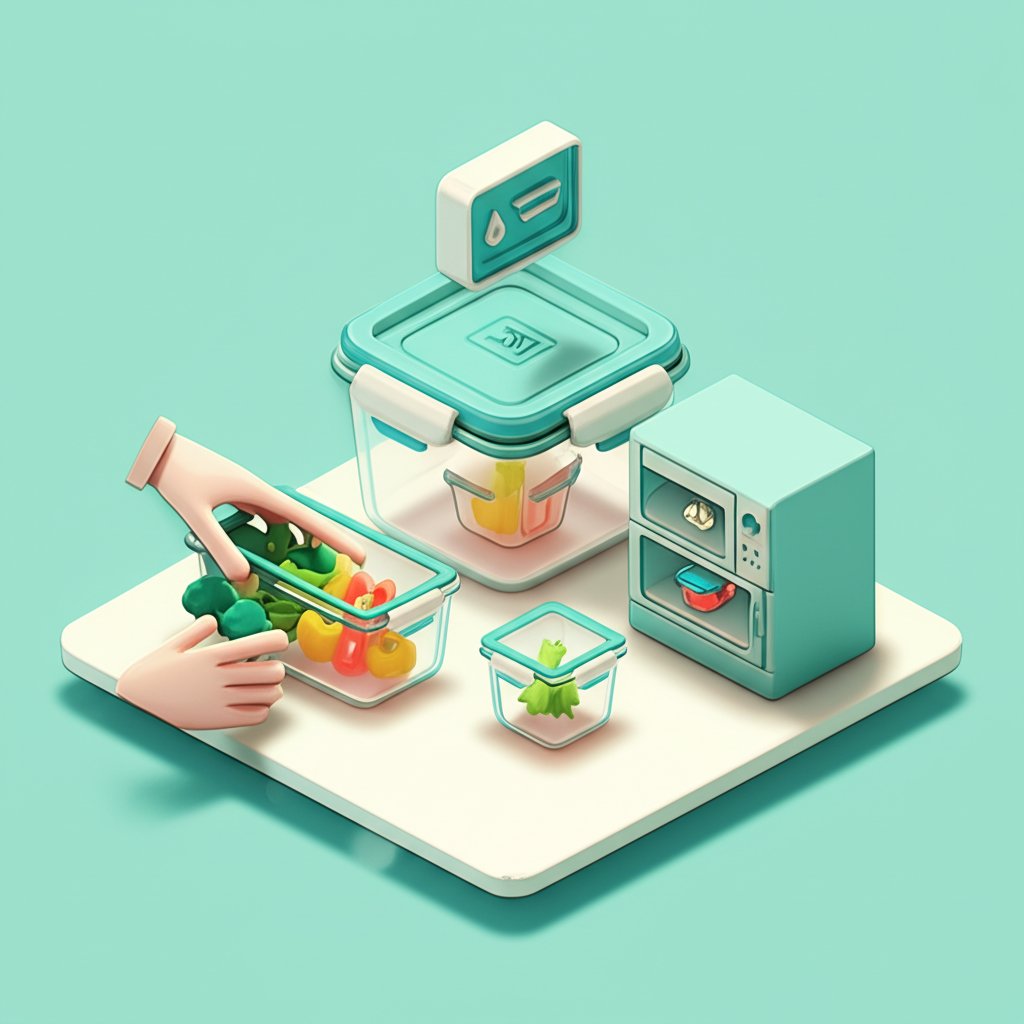
The Lid Dilemma: What to Look For and What to Avoid

The container itself is only half the equation. The lid plays a critical role in how well your microwave safe glass containers perform, affecting everything from leak-proofing to reheating quality. An ill-fitting or poorly designed lid can lead to messy splatters or, worse, dangerous pressure build-up.
Silicone vs. Plastic: The Material Breakdown
Lids are generally made from food-grade plastic or silicone, each with its own set of pros and cons for microwave use.
| Lid Material | Pros | Cons | Best For |
|---|---|---|---|
| BPA-Free Plastic | Rigid, secure locking tabs, often stackable. | Can warp over time with high heat, may retain odors or stains, should not touch food while microwaving. | Everyday storage and transport, with careful microwave use. |
| Silicone | Highly flexible, heat-resistant, doesn’t warp or stain easily, creates an excellent airtight seal. | Can be floppy, may attract dust/lint, sometimes more expensive. | Direct microwaving (when vented), freezer-to-microwave applications, long-term durability. |
| A common feature on high-quality lids is a silicone gasket or rim, even on a plastic lid. This creates that essential airtight and leak-proof seal that prevents your lunch bag from becoming a soup kitchen. |
The Importance of Venting (and How to Do It Right)
As food heats in the microwave, water turns to steam. If that steam has nowhere to go, pressure builds inside the container. This can cause the lid to pop off violently, splattering hot food everywhere, or in rare cases, create enough pressure to stress the glass.
Proper venting is the simple, non-negotiable solution.
- Built-in Vents: Many modern lids feature a small pop-up tab or plug. Simply lift this tab before microwaving to allow steam to escape safely while keeping splatters contained.
- Unlatching the Lid: If your lid has locking tabs on the sides, unlatch one or two of them. This breaks the airtight seal just enough for steam to vent.
- Resting the Lid Loosely: The easiest method is to simply place the lid on top of the container without sealing it. This acts as a splatter guard without trapping pressure.
Pro-Tip: Never microwave a glass container with an airtight lid fully sealed. It’s a recipe for a messy microwave and a potential safety hazard.
A Practical Playbook for Reheating in Glass

Using your microwave safe glass containers effectively is a skill. Following a few simple steps ensures your food is heated evenly and your containers last for years.
The Safe Reheating Ritual: From Fridge to Microwave
- Check for Damage: Before use, give your container a quick once-over. Look for any chips or cracks, especially around the rim. A small, unnoticed crack can become a major failure point when heated.
- Remove the Lid (or Vent It): As discussed, either pop the vent, unlatch the sides, or place the lid loosely on top. If you’re concerned about a plastic lid, remove it entirely and cover the container with a damp paper towel. This helps steam the food and prevents splatters.
- Use Medium Power for Dense Foods: Don’t just hit “high” for three minutes. For dense or thick foods like stews, casseroles, or a large portion of rice, use a lower power setting (around 50-70%). This allows the heat to penetrate to the center without overcooking and drying out the edges.
- Stir Halfway Through: For soups, sauces, and multi-component meals, stop the microwave at the halfway point and give the food a good stir. This redistributes the heat, eliminating those frustrating cold spots in the middle.
- Let It Rest: After the microwave beeps, let the container sit for a minute. The residual heat will continue to cook and distribute, ensuring a more evenly heated meal. Use oven mitts to remove the container, as the glass will be extremely hot.
Scenario: The Meal Prepper’s Monday Lunch
Imagine you’ve prepped a lunch of grilled chicken breast, quinoa, and steamed broccoli.
- Wrong Way: You grab the sealed container from the fridge, put it in the microwave, and hit “high” for 3 minutes. The result? The broccoli is mushy, the quinoa is dry on the edges and cold in the middle, the chicken is rubbery, and the lid has popped off from the pressure, leaving a mess.
- Right Way: You take the container from the fridge and pop the vent on the lid. You microwave it on 70% power for 90 seconds. You then take it out, stir the quinoa, and place the chicken on top. You microwave it for another 60-90 seconds on 70% power. After letting it rest for a minute, you have a perfectly and evenly heated, delicious meal.
Quick Answers to Common Questions
Getting the facts straight helps you use your containers with confidence. Here are some of the most frequent questions and misconceptions.
Q: Can you microwave glass straight from the freezer?
A: It’s risky and not recommended. While borosilicate glass is highly resistant to thermal shock, going from a freezing temperature (0°F / -18°C) to a high microwave heat is the most extreme temperature change possible. This puts maximum stress on the glass. To be safe, either let the container thaw in the refrigerator overnight or use your microwave’s defrost setting first before switching to a full-power heating cycle.
Q: Why did my glass container crack in the microwave?
A: This usually happens for one of three reasons:
- It wasn’t borosilicate glass. A standard soda-lime glass container cannot handle the rapid heating.
- There was a pre-existing, unseen flaw. A tiny chip from being dropped or knocked in the sink can compromise the container’s structural integrity, causing it to fail under heat stress.
- Extreme thermal shock. Placing a very cold container on high power or adding cool liquid to a very hot container can cause it to crack.
Q: Is it truly safe to microwave the plastic lid?
A: “Microwave safe” for plastic lids primarily means the material won’t melt or release harmful chemicals (like BPA) under normal reheating conditions. However, it’s always best practice to prevent the plastic lid from directly touching your food while it’s heating. High-fat foods, in particular, can get hot enough to potentially cause the plastic to pit or warp. Using a paper towel as a cover is the safest bet.
Q: If a glass container is microwave-safe, is it also oven-safe?
A: Not necessarily. This is a critical distinction. While most borosilicate glass bases are oven-safe (usually up to 400°F / 204°C), the lids are almost never oven-safe. Furthermore, some brands design their microwave-safe containers specifically for microwave use and explicitly state they are not for oven or stovetop use, as seen with some PlanetBox products. Always check the manufacturer’s instructions on the packaging or their website. Never assume.
Making the Right Choice for Your Kitchen
Switching to microwave safe glass containers is a simple upgrade that pays dividends in convenience, safety, and food quality. When you’re ready to buy or use your next set, keep this simple checklist in mind to ensure you get the best performance.
- Confirm the Material: Look for “borosilicate glass” on the packaging for maximum durability and thermal shock resistance.
- Inspect the Lid: Choose a lid with a secure, leak-proof seal (silicone gaskets are a plus) and a reliable venting mechanism.
- Follow the Reheating Ritual: Always vent the lid, use appropriate power levels, stir your food, and handle hot glass with care.
- Respect the Limits: Avoid extreme temperature changes, like going directly from freezer to high-power microwave, and always check if your container is oven-safe before using it in one.
By investing in the right materials and adopting these simple habits, you can confidently prep, store, and reheat your meals, knowing they’ll be just as safe and delicious as when you first made them.

- Sectioned Tupperware for Organized Meals and Snacks on the Go - March 7, 2026
- Meal Containers with Dividers Keep Foods Separate and Fresh - March 6, 2026
- Tupperware with Dividers Makes Entertaining Easy and Organized - March 5, 2026