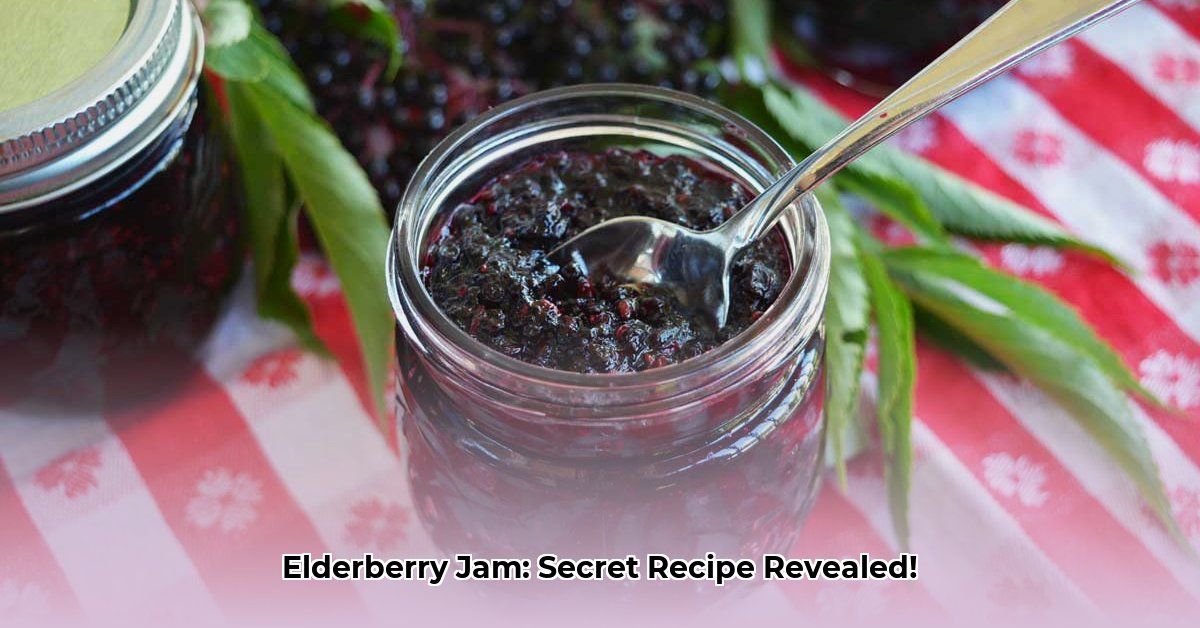
Want to make delicious, healthy elderberry jam? This guide shows you exactly how, from picking the best berries to safely canning your finished product. We’ll walk you through several recipes, explaining the science behind each step to make sure your jam is not only tasty but also safe to eat for months to come. Whether you’re a canning pro or a complete beginner, we’ve got you covered. Let’s get started on your journey to homemade elderberry goodness!
Elderberry Jam: A Comprehensive Guide
Let’s make some elderberry jam! This isn’t just a tasty treat but about creating delicious preserves safely. We’ll walk through each step, from berry picking to perfect jars on your shelf. Ready to roll up your sleeves and dive into making elderberry jam? This guide covers harvesting, recipes, canning, troubleshooting, and safe storage, ensuring a delightful and secure experience.
Identifying and Harvesting Elderberries
Elderberries grow wild in many regions and can also be cultivated in gardens. They are typically ready for harvest in late summer or early fall. The berries grow in clusters, and only fully ripe, dark purple or black elderberries should be harvested. Underripe or green berries can contain compounds that may cause stomach upset.
If foraging, be absolutely certain of your identification, as elderberries have poisonous look-alikes. Consult with local experts or use reliable field guides to confirm you have the correct plant. Avoid harvesting near roadsides or areas where pesticides may have been used.
When harvesting, snip off entire clusters of ripe berries with pruning shears. Handle the berries gently to avoid crushing them.
Preparing Elderberries for Jam
Once you’ve gathered your elderberries, the next step is preparation. Rinse the clusters under cool running water to remove any dirt, leaves, or insects.
De-stemming: Removing the tiny stems from each berry is crucial, as they can impart a bitter flavor to the jam. The easiest way to de-stem elderberries is when they’re frozen. Spread the clusters on a baking sheet and freeze for a few hours. Once frozen, the berries become brittle and easily detach from the stems. You can then rub the clusters between your hands or use a fork to gently separate the berries.
Sorting: Inspect the de-stemmed berries and remove any remaining green or unripe berries, stems, or debris.
Understanding the Science of Safe Jam Making
Preserving elderberries as jam involves several scientific principles that ensure both safety and quality:
- Acidity: Elderberries are naturally low in acid, which means they need added acid to prevent the growth of harmful bacteria, particularly Clostridium botulinum, which causes botulism. Lemon juice or vinegar is typically added to increase the acidity of the jam mixture.
- Sugar Concentration: Sugar acts as a preservative by lowering the water activity in the jam, making it difficult for microorganisms to grow. The sugar also contributes to the jam’s texture and flavor. A proper sugar-to-fruit ratio is essential for safe preservation.
- Pectin: Pectin is a natural substance found in fruits that helps jam to gel. Elderberries are relatively low in pectin, so many recipes call for added pectin or the inclusion of high-pectin fruits like apples or lemons.
- Heat Processing: Heating the jam mixture to a specific temperature (the “setting point”) activates the pectin and drives off excess moisture, resulting in a firm gel. Proper heat processing also destroys any spoilage organisms present in the fruit.
- Sealing: Creating an airtight seal on the jars prevents the entry of microorganisms and ensures long-term preservation.
Elderberry Jam Recipe Ideas
Here are two tested recipes to get you started. Always consult reputable canning guides (like those from Ball or the USDA) for detailed instructions and precise measurements. Safety first!
Recipe 1: Classic Elderberry Jam
This recipe uses a straightforward approach with a focus on pure elderberry flavor.
- 4 cups prepared elderberries (de-stemmed)
- 4 cups granulated sugar
- 1/4 cup fresh lemon juice
Recipe 2: Elderberry Apple Jam
The addition of apples provides natural pectin and a complementary flavor.
- 3 cups prepared elderberries (de-stemmed)
- 2 cups finely chopped apples (such as Granny Smith or Honeycrisp)
- 3 1/2 cups granulated sugar
- 1/4 cup fresh lemon juice
- 1/2 teaspoon ground cinnamon (optional)
Step-by-Step Guide to Making Elderberry Jam
- Prepare Equipment: Gather your ingredients and equipment. This includes a large, heavy-bottomed saucepan, a candy thermometer, a ladle, sterilized canning jars with lids and rings, and a jar lifter.
- Combine Ingredients: In the saucepan, combine the elderberries, sugar, and lemon juice. If using, add the chopped apples and cinnamon.
- Cook the Jam: Place the saucepan over medium heat and stir constantly until the sugar dissolves. Bring the mixture to a boil, then reduce the heat slightly and continue to cook, stirring frequently, until the jam reaches its setting point.
- Test for Setting Point: Use a candy thermometer to monitor the temperature. The jam is ready when it reaches 220-222°F (104-105°C). Alternatively, you can use the “cold plate test.” Place a small spoonful of jam on a chilled plate and return it to the freezer for a minute. If the jam wrinkles when you push it with your finger, it’s ready.
- Jarring: Remove the saucepan from the heat and skim off any foam from the surface of the jam. Ladle the hot jam into sterilized canning jars, leaving 1/4-inch of headspace. Wipe the jar rims clean with a damp cloth and place the lids on top. Screw on the rings until fingertip tight.
- Process in a Water Bath Canner (if needed): If your recipe calls for it and you want shelf-stable jam, process the filled jars in a boiling water bath canner for the time specified in your recipe (usually 10-15 minutes, depending on altitude).
- Cool and Check Seals: Remove the jars from the canner with a jar lifter and place them on a towel-lined surface to cool. Let them cool completely, without disturbing them, for 12-24 hours. After cooling, check the seals. The lids should be concave (curved inward) and not flex when pressed. If a jar didn’t seal properly, refrigerate it and use the jam within a few weeks.
Tips for Low-Sugar Elderberry Jam
If you’re looking to reduce the sugar content in your elderberry jam, here are a few tips:
- Use a low-sugar pectin: This type of pectin is designed to gel with less sugar than traditional pectin.
- Add high-pectin fruits: Incorporating fruits like apples, cranberries, or lemons can help the jam set with less sugar.
- Use a sugar substitute: If you’re willing to use sugar substitute, you can replace part of the sugar with a sweetener like stevia or erythritol. Be aware that these sugar substitutes can affect the taste and texture of the jam.
- Increase Lemon Juice: Adding lemon juice won’t only make your jam taste better, but it will help ensure the safety of your jam. It achieves this by raising the acidity of the jam, which will contribute to its perservative traits to keep it safe for consumption.
Troubleshooting Common Jam-Making Problems
- Jam doesn’t set: This is the most common problem. It can be caused by insufficient pectin, not enough sugar, or not cooking the jam to a high enough temperature. Try adding more pectin or lemon juice, or cook the jam for a longer time.
- Jam is too thick: This can be caused by too much pectin or cooking the jam for too long. Try adding a little water or lemon juice to thin it out.
- Crystals form in jam: This is usually caused by too much sugar. Try reducing the amount of sugar in the recipe or adding a little lemon juice.
- Mold grows on jam: This indicates that the jam was not properly processed or stored. Discard the moldy jam.
Storing Homemade Elderberry Jam
Proper storage is key to preserving the quality and safety of your homemade elderberry jam.
- Sealed Jars: Store sealed jars in a cool, dark, and dry place. Properly canned jam should last for at least a year.
- Opened Jars: Once opened, store jam in the refrigerator. It will typically last for several weeks.
- Freezing: Jam can also be frozen for longer storage. Transfer the jam to freezer-safe containers, leaving some headspace for expansion. Frozen jam will maintain its quality for up to a year.
Ensuring Safe Elderberry Jam Canning Using Minimum Sugar
Key Takeaways:
- Elderberries’ low acidity requires a high sugar content for safe canning to prevent botulism.
- Precise sugar-to-fruit ratios vary slightly depending on the recipe and source.
- Properly sterilizing equipment is crucial for food safety.
Making elderberry jam can seem daunting, especially when you’re aiming for a delicious spread with minimal added sugar. With careful attention to detail, you can safely create a unique and flavorful preserve while still enjoying the health
- Microwave Safe Glass Containers for Durable Everyday Food Prep - January 21, 2026
- Borosilicate Glass Containers Offer Superior Food Storage and Meal Prep - January 20, 2026
- Glass Lid Storage Containers Keep Food Fresh and Safe - January 19, 2026


