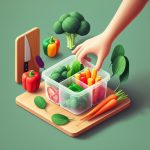
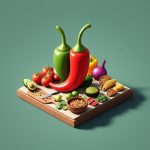
The dreaded “soggy lunch” is a meal prepper’s nemesis—crisp salads wilted by dressing, crunchy crackers turned soft by neighboring fruit. This is where divided food storage containers shift from a simple kitchen accessory to a strategic tool. By creating a boundary between your meal’s components, they preserve the texture and taste you worked so hard to prepare, making every bite as good as the first.
This isn’t just about avoiding mushy food; it’s about reclaiming time and taking charge of your nutrition with surgical precision. The average person spends nearly 365 hours a year preparing food, and mastering these containers can give you a significant chunk of that time back.
At a glance: What you’ll learn
- The Real Difference: A clear breakdown of when to choose high-quality glass versus modern, BPA-free plastic for your containers.
- Anatomy of a Perfect Container: Pinpoint the non-negotiable design features like leak-proof seals and smart compartment sizing.
- The Meal Prep Playbook: A simple framework for filling your containers to maximize flavor, nutrition, and efficiency.
- Long-Term Care: Actionable tips to prevent stains, warping, and odors, making your investment last.
- Common Pitfalls to Avoid: Learn the mistakes that ruin containers and sabotage your carefully prepped meals.
Material Matters: The Glass vs. Plastic Debate, Solved
Choosing between glass and plastic isn’t just about preference; it’s about matching the material to your lifestyle and the types of meals you prepare. Each has distinct advantages that make it the right choice for specific situations.
High-Quality Glass: The Durability Champion
Think of glass as the workhorse of your kitchen. Made from high-quality borosilicate glass, these containers are non-porous, meaning they won’t absorb food odors, flavors, or stains from sauces like tomato or curry. This makes them exceptionally easy to clean and keeps your food tasting pure.
- Best For: Reheating full meals, storing acidic or strongly flavored foods, and anyone concerned about chemicals leaching from plastic. Many are oven-safe (without the lid), allowing you to bake and store in the same dish.
- The Trade-Off: Glass is heavier and more expensive upfront. While durable, a drop on a hard floor can mean an instant replacement. It’s ideal for home-to-office commutes but can be cumbersome for those who walk long distances or travel frequently.
Case Snippet: A fitness enthusiast preps five identical chicken, broccoli, and sweet potato lunches every Sunday. They use glassdivided food storage containersbecause they can pop them directly into the office microwave for perfectly even heating without worrying about staining or warping. The food tastes fresh every time.
Modern Plastics: The Convenience King
Don’t dismiss plastic. Today’s high-quality, BPA-free options are a world away from the flimsy containers of the past. Their primary advantage is their lightweight and portable nature, making them the go-to for anyone on the move.
- Best For: Packing “no-reheat” meals like salads, wraps, or bento-style snacks; kids’ lunches; and situations where weight is a primary concern. They are also typically more affordable and less prone to breaking if dropped.
- The Trade-Off: Plastic can scratch over time, creating tiny crevices where bacteria can hide. It’s also prone to staining from vibrant foods and can absorb strong odors. You must always confirm it’s microwave-safe and never use it in a conventional oven.
Once you’ve chosen your container style based on these features, you can build a full meal prep strategy around them. To get the big picture on how they anchor your entire weekly plan, Discover meal prep’s secret weapon.
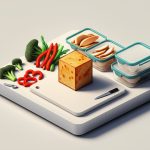
The Anatomy of a Perfect Divided Container
Not all containers are created equal. Beyond the material, a few key design elements separate the frustrating from the functional.
The Seal is Everything: Why Leak-Proof is Non-Negotiable
A weak seal is a deal-breaker. A top-tier container will feature a silicone gasket nestled inside the lid’s rim, creating an airtight and leak-proof barrier when the latches are snapped shut. This prevents dressings from spilling into your bag and keeps air out, preserving freshness longer.
Before you buy, inspect the lid. Does it have four sturdy locking tabs? Is the silicone ring removable for easy cleaning? A truly leak-proof design means you can confidently pack yogurt, soup, or saucy curries without a second thought.
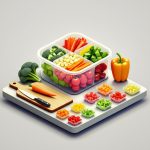
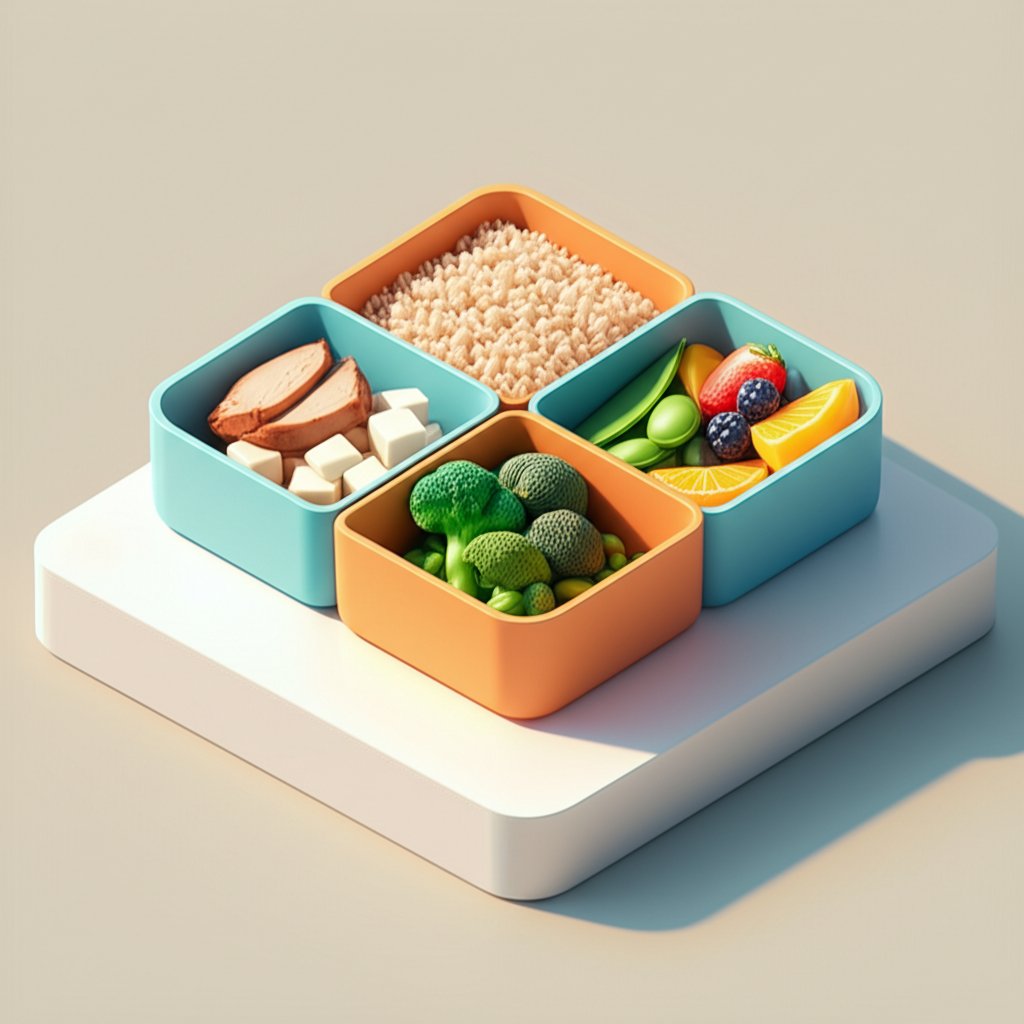
Compartment Configuration: Sizing Up Your Portions
The layout of the dividers is crucial for portion control and meal variety.
| Compartment Style | Best Used For | Example Meal |
|---|---|---|
| 2-Compartment | A main dish with a single side. Ideal for keeping a wet item separate from a dry one. | Chili in the large section, cornbread in the small one. OR Salmon and asparagus. |
| 3-Compartment | The classic “macro” meal: protein, carb, and vegetable. Offers balanced portion control. | Grilled chicken (large), quinoa (small), and roasted broccoli (small). |
| Bento-Style (4+) | Snack-heavy or deconstructed meals. Perfect for variety and smaller portions. | Grapes, cheese cubes, crackers, baby carrots, and a dollop of hummus. |
| Think about the meals you actually eat. If you favor a simple protein and veggie, a 2-compartment container is efficient. If you want a more balanced, visually portioned meal, the 3-compartment is your best bet. |
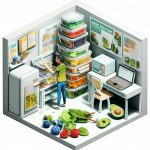
Stackability and Storage: Winning the Cabinet Game
This often-overlooked feature is a game-changer for kitchen organization. Look for containers with a uniform shape and lids designed to nest securely. A mismatched collection of round, square, and rectangular containers creates cabinet chaos. A uniform, stackable set creates neat, stable towers in your fridge and pantry, maximizing your storage space.
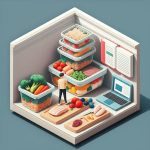
Your Meal Prep Playbook
With the right containers in hand, it’s time to put them to work. These strategies will help you streamline your meal prep process from planning to packing.
The “Macro-Mapping” Method
Use the compartments as a visual guide for building balanced meals. It removes the guesswork from portioning.
- Protein Power (Largest Compartment): Fill this section with your primary protein source—think baked chicken breast, grilled tofu, salmon, or a hearty bean salad.
- Complex Carbs (Smaller Compartment): Add a scoop of a slow-digesting carbohydrate like quinoa, brown rice, roasted sweet potatoes, or whole-wheat pasta.
- Fiber & Veggies (Smaller Compartment): Pack this section with colorful vegetables—steamed green beans, a fresh side salad, or roasted bell peppers.
This visual method ensures you’re getting a well-rounded meal without needing to meticulously weigh every single ingredient (though a food scale can help with precision).
Mistakes That Will Cost You Time and Money
Even the best containers can fail if misused. Avoid these common blunders to protect your investment and your food.
- The Unchecked Microwave Melt: Not all plastics are microwave-safe. Always check for the symbol (usually wavy lines) on the bottom of the container. When you do microwave, always vent the lid by unlatching it or opening the vent plug. A sealed container can build up steam pressure and warp or even explode.
- The Acid Test Failure: Storing highly acidic foods like tomato sauce or citrus-based dressings in plastic containers for extended periods is a recipe for permanent stains and pitting. Reserve your glass containers for these ingredients.
- The “I’ll Wash It Later” Regret: Allowing food residue, especially oils and pigmented sauces, to sit for days makes it nearly impossible to remove stains and odors. At a minimum, rinse your container immediately after use if you can’t wash it right away.
- The Worn-Out Seal Surprise: The silicone gasket is the heart of a leak-proof container. Periodically remove it and inspect for cracks, mold, or stretching. If it looks worn out, your container is no longer reliable for liquids.
Quick Answers to Common Questions
Are glass divided food storage containers better than plastic?
Neither is universally “better”—they excel at different things. Glass is superior for durability, purity (no staining or odors), and reheating. Plastic is the clear winner for portability, affordability, and situations where breakage is a concern (like kids’ lunches). The best solution is often having a small collection of both.
How do you stop food from getting soggy in a divided container?
The dividers are your first line of defense. Keep wet ingredients (like dressings, sauces, or juicy fruits) completely separate from dry ones (like crackers, croutons, or bread). For salads, pack the dressing in a tiny, separate container that fits inside a larger compartment. For things that release moisture, like cut cucumbers, you can place a small piece of paper towel in the compartment to absorb excess condensation.
Can you freeze meals in divided food storage containers?
Yes, but with care. Ensure your container is explicitly labeled as freezer-safe. When freezing liquids, leave about an inch of “headspace” at the top to allow for expansion. Glass is excellent for freezing but is susceptible to thermal shock—never move a glass container directly from the freezer to a hot oven or microwave. Let it thaw in the fridge first to prevent cracking.
What’s the best way to organize divided containers in my fridge?
Stacking is key. Choose a uniform set of divided food storage containers so they can be stacked vertically into a neat tower. This saves immense shelf space. Use a dry-erase marker or masking tape to label the lids with the contents and the date it was prepped. This first-in, first-out system ensures you eat the oldest meals first and reduce food waste.
Your First Step to Smarter Meal Prep
Feeling overwhelmed by the idea of a full-scale meal prep overhaul? Don’t be. The goal is to build a sustainable habit, not to achieve perfection on day one.
Start small. Purchase just one set of two or three high-quality divided food storage containers that fit your needs—perhaps a 3-compartment glass set. This week, commit to prepping only your lunches. Choose a simple, reliable meal you enjoy, like grilled chicken, brown rice, and steamed vegetables. Pack them up, stack them in the fridge, and see how it feels to have a delicious, portion-controlled meal ready to go each day.
By focusing on one small change, you’ll experience the immediate benefits—more time, less stress, and healthier choices—that make divided containers the true secret weapon of an organized life.

- The Best Veggies for Smart Meal Prep Choices - March 24, 2026
- Meal Prep Vegetables Simple Steps for Effortless Weekly Meals - March 23, 2026
- Potato Meal Prep Ideas Make Weeknight Dinners Simple - March 22, 2026