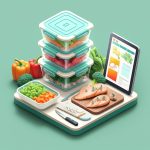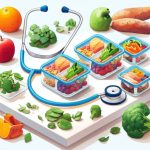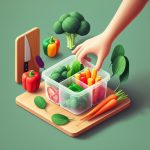
That chaotic Sunday night scramble—trying to pack lunches for the week, only to end up with a fridge full of mismatched containers and the grim prospect of a soggy salad by Tuesday. If this sounds familiar, you’ve stumbled upon the simple, elegant solution: divided containers. They aren’t just plastic boxes; they are a system for bringing order, efficiency, and even a little joy back to your meal prep routine.
By enforcing structure, these clever containers solve the most common meal prep frustrations before they even start, turning a dreaded chore into a streamlined, satisfying process.
At a Glance: Your Path to Simplified Meal Prep
This guide will give you the practical knowledge to master meal prep with divided containers. Here’s what you’ll walk away with:
- A clear framework for choosing the right container material—glass, plastic, or steel—for your specific lifestyle and needs.
- The “Compartment Math” to match the number of divisions to your eating style, from simple two-part meals to complex bento-style lunches.
- A step-by-step workflow to turn your Sunday meal prep into a fast, efficient assembly line.
- Actionable solutions for common problems like leaks, stains, and storage clutter.
- A quick-start decision guide to help you purchase your first set of containers with confidence.
Beyond Just Separating Food: The Real Wins of a Divided System
At first glance, the benefit of a divided container seems obvious: it keeps your peas from touching your mashed potatoes. But for a busy person, the advantages run much deeper, fundamentally changing the ease and effectiveness of your entire meal prep strategy.
Portion Control Becomes Automatic
One of the biggest hurdles in healthy eating is portion control. Divided containers solve this visually and structurally. There’s no need to pull out measuring cups or a food scale for every meal.
A standard three-compartment container naturally guides you toward a balanced plate. You intuitively fill the large section with your protein (like grilled chicken or tofu), and the two smaller sections with a complex carb (quinoa, brown rice) and a non-starchy vegetable (roasted broccoli, bell pepper strips). This simple layout removes the daily guesswork and decision fatigue associated with portioning.
Preserve the Integrity of Your Hard Work
You spent time crafting a delicious meal; the last thing you want is for it to turn into a homogenous mush in your lunch bag. This is where divisions are a game-changer for food quality.
- Texture: Keep crunchy separate from soft. A divider prevents the dressing from your salad from wilting your croutons or the juice from your fruit salad from turning your granola into paste.
- Flavor: Prevent “flavor bleed.” Strong flavors, like a balsamic vinaigrette or a curry sauce, are contained, ensuring your other meal components taste as intended.
- Temperature: While not insulated, separating components allows for selective reheating. You can scoop out the main course to microwave it while keeping the side salad or fresh fruit cool and crisp.
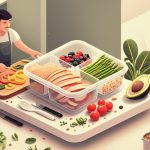
Streamline Your Meal Prep Assembly Line
Think of a professional kitchen. Chefs don’t cook one dish at a time; they work from an organized station with all components prepped and ready to assemble. Divided containers allow you to bring this “mise en place” efficiency to your home.
By lining up your empty containers, you create a clear, visual map for each meal. This batching process—filling all the grain compartments, then all the protein, then all the veggies—is exponentially faster than packing one unique lunch at a time. This streamlined system is a core reason people Discover meal prep’s secret weapon and finally stick with the habit long-term.
The Busy Person’s Guide to Container Materials

The material of your divided containers has the biggest impact on their day-to-day usability. There’s no single “best” option; the right choice depends on your commute, your reheating habits, and your tolerance for weight.
| Material | Best For | Key Pro | Key Con |
|---|---|---|---|
| Glass | Work-from-home, reheating main dishes | Won’t stain or hold odors; oven-safe | Heavy and breakable |
| BPA-Free Plastic | Commuting, kids’ lunches, cold meals | Lightweight and affordable | Can stain and warp over time |
| Stainless Steel | Salads, snacks, non-reheated meals | Extremely durable, lightweight | Not microwaveable |
Glass: The Durability Champion
Borosilicate glass containers are the gold standard for purity and longevity. Because glass is non-porous, it will never absorb the color of your tomato sauce or the smell of last week’s salmon. You can bake, microwave, freeze, and dishwash them without a second thought.
- Real-World Scenario: If you primarily work from home or have a dedicated office kitchen, glass is a fantastic investment. A batch of lasagna can be cooked directly in the glass container, stored in the fridge, and reheated in the microwave or oven without ever transferring it. The trade-off is weight; carrying three glass containers in a backpack is a noticeable burden.
BPA-Free Plastic: The Lightweight Workhorse
For anyone who commutes or needs to pack multiple meals, high-quality, BPA-free plastic is often the most practical choice. It’s significantly lighter than glass, far more affordable, and less prone to shattering if dropped. Modern plastics are durable, and many are designed for excellent stacking to save precious cabinet space.
- Real-World Scenario: A student or daily commuter can easily pack a plastic container for lunch and another for a post-workout snack without adding significant weight to their bag. The downside? They have a shorter lifespan. After many cycles through the dishwasher and microwave, they can begin to warp, and they are susceptible to staining from vibrant foods like turmeric or beets.
Stainless Steel: The Sleek and Sturdy Option
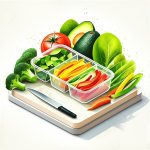
Stainless steel offers a compelling middle ground. It’s nearly as durable as glass but as lightweight as plastic. It won’t stain, retain odors, or break. This makes it a fantastic choice for salads, sandwiches, trail mix, and other cold or room-temperature meals.
- Real-World Scenario: It’s the perfect container for a large, deconstructed salad. You can keep leafy greens in the main compartment, with grilled chicken, cherry tomatoes, and a small container of dressing in the other sections. The major limitation is that you cannot put it in the microwave, making it a non-starter for meals that require reheating.
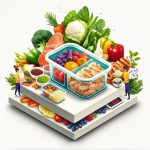
The Art of the Compartment: Matching Layout to Your Meals
The number of divisions in your container should be a deliberate choice based on the types of meals you actually eat.
The Two-Compartment Classic: Simple and Effective
This layout is the master of simple pairings. It’s perfect for a main dish and a single side, preventing one from making the other soggy.
- Best Uses: Chili with a side of cornbread; grilled chicken strips with roasted sweet potatoes; Greek yogurt with a separate serving of granola and berries. Its simplicity is its strength.
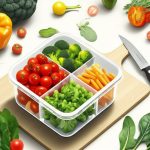
The Three-Compartment Standard: The Balanced Meal Blueprint
This is the most popular and versatile layout for a reason. It perfectly aligns with the “protein, carb, veggie” model of a balanced meal, making it the go-to for structured meal preppers.
- Best Uses: Salmon with quinoa and steamed asparagus; a tofu scramble with a side of black beans and a fruit salad; shredded barbecue chicken with mac and cheese and a side of coleslaw. It offers enough separation for variety without being overly complex.
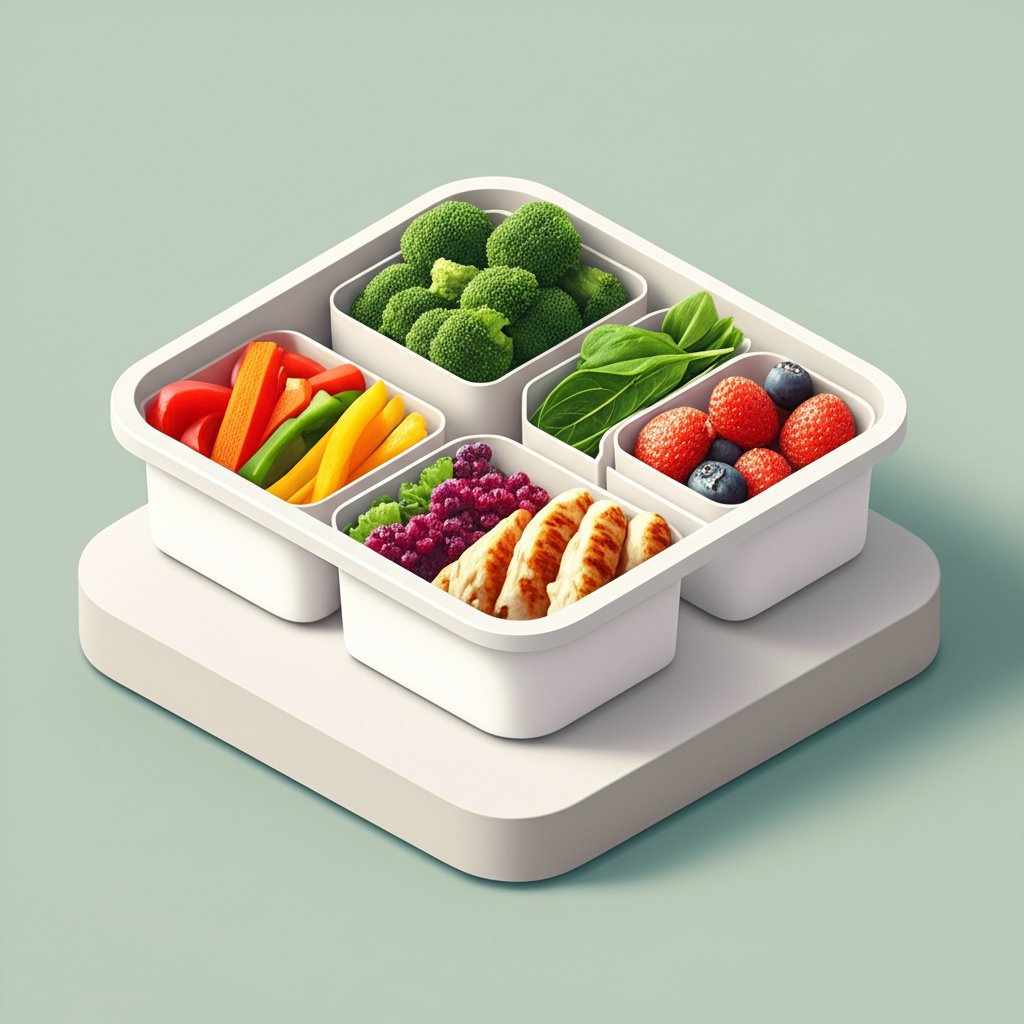
The Bento Box Style (4+ Compartments): For Variety and Snacking
If your idea of a perfect lunch is more of a “graze board” than a single dish, the bento style is for you. With four or more small compartments, it’s designed for assembling meals from multiple small components.
- Best Uses: A deconstructed lunchable with cheese cubes, whole-wheat crackers, deli turkey, and grapes; a Mediterranean platter with hummus, pita wedges, cucumber slices, and feta cheese. It excels at keeping many distinct items fresh and separate.
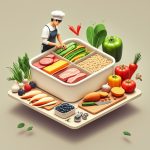
Your Sunday Prep, Simplified: A Step-by-Step Workflow
With the right divided containers, your weekly prep session can be a short, satisfying ritual instead of a long, drawn-out chore.
- Plan a Container-Friendly Menu. Focus on foods that hold up well for several days. Think grain bowls, roasted vegetables, sturdy greens (like kale), grilled meats, and bean salads. Avoid delicate greens or foods that get soggy quickly.
- Batch Cook Components Separately. Don’t cook the final “dish.” Instead, cook your base ingredients: a large pot of quinoa, a sheet pan of roasted broccoli and carrots, a batch of grilled chicken thighs.
- Cool Everything Completely. This is the most-skipped and most-critical step. Putting warm food into a sealed container creates steam and condensation, which is the #1 cause of sogginess. Let all cooked components cool to room temperature on the counter before assembling.
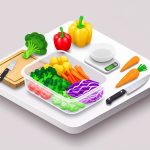
- Set Up Your Assembly Station. Line up your open containers on the counter. Arrange your cooked components in bowls, creating an assembly line.
- Fill with a Strategy. Start with the sturdiest or sauciest items, like rice or chili. Add proteins and roasted vegetables next. Use the smallest compartments for delicate items, toppings, or sauces (like nuts, shredded cheese, or dressing) that you want to keep separate until the last minute.
- Seal, Label, and Stack. Secure the lids firmly. Use a small piece of masking tape or a dry-erase marker on the lid to note the contents and the date. Stack them neatly in the fridge, with the meals you’ll eat first at the top for easy access.
A Quick Case Study: Mark, a busy software developer, used to skip lunch or order expensive takeout. Now, he spends 45 minutes on Sunday prepping five three-compartment containers. He fills them with a scoop of seasoned ground turkey, a side of black beans and corn, and a small portion of brown rice. He keeps a bag of shredded lettuce and small containers of salsa at work to top it off. This system saves him over $50 a week and eliminates lunchtime decision fatigue.
Quick Answers: Clearing Up Common Confusion
Frequently Asked Questions About Divided Containers
Q: Are divided containers truly leakproof?
A: This varies wildly by brand and lid design. The most reliable leakproof containers have a silicone gasket embedded in the lid and four locking clasps that snap down on all sides. A simple press-on lid is rarely sufficient for liquids. If you plan to transport soups or very saucy dishes, look specifically for models advertised as “100% leakproof” and test it at home with water first.
Q: Can I put hot food directly into my plastic containers?
A: It’s strongly recommended to let food cool down first. Placing steaming hot food into a sealed plastic container can cause the plastic to warp over time. More importantly from a food safety perspective, it traps heat and can keep the food in the temperature “danger zone” (40°F to 140°F) for longer, which can promote bacterial growth. Let it cool on the counter for 20-30 minutes before packing.
Q: Do I really need different types of divided containers?
A: You don’t need them, but having a small, curated collection offers immense flexibility. Owning a set of 3-compartment glass containers for reheatable dinners and a set of 2-compartment lightweight plastic containers for on-the-go lunches allows you to choose the perfect tool for the job every time.
Q: How do I get stubborn stains and smells out of plastic containers?
A: For tomato-based stains (the most common culprit), wash the container and then leave it in direct sunlight for several hours; the UV rays naturally bleach the stain away. For lingering smells like onion or garlic, make a thick paste of baking soda and water, coat the inside of the container, and let it sit overnight before washing.
Your First Step to a Simpler Week
Ready to commit? Don’t get overwhelmed by the options. Use this simple decision guide to make a confident first purchase.
Your Quick-Start Guide to Divided Container Success
Step 1: Assess Your Primary Use Case.
- If you commute daily and prioritize a light bag…
- → Start with a set of high-quality, BPA-free plastic containers.
- If you work from home or want maximum durability for reheating…
- → Invest in a set of glass containers.
- If you mostly pack salads, sandwiches, and cold snacks…
- → Consider the versatility and durability of stainless steel.
Step 2: Choose Your Go-To Layout. - If you eat balanced, structured meals (protein/carb/veg)…
- → Your workhorse will be the 3-compartment container.
- If you prefer a simple main with one side or a separate snack…
- → The 2-compartment layout is perfect.
Step 3: Start Small and Test.
Resist the urge to buy a 40-piece mega-set. Purchase one set of 3 to 5 containers that fits your criteria from steps one and two. Use them for one full week. See how they fit in your dishwasher, your fridge, and your lunch bag. This small, focused test will tell you everything you need to know, saving you money and cabinet space in the long run.
By making one smart purchase, you’re not just buying boxes; you’re buying back your time, reducing your stress, and building a sustainable system for healthier, easier weeks ahead.

- Healthy Recipes for Busy Professionals Offer Smart Meal Prep Solutions - April 2, 2026
- Healthy Meal Prep Ideas for Busy Schedules to Simplify Your Week - April 1, 2026
- Healthy Meal Prep Ideas for Busy Professionals Conquer Your Week - March 31, 2026