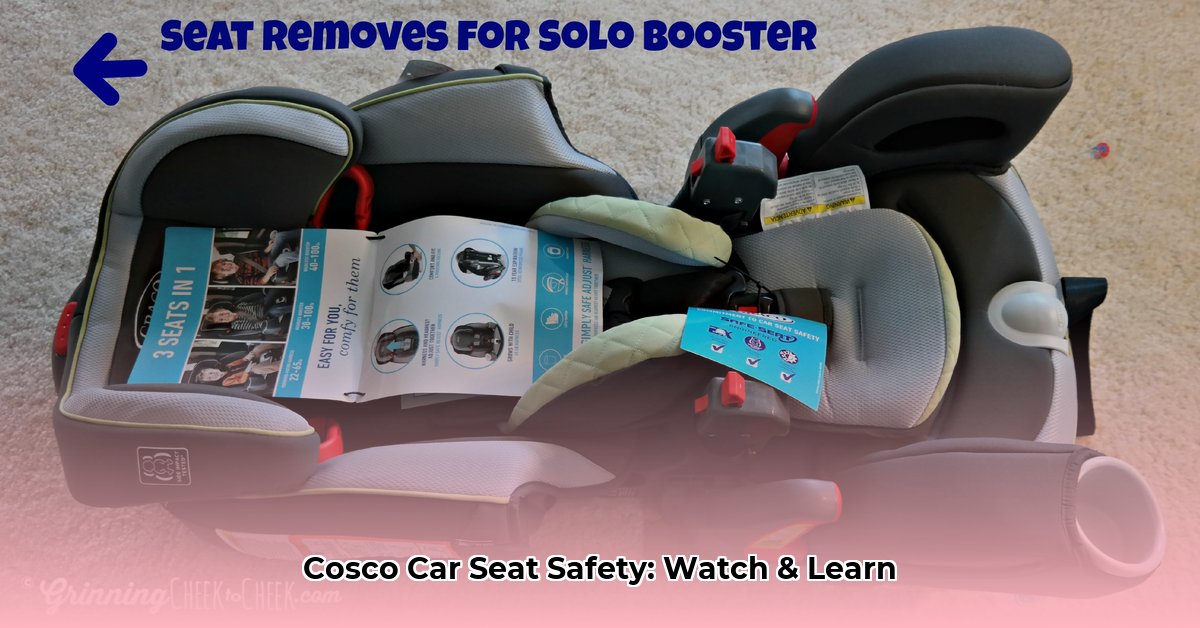
Choosing and Preparing Your Cosco Car Seat
Picking the right car seat is crucial for your child’s safety. Just like shoes, car seats come in different sizes, and choosing the correct Cosco car seat for your child’s age, weight, and height is the first step. Consult Cosco’s website (https://www.coscokids.com/) for their latest models. Before installation, locate the manufacture date and model number on your car seat–this information is vital for accessing the correct manual and the most up-to-date safety information. Registering your car seat with Cosco allows them to contact you with important safety updates and recalls.
Before installing, familiarize yourself with both your car seat manual and your vehicle owner’s manual. These manuals provide essential information regarding compatibility, weight and height limits, and the location of LATCH and tether anchors in your vehicle. Gather a small towel (for leveling on sloped seats) and a locking clip (if required by your car’s manual). Lastly, loosen the harness straps and adjust the headrest to its lowest setting on the car seat before installation.
Installing Your Cosco Car Seat: A Step-by-Step Guide
You have two primary installation methods: LATCH and seatbelt. Both are equally safe when used correctly, but compatibility varies between car seats and vehicles. Your car seat manual will clarify which method is recommended.
LATCH Installation
LATCH (Lower Anchors and Tethers for Children) uses built-in anchors in your car. Most vehicles manufactured after 2002 have these lower anchors.
- Locate Lower Anchors: These are typically between the seat cushions. Your vehicle owner’s manual will pinpoint their exact location.
- Connect Lower Connectors: Push the car seat’s lower connectors onto the anchors until you hear a click. Tug firmly on each connector to verify a secure connection.
- Rear-Facing Installation: Recline the seat to the appropriate angle (check your manual). A rolled-up towel can help achieve this.
- Forward-Facing Installation: Attach the tether strap to the tether anchor. Tighten both the tether strap and lower LATCH straps, minimizing slack. The car seat should not move more than an inch.
- Tighten Straps (Both Rear and Forward-Facing): Push down on the car seat while tightening the straps to minimize movement at the belt path.
Seatbelt Installation
If your car doesn’t have LATCH or if your child has outgrown the LATCH weight limit, use the seatbelt method.
- Route the Seatbelt: Thread the seatbelt through the correct belt path on your car seat, as indicated in the manual.
- Buckle and Tighten: Buckle the seatbelt and pull it tight, removing all slack.
- Lock the Seatbelt: Some cars have automatic locking retractors; others need a locking clip. Refer to your vehicle owner’s manual.
- Rear-Facing (Tether Optional): Attach the tether strap if your car seat model includes one for rear-facing installations.
- Forward-Facing (Tether Required): Always use the tether strap for forward-facing installations. Attach it securely to the tether anchor in your vehicle.
Booster Seat Installation
Booster seats use the vehicle’s seatbelt to secure both the booster and your child.
- Position Booster: Place the booster seat on the vehicle’s back seat.
- Child’s Position: Ensure your child sits upright and comfortably.
- Lap Belt Placement: Position the lap belt low across your child’s hips and thighs, never on their stomach.
- Shoulder Belt Placement: Route the shoulder belt across your child’s chest and collarbone, fitting snugly but not too tight. Avoid neck or face contact.
Post-Installation Check: The One-Inch Test
Regardless of the installation method, vigorously shake the car seat at the belt path. If it moves more than one inch in any direction, it’s not secure enough – retighten the straps or recheck the installation.
Rear-Facing vs. Forward-Facing: Choosing the Safest Direction
For infants and toddlers, rear-facing is the safest option. It cradles the child’s head, neck, and spine, minimizing impact during a crash. Consult your car seat manual for the recommended rear-facing weight and height limits. Transition to forward-facing only when your child surpasses these limits.
Troubleshooting and FAQs
Q: Where can I find my Cosco car seat manual?
A: The Cosco website (https://www.coscokids.com/) offers downloadable manuals.
Q: Do I need to register my car seat?
A: Yes, registration enables Cosco to notify you about crucial safety updates and potential recalls.
Q: When can my child move to a booster seat?
A: Your car seat manual and state laws provide specific guidelines. Generally, this transition occurs when a child outgrows the forward-facing limits of their harnessed car seat.
Troubleshooting Tips:
- Loose Straps: Re-thread and tighten.
- Seatbelt Won’t Lock: Check your car manual; you may need a locking clip.
- LATCH Issues: Verify compatibility. Use the seatbelt method if LATCH is not compatible.
- Wobbly Car Seat: Double-check connections and retighten straps. A non-slip mat may help on a slippery seat.
- Missing Tether Anchor: Consult your vehicle owner’s manual.
If you are unsure about any aspect of car seat installation, consult a Certified Child Passenger Safety Technician (CPST). They can provide personalized guidance and ensure your car seat is installed correctly, giving you peace of mind. While this guide offers comprehensive information, remember that car seat safety recommendations can evolve with ongoing research. Staying informed about current best practices is essential.
- Healthy Food Near Me That Delivers Warm, Fresh, Ayurvedic Indian Tiffins - January 7, 2026
- Low Sodium Meal Plans Delivered Make Healthy Eating Easy - January 6, 2026
- Find Low Sodium Meal Prep Delivery For Heart Health - January 5, 2026


