The midday slump is real. It’s 12:30 PM, your stomach is growling, and you’re facing a familiar, frustrating choice: forage for overpriced takeout, assemble a sad desk lunch from office snacks, or stare into your fridge at home, hoping for a miracle. There’s a better way, and it doesn’t involve a microwave. The secret is cold meal prep—a simple, strategic approach to food that reclaims your lunch break and sets you up for a week of delicious, no-heat meals.
Forget soggy sandwiches and bland salads. We’re talking vibrant grain bowls, crisp mason jar salads, satisfying protein boxes, and flavorful wraps that are ready the moment you are. This is your definitive guide to mastering the art of the prepped, chilled lunch.
At a Glance: Your Quick Guide to Cold Meal Prep
- What is it? The practice of preparing lunches for several days in advance that are designed to be eaten cold or at room temperature.
- The Big Wins: You’ll save significant time and money, reduce daily stress, and gain total control over your nutrition.
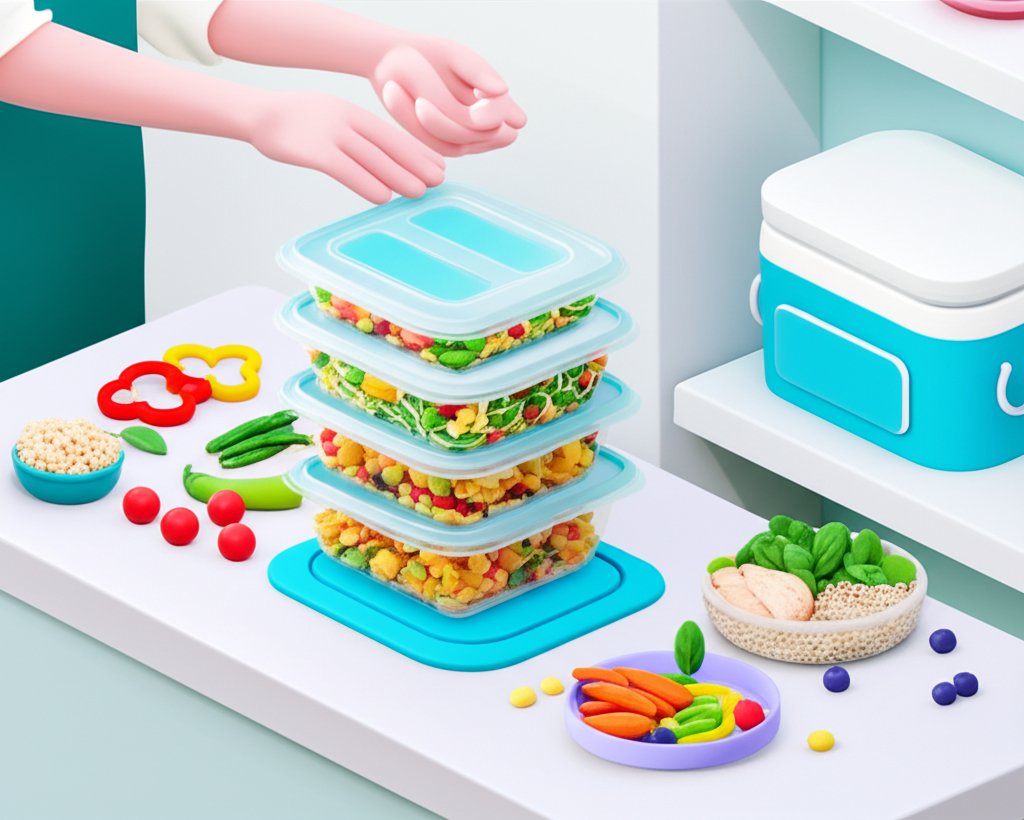
- Key to Success: Start small with just one or two recipes. Use quality airtight containers (glass is fantastic) and learn the art of strategic layering to keep ingredients fresh.
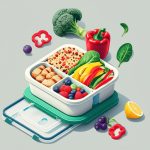
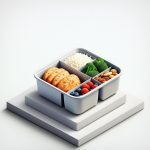
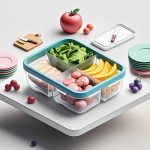
- Core Concepts: Master foundational ideas like mason jar salads, bento-style snack boxes, grain bowls, and wraps. These formats are endlessly customizable.
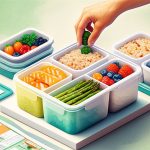
- Beat the Boredom: Prep individual components—like grilled chicken, roasted veggies, and cooked quinoa—to mix and match different combinations throughout the week.
Why a No-Heat Lunch Is Your New Weekday Weapon
Before we dive into the “how,” let’s talk about the “why.” Embracing the cold lunch isn’t just about avoiding the office microwave queue. It’s a strategic move that pays dividends all week long.
First, the health benefits are undeniable. When you prepare your own meals, you are the head chef and nutritionist. You control the ingredients, ditching the hidden sugars, excessive sodium, and unhealthy fats often lurking in restaurant meals and pre-packaged foods. You can prioritize lean proteins, fiber-rich whole grains, and a rainbow of fresh vegetables to fuel your afternoon, not weigh it down.
Then there’s the time and money. Dedicating a couple of hours on a Sunday to prepping can save you 15–30 minutes every single day. That’s time you get back for a walk, a coffee break, or just a moment of peace. The financial savings are just as compelling; the cost of a week’s worth of homemade lunches is often equivalent to just one or two days of buying takeout.
Finally, consider the mental clarity. Decision fatigue is a real drain on your productivity. By eliminating the daily “What’s for lunch?” debate, you free up mental energy for more important tasks. Your delicious, healthy lunch is already made. All you have to do is enjoy it.
Your No-Fuss Blueprint for Getting Started
The idea of meal prepping can feel overwhelming, but it doesn’t have to be. The key is to build a simple, repeatable system.
1. Start Small, Win Big
Don’t try to prep five brand-new, complex recipes your first week. You’ll end up with a messy kitchen and a mountain of food you might not even like.
Instead, pick just one or two recipes to try. Maybe it’s a simple chicken salad for wraps and a big batch of quinoa for grain bowls. Once you get comfortable with the workflow, you can expand your repertoire.
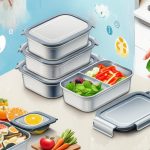
2. Gear Up (But Keep It Simple)
You don’t need a kitchen full of expensive gadgets. Focus on the essentials:
- High-Quality Containers: Airtight seals are non-negotiable. Glass containers are an excellent investment; they don’t stain or retain odors, are microwave-safe (for other meals), and keep food exceptionally fresh. Look for ones with snap-on lids.
- An Insulated Lunch Bag: To get your food from home to the office safely, a good insulated bag is a must.
- Ice Packs: Keep your food below the “danger zone” (40°F) until you can get it into a refrigerator.
- Labels: A roll of masking tape and a marker are your best friends. Label each container with the contents and the date it was prepped. Your future self will thank you.
3. Break Down the Process
Don’t think of it as one giant “cooking” task. Break it into three manageable phases spread over a day or two.
- Plan (Friday): Decide what you’ll make for the week.
- Shop (Saturday): Get all your groceries with a detailed list.
- Prep (Sunday): Put on some music or a podcast and dedicate 1-2 hours to chopping, cooking proteins, and assembling.
The Building Blocks of a Perfect Cold Lunch
The beauty of cold meal prep lies in its versatility. By mastering a few core concepts, you can create an endless variety of exciting lunches.
The Unbeatable Mason Jar Salad
This isn’t a gimmick; it’s a feat of food science. The secret to a crisp, fresh salad on day four is strategic layering.
- Layer 1 (Bottom): Dressing. Pour 2-4 tablespoons of your favorite vinaigrette right at the bottom.
- Layer 2: Hard Veggies. Add sturdy ingredients that won’t get soggy from the dressing. Think carrots, cucumbers, bell peppers, red onion, or celery.
- Layer 3: Grains & Proteins. This is where you add your quinoa, chickpeas, black beans, grilled chicken, or hard-boiled eggs. This layer acts as a further barrier between the dressing and your greens.
- Layer 4: Softer Items. Add things like avocado, tomatoes, or cheese here.
- Layer 5 (Top): Leafy Greens. Pack your spinach, kale, or mixed greens right at the top, far away from the dressing.
When you’re ready to eat, just shake the jar vigorously to mix everything together and pour it into a bowl.
Next-Level Wraps and Pinwheels
Wraps are a fantastic vehicle for lean proteins and veggies. Use whole-wheat or spinach tortillas for a fiber boost. The key is to create a moisture barrier to prevent the tortilla from getting soft.
Spread a layer of hummus, cream cheese, or a thick Greek yogurt sauce on the tortilla first. Then, layer your fillings: sliced turkey or ham, cheese, crisp lettuce (like romaine), and tomato slices. Roll it up tightly, and for pinwheels, slice it into 1-inch rounds.
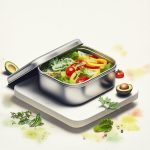
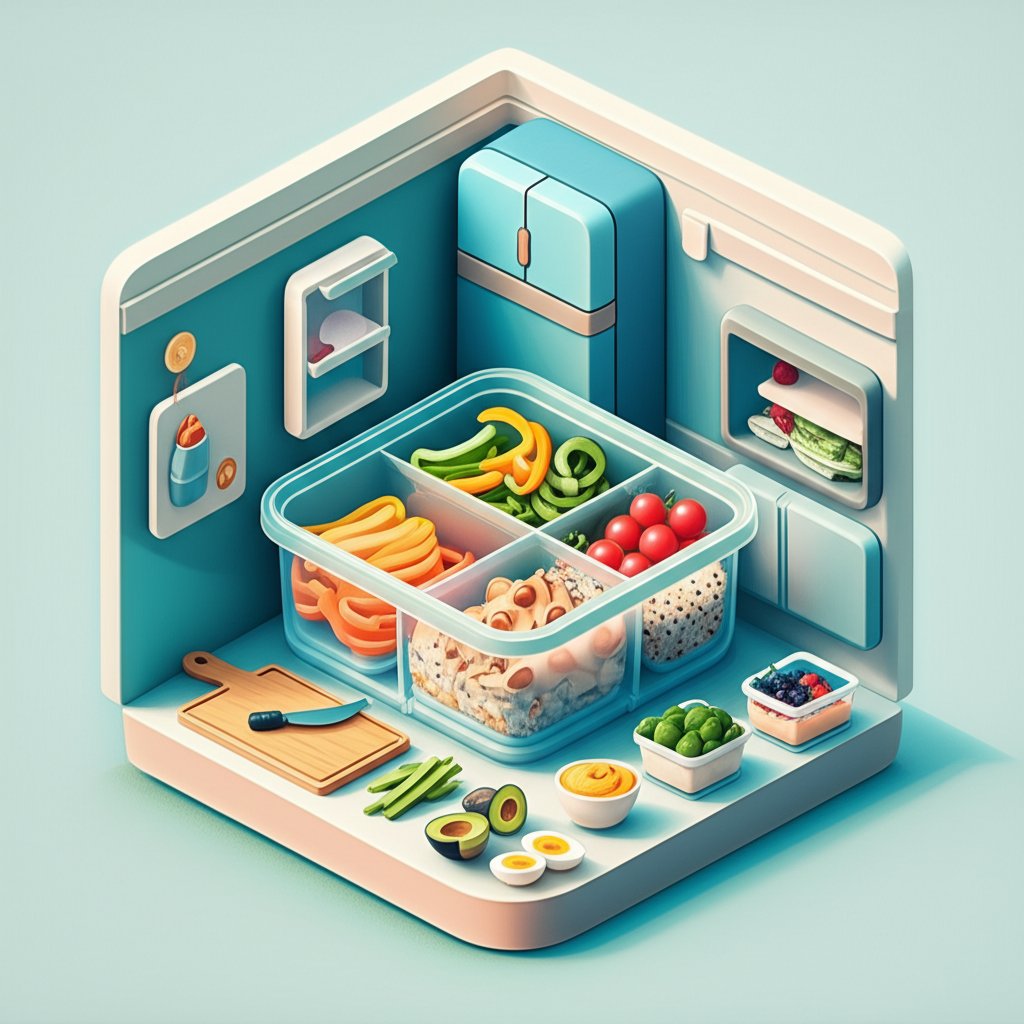
The Art of the Grain Bowl
Grain bowls are the ultimate mix-and-match lunch. They are filling, nutrient-dense, and incredibly easy to assemble if you prep the components ahead of time.
- The Base: Start with a cooked whole grain like quinoa, farro, or brown rice.
- The Protein: Add a scoop of grilled chicken, chickpeas, lentils, or baked tofu.
- The Veggies: Pile on roasted vegetables (like sweet potatoes or broccoli) and fresh ones (like cherry tomatoes or shredded carrots).
- The Finishes: Top it off with healthy fats like avocado or a sprinkle of sunflower seeds, and a drizzle of sauce like a tahini dressing or a dollop of hummus.
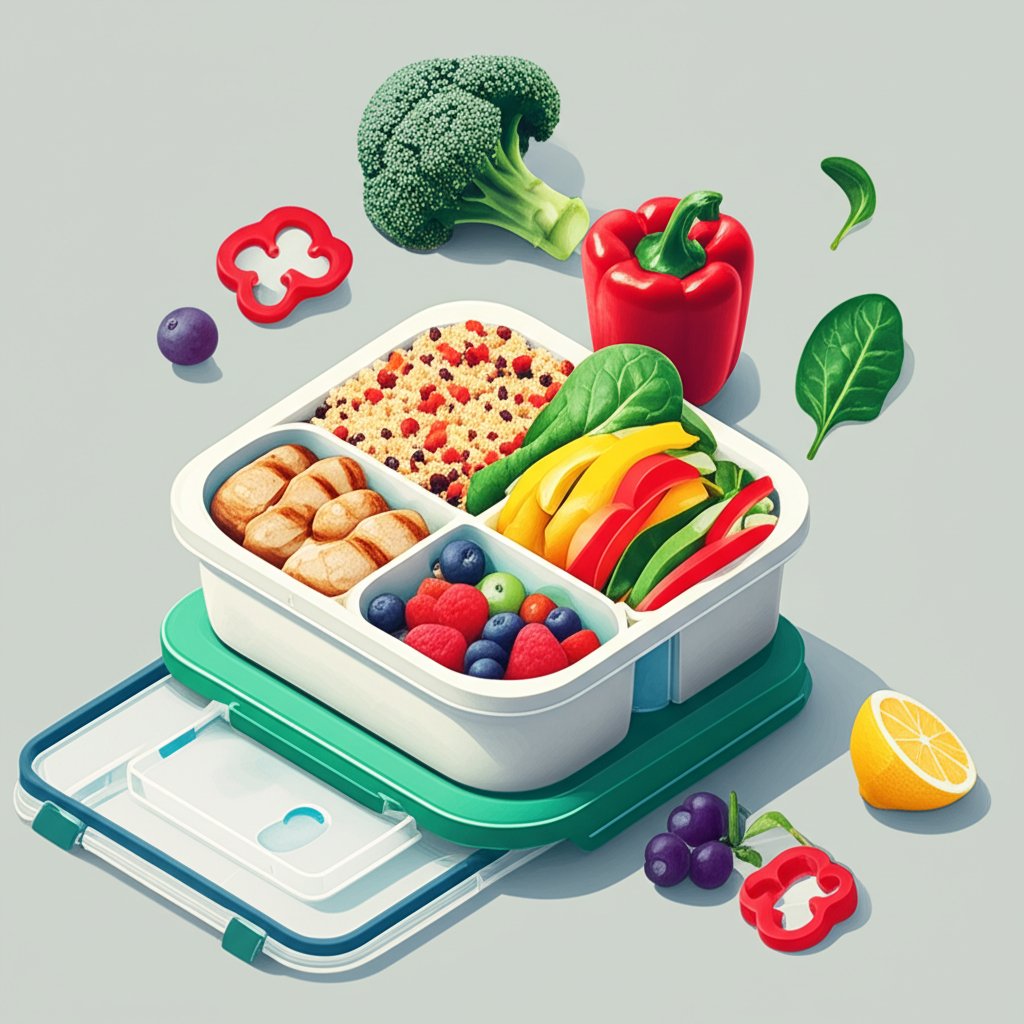
Adult Lunchables: Snack Boxes & Bento
Channel your inner child with a sophisticated, healthy take on the classic lunch kit. This is less a recipe and more of an assembly job. The goal is to hit a balance of protein, healthy fats, and complex carbs.
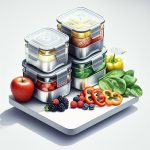
Pack a container with a variety of items:
- Cubes of cheddar or provolone cheese
- Whole-wheat crackers or pretzels
- Baby carrots and cucumber slices with hummus
- Grapes, apple slices, or a handful of berries
- A hard-boiled egg
- A small handful of almonds or walnuts
A Week of Inspiration: Cold Lunch Ideas You’ll Actually Crave
Ready to move beyond the basics? Here are some concrete ideas to get your creative juices flowing. These recipes are perfect examples of Easy cold meal prep that you can rely on week after week.
Creamy & Classic Salads
These protein-packed salads are perfect for scooping onto lettuce cups, serving with crackers, or stuffing into a wrap.
- Classic Chicken Salad: Combine shredded rotisserie chicken, Greek yogurt or mayo, celery, red onion, and halved grapes.
- Cranberry Pecan Chicken Salad: A fall-inspired twist with dried cranberries and toasted pecans.
- No-Chop Tuna Salad: Mix canned tuna with hummus or mashed avocado, relish, and a squeeze of lemon juice.
- Buffalo Chicken Salad: Mix shredded chicken with Greek yogurt and a few dashes of your favorite hot sauce.
Hearty Bowls That Fill You Up
These bowls are complete meals that will keep you energized all afternoon.
- Mediterranean Power Bowl: A base of quinoa topped with cucumbers, tomatoes, chickpeas, Kalamata olives, feta cheese, and a dollop of hummus.
- Turkey Taco Bowl: Seasoned ground turkey (pre-cooked and cooled) over a bed of romaine with black beans, corn, pico de gallo, and a scoop of Greek yogurt instead of sour cream.
- Salmon Sushi Bowl: Cubed, pre-cooked salmon over cooled rice with edamame, shredded carrots, cucumber, and a drizzle of soy-ginger dressing.
- Vegan Sweet Potato Chickpea Buddha Bowl: Roasted sweet potato cubes and chickpeas over mixed greens with a lemon-tahini dressing.
Grab-and-Go Wraps & Rolls
Perfect for days when you need to eat on the move.
- Turkey Ranch Club Wrap: Sliced turkey, cooked bacon, cheddar cheese, tomato, and romaine lettuce rolled in a tortilla with a light ranch dressing.
- Fresh Veggie Spring Rolls: Rice paper wrappers filled with shredded carrots, cucumber sticks, cilantro, and rice noodles. Serve with a simple peanut sauce for dipping.
- Collard Green Wraps: A great gluten-free option. Use a large, sturdy collard green leaf as your “tortilla” and fill it with hummus and your favorite veggies.
Solving Common Cold Meal Prep Problems
Even seasoned preppers run into a few hurdles. Here’s how to troubleshoot the most common issues.
How do I keep my salads from getting soggy?
This is the number one fear, and it’s easily solved. The answer is separation. Either pack your dressing in a small, separate container or use the mason jar layering method described above. Never dress your greens until you’re ready to eat.
How long will my prepped meals last in the fridge?
Most prepped lunches will stay fresh and safe to eat for 3-5 days when stored in an airtight container in the refrigerator. Meals with fish or very delicate ingredients are best eaten within 3 days. Always use your best judgment—if it looks or smells off, don’t risk it.
Won’t I get bored eating the same thing all week?
Variety is the key to long-term success. You don’t have to eat the exact same meal five days in a row. Try prepping components instead of full meals. For example, on Sunday, you could grill a batch of chicken, roast a pan of vegetables, and cook a pot of quinoa. Then, each day you can assemble them differently: as a grain bowl on Monday, in a wrap on Tuesday, and on top of a salad on Wednesday. You can find many more Easy cold meal prep combinations with just a few core ingredients.
What are the best containers to use?
While any airtight container will work, many people prefer glass for a few reasons. It’s non-porous, so it won’t absorb stains or odors like plastic can. It’s also more durable and better for the environment. That said, high-quality, BPA-free plastic containers are lighter and less prone to breaking, which can be a plus for commuting.
Your First Cold Meal Prep Sunday
Feeling inspired? Let’s turn that inspiration into action. Here is a simple, five-step plan to conquer your first cold meal prep session this weekend.
- Choose ONE Recipe. Don’t overthink it. Pick one simple recipe from the list above, like the Mediterranean Power Bowl.
- Make Your Grocery List. Write down every single ingredient you need: quinoa, chickpeas, cucumbers, tomatoes, olives, feta, hummus. Check your pantry first!
- Block Out 90 Minutes. Find a time on Sunday when you won’t be rushed. Put on some tunes and clear your counter space.
- Prep Your Components. Cook the quinoa according to package directions and let it cool. While it’s cooking, chop your cucumbers, tomatoes, and olives.
- Assemble and Store. Divide the cooled quinoa among four or five containers. Top each with the chopped veggies, chickpeas, and feta. Pack the hummus in a separate small container or leave a space to add a dollop each morning. Seal them up, label them, and stack them in your fridge.
That’s it. You’ve just bought yourself four stress-free, healthy, and delicious lunches. Your week is already looking brighter.

- Cold Meal Prep Makes Healthy, Stress-Free Lunches Easy - March 9, 2026
- Meal Prep Ideas for Healthy Eating Throughout Your Busy Week - March 8, 2026
- Sectioned Tupperware for Organized Meals and Snacks on the Go - March 7, 2026