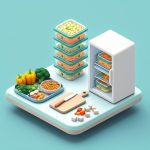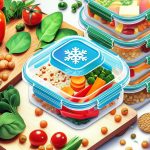
If you’ve ever opened your lunch bag to find a leaky, tomato-stained plastic container or reheated leftovers that taste faintly of yesterday’s garlic, you understand the meal prep struggle. It’s why so many people are making the switch to glass boxes for lunch. This isn’t just about aesthetics; it’s a strategic move for better-tasting food, easier cleanup, and a more sustainable routine.
At a Glance: Your Guide to Glass Lunch Containers
- Know Your Glass: Learn why borosilicate glass is the superior choice for handling temperature changes from freezer to oven.
- Compartments Matter: Discover how to choose the right layout—from single-section bowls to multi-compartment trays—for your specific meals.
- Lids are Key: Understand what makes a lid truly leak-proof and why you should almost never put it in the microwave.
- Master the Workflow: Get a practical, step-by-step process for cooking, packing, and reheating to preserve food texture and taste.
- Avoid Common Pitfalls: Find out how to prevent thermal shock, care for your containers, and make them last for years.
The Clear Advantage: What Truly Sets Glass Apart
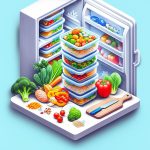
Plastic containers have been a kitchen staple for decades, but their limitations become obvious with regular use. They absorb odors, stain easily, and can warp in the dishwasher or microwave. Over time, they can even release microplastics into your food. Glass, on the other hand, offers a fundamentally better experience.
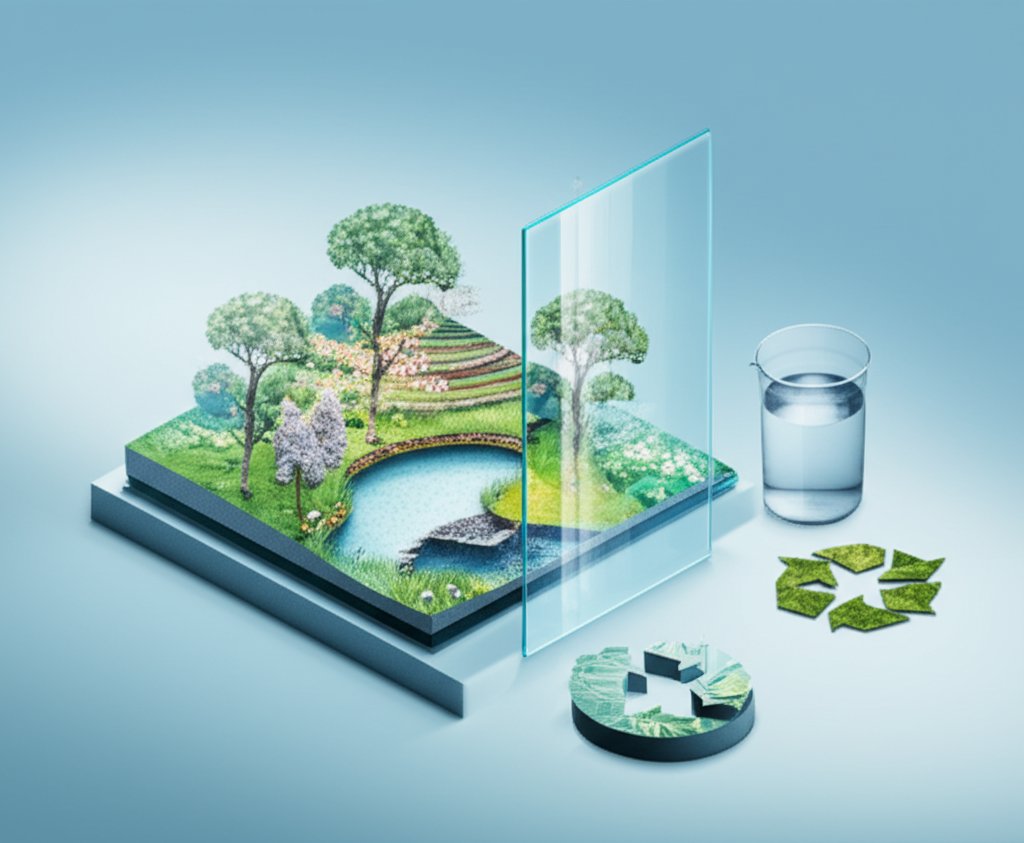
The magic is in its non-porous surface. That vibrant beet salad or rich curry won’t leave a permanent mark. Your food tastes cleaner because the container doesn’t hold onto the ghost of meals past. This is a core reason why using glass boxes for lunch elevates the entire meal prep process from a chore to a satisfying ritual. It’s a key part of a larger shift towards more mindful and durable food storage, a concept that makes the Bento box practical eco-friendly storage philosophy so appealing today.
Your Best Bet: Insist on Borosilicate Glass
Not all glass is created equal. You’ll primarily find two types used for food containers: soda-lime glass and borosilicate glass.
- Soda-lime glass is the standard material for drinking glasses and jars. It’s perfectly fine for storage at room temperature but can shatter when exposed to rapid temperature changes.
- Borosilicate glass is engineered with boron trioxide, which gives it superior thermal shock resistance. Think of it as the difference between a regular windowpane and the durable glassware used in a science lab.
This resistance is crucial for meal prep. A borosilicate container can often go from the freezer to a preheated oven (though it’s always safest to let it warm up a bit first) without cracking. Most reputable brands, like HOMBERKING and Fusion Gourmet, explicitly state they use borosilicate glass, giving you the confidence to batch cook, freeze, and reheat in the same dish.
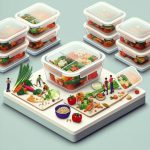
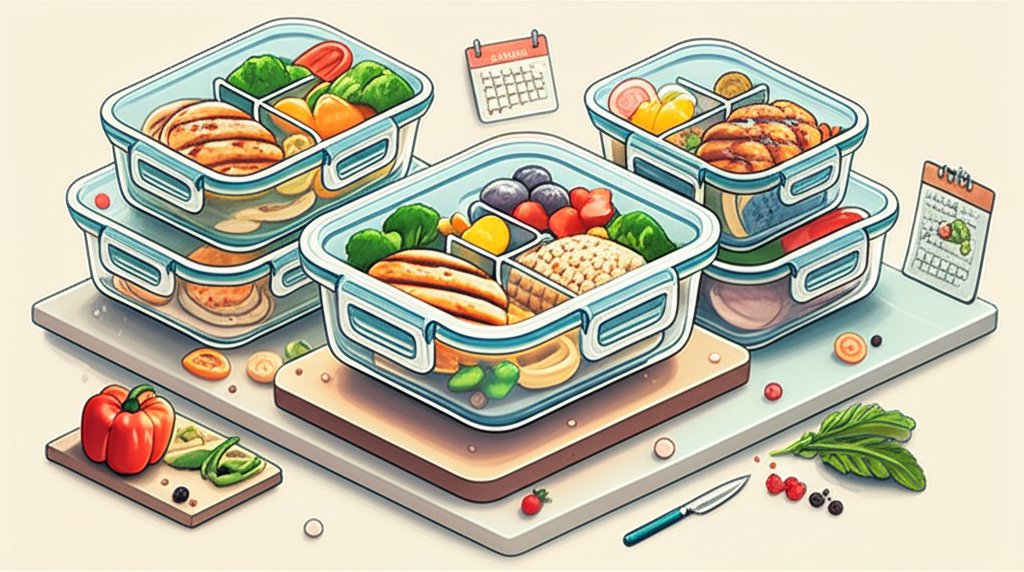
Decoding the Options: Find Your Perfect Meal Prep Partner
Choosing the right container isn’t just about picking a size; it’s about matching the design to the food you love to eat. The layout of your glass lunch box directly impacts portion control, food texture, and presentation.
Single vs. Multi-Compartment: A Strategic Choice
The first major decision is whether to use a single open container or one with built-in dividers. Each has a distinct purpose.
When to Go for a Single Compartment
A single, undivided container is your workhorse for “one-pot” style meals. They are perfect for dishes where you want the flavors to mingle.
- Best for: Soups, chilis, stews, large salads, pasta dishes, and casseroles.
- Real-World Example: You’ve made a large batch of lasagna. A large single-compartment container, like Fusion Gourmet’s 72 oz (9-cup) box, is perfect for storing a family-sized portion that can be reheated directly in the oven for dinner later in the week.
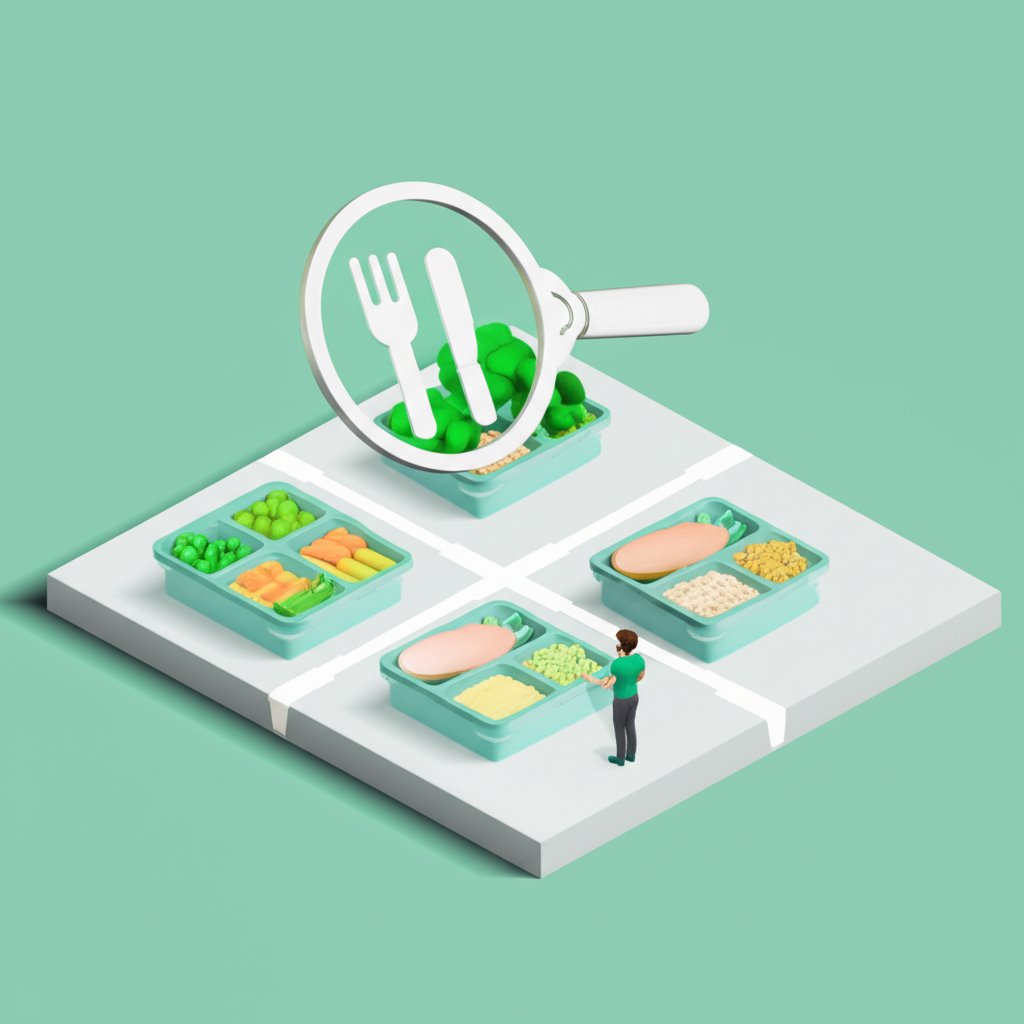
The Power of Dividers: Mastering Portion Control
Dividers are the key to keeping food separate, preserving textures, and building a balanced meal. They prevent your crunchy granola from getting soggy from your yogurt or your savory chicken from soaking up the juice from your fruit salad.
- 2-Compartment: This is the classic main-and-a-side layout. It’s ideal for simple, clean meals. Brands like M MCIRCO and KOMUEE offer multi-packs of 30 oz containers perfect for this.
- Meal Idea: Grilled salmon fillet on one side, roasted asparagus and lemon wedges on the other.
- 3-Compartment: The gold standard for a balanced meal following the protein-carb-vegetable model. The 36 oz, 3-compartment containers from KOMUEE or the Bentgo Glass model are excellent examples.
- Meal Idea: Shredded BBQ chicken in the largest section, a scoop of quinoa in another, and a crisp coleslaw in the third.
- 4+ Compartments & Specialty: These are for snack-focused lunches or deconstructed meals. Bentgo’s All-in-One Salad Container, with its 4-compartment tray, lets you keep toppings like nuts, croutons, and cheese separate from the greens until you’re ready to eat. For very specific portion needs, like for bariatric diets, you can even find containers with small 4 oz sections.
Here’s a quick reference to help you decide:
| Compartments | Best For | Example Meal |
| :— | :— | :— |
| 1 | Soups, stews, large salads, one-pot meals | Hearty lentil soup or leftover chicken alfredo |
| 2 | Main dish + one side | Teriyaki tofu with a side of steamed broccoli |
| 3 | Protein + carb + vegetable | Lean ground turkey, brown rice, and sautéed bell peppers |
| 4+ | Snack boxes, deconstructed meals, bento | Grapes, cheese cubes, crackers, and carrot sticks |
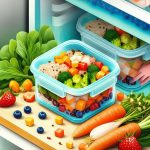
The Practical Playbook for Using Glass Lunch Boxes
Owning the right container is only half the battle. Using it effectively will preserve the quality of your food and the lifespan of your gear.
Not All Lids Are Created Equal
The lid is arguably as important as the glass base. A poor-quality lid renders even the best glass box useless for transport. Look for lids with a four-sided, snap-locking mechanism and a removable silicone gasket. This combination creates a truly airtight and leak-proof seal.
Most lids are made from BPA-free plastic, which is food-safe but has its own rules. Some innovative options, like the Umami Bento Box, offer bamboo lids as a plastic-free alternative.
Crucial Warning: Most plastic lids are not oven-safe and may not be microwave-safe. The intense heat can cause them to warp, ruining the seal forever. Always remove the lid before heating the glass base in an oven or microwave. To prevent splatters in the microwave, you can rest the lid on top without locking it, or simply use a paper towel.
A Prep-to-Plate Workflow That Works
Follow these steps for meal prep success:
- The Cook & Cool Rule: After cooking, allow your food to cool down on the counter for at least 15-20 minutes before sealing it in the container. Sealing hot, steamy food traps condensation, which can lead to soggy textures, especially with roasted vegetables or grains.
- Smart Packing for Texture: Use the compartments to your advantage. Keep wet and dry ingredients separate. For salads, place the dressing at the very bottom of a single container, followed by hard vegetables (carrots, cucumbers), then grains, proteins, and finally, delicate greens on top.
- The Reheating Ritual:
- Microwave: Remove the lid completely or place it loosely on top to act as a vent.
- Oven: To avoid thermal shock, do not place a cold glass container from the fridge into a blazing hot oven. A safer method is to place the cold glass dish in a cold oven and let them heat up together.
- Care and Cleaning: The glass base is almost always dishwasher-safe. For the lids and silicone gaskets, hand-washing is recommended. High heat in a dishwasher can degrade the plastic and warp the gasket over time, compromising its leak-proof seal. Periodically remove the gasket to clean any trapped food particles.
Quick Answers to Common Questions
Getting started with glass boxes for lunch can bring up a few practical questions. Here are the most common ones.
Are glass boxes for lunch too heavy to carry?
They are noticeably heavier than plastic, which is a valid consideration for commuters. However, the trade-off is durability and food quality. A 32 oz glass container might weigh around 1.5-2 lbs, compared to a few ounces for its plastic equivalent. Brands like Ello Duraglass combat this by adding a protective (and grippy) silicone sleeve. Investing in a sturdy, well-designed lunch bag makes the extra weight easily manageable.
Can you put hot food directly into a cold glass container?
It’s risky. A sudden, extreme temperature change—known as thermal shock—is what can cause glass to crack. This applies both ways: pouring boiling soup into a container straight from the freezer or taking a cold container and plunging it into hot water. Even durable borosilicate glass has its limits. Always let hot food cool a bit before storing, and let cold containers rest at room temperature for a few minutes before heating.
Will glass lunch containers break easily?
Borosilicate glass is tough and resistant to chips and scratches from everyday use with cutlery. However, it is still glass. A hard drop on a tile floor will likely cause it to break. Think of it as being as durable as a Pyrex baking dish—sturdy, but not indestructible. Handle with reasonable care, and it will last for years.
Are glass containers really 100% leak-proof?
High-quality containers with a four-sided locking lid and a properly seated silicone gasket are exceptionally leak-resistant and can be trusted with soups and dressings. The “100%” claim depends on the condition of the lid and gasket. Over time, gaskets can stretch or get damaged. Always double-check that the seal is clean and correctly in place before you lock the lid and toss it in your bag.
Your Next Step: Making a Smart Choice
Switching to glass boxes for lunch is a simple upgrade that pays dividends in taste, health, and sustainability. It ends the cycle of disposable or short-lived plastic and invests in a system that makes your carefully prepared meals a true joy to eat.
To choose the right set for you, just follow these three steps:
- Assess Your Meals: Start by thinking about what you actually eat. Are you a soup and stew person, a salad lover, or a fan of portioned plates? Your answer immediately narrows your focus to single-section, specialty, or multi-compartment containers.
- Check the Material: Look for “borosilicate glass” in the product description. This ensures you’re getting a durable container that can handle the temperature demands of a true meal prep workflow.
- Inspect the Lid: Prioritize a BPA-free, four-sided locking lid with a removable silicone gasket. This design offers the best protection against leaks and makes for the easiest, most thorough cleaning.
By making a thoughtful choice, you’re not just buying a container; you’re creating a better, more enjoyable lunch experience, one well-packed meal at a time.

- Master Vegan Freezer Meal Prep to Simplify Your Busy Schedule - June 18, 2026
- Vegan Freezer Cooking Simplifies Healthy Meals on Busy Nights - June 17, 2026
- Vegetarian Freezer Recipes for Effortless Meal Prep and Delicious Dinners - June 16, 2026